Quick Summary: Learn how to hem relaxed jeans with fabric glue easily and effectively. This no-sew method provides a quick, neat finish for your favorite denim, ensuring a perfect fit without any sewing skills needed.
How to Hem Relaxed Jeans with Fabric Glue: The No-Sew Solution
Are your favorite relaxed jeans just a little too long, making you trip or feel sloppy? It’s a common frustration! Getting the perfect length can make a big difference in how your jeans look and feel. But what if you don’t have a sewing machine, or simply want a quicker fix? You’re in luck! Fabric glue is a fantastic, beginner-friendly solution that lets you hem your jeans professionally at home. With just a few simple steps and some common supplies, you can achieve a clean, durable hem that looks like it was done by a tailor. Get ready to transform your denim!
Why Fabric Glue is a Game-Changer for Hemming Jeans
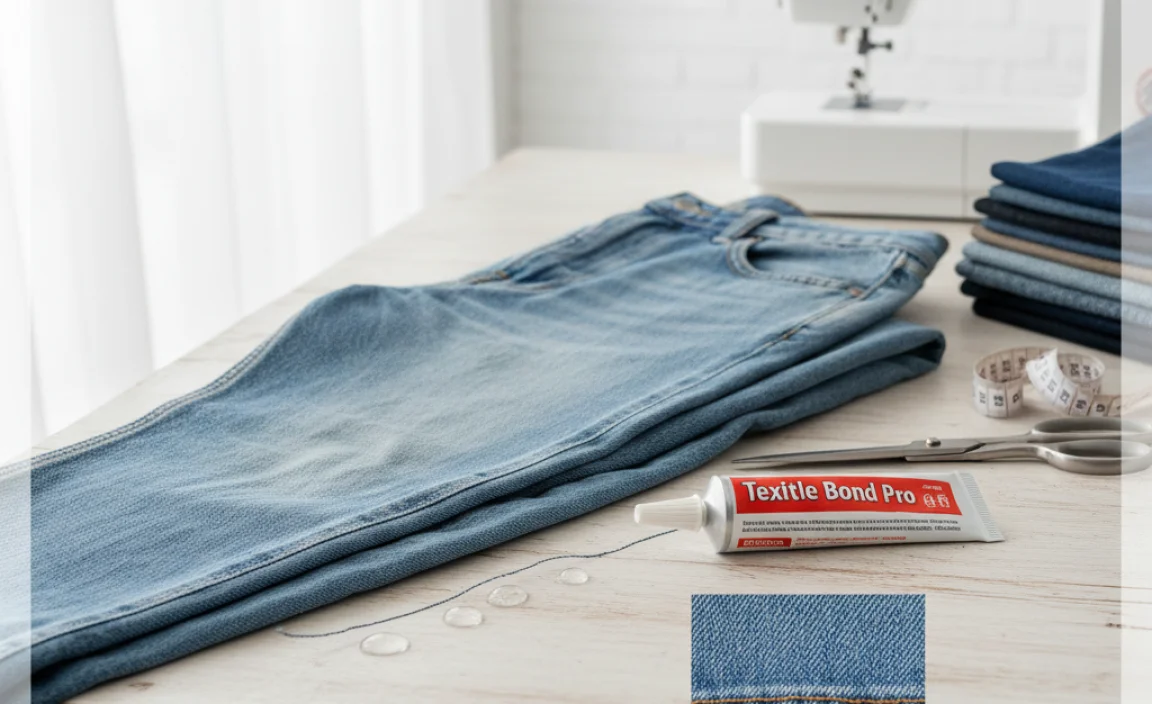
Traditional hemming involves sewing, which can be intimidating for beginners. Fabric glue offers an accessible alternative that is both fast and effective. It creates a strong bond between fabric layers, holding your hem in place securely. This method is especially great for relaxed-fit jeans because the less structured nature of the denim is forgiving of this technique, and the glue can handle the slight bulk without issues. You get a clean, unfussy finish that stands up to wear and washing, all without needing to thread a needle.
Understanding Fabric Glue for Denim
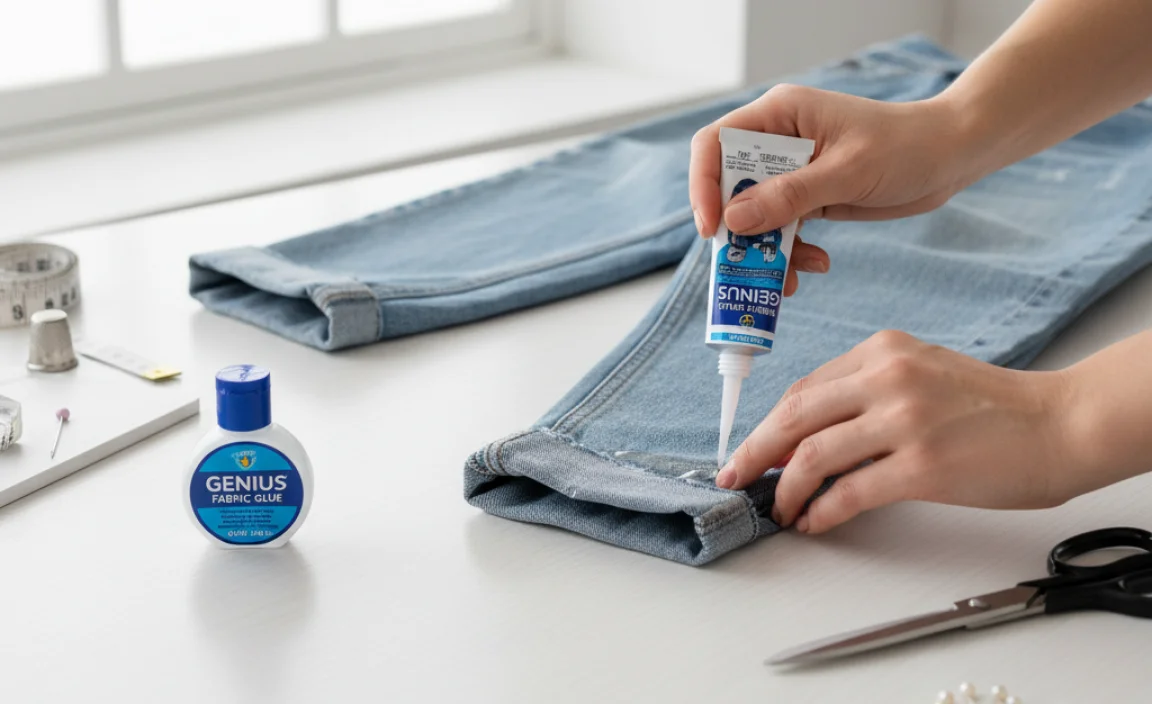
Not all fabric glues are created equal. For hemming sturdy fabrics like denim, you need a glue specifically designed for textiles that can withstand regular washing and drying cycles. Look for glues that are:
- Permanent: Once cured, the bond shouldn’t come undone.
- Washable and Dryable: Essential for ensuring your hem survives laundry day.
- Flexible: The glue shouldn’t make the fabric stiff.
- Clear or Color-Matched: For an invisible finish.
Popular brands like Aleene’s Fabric Fusion, Gorilla Fabric Glue, or Dritz Washable Fabric Glue are excellent choices. Always check the product label to ensure it’s suitable for denim and your intended use. For more detailed information on fabric adhesives, you can refer to resources like Canadian Living’s guide on the best fabric glues.
Materials You’ll Need
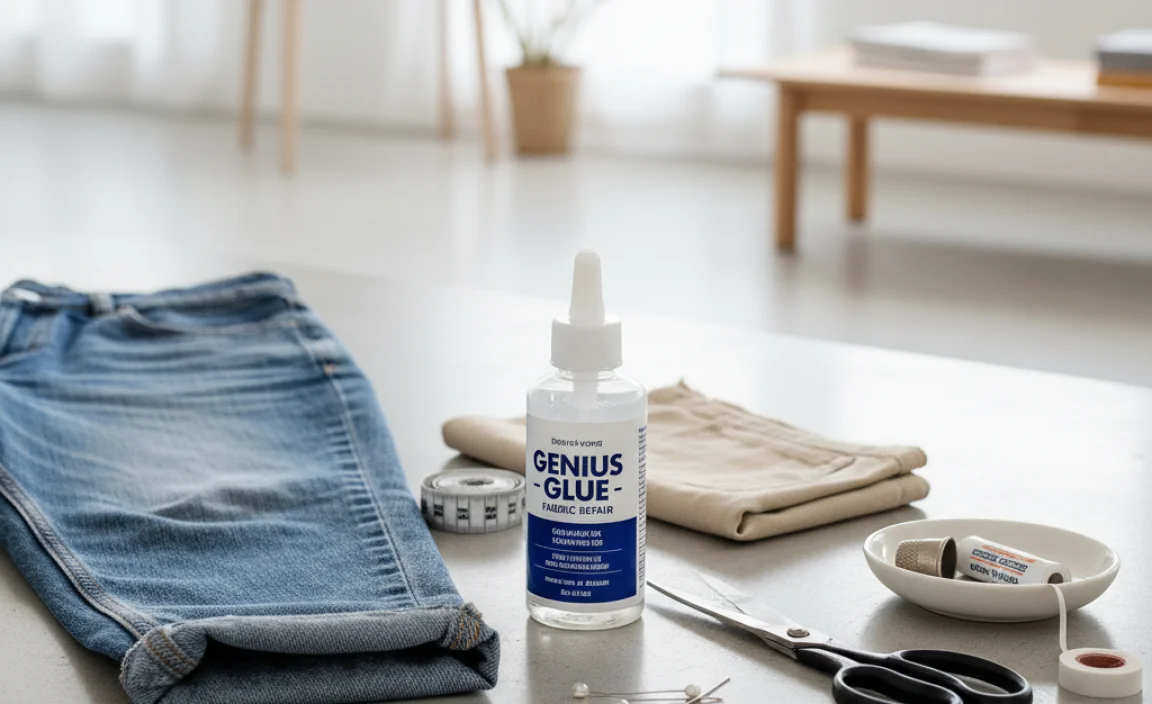
Gathering the right tools makes the process smooth and successful. Here’s what you’ll need to hem your relaxed jeans using fabric glue:
- Your relaxed jeans that need hemming
- Fabric glue (as discussed above)
- Fabric scissors or a rotary cutter and mat
- Measuring tape or ruler
- Fabric chalk or a disappearing ink pen
- Iron and ironing board
- Heavy books or weights
- Optional: Straight pins or fabric clips
Step-by-Step Guide: How to Hem Relaxed Jeans with Fabric Glue
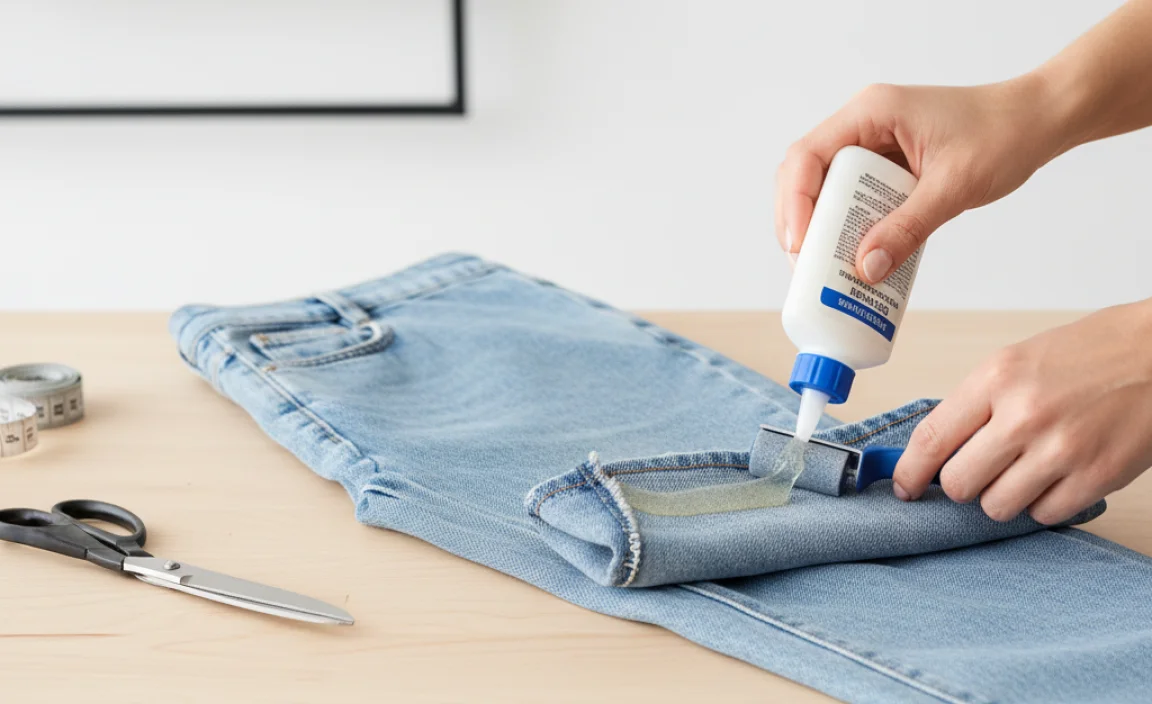
Follow these simple steps to achieve a professional-looking hem on your relaxed jeans.
Step 1: Prepare Your Jeans and Determine the New Length
First, put on the jeans you want to hem. Stand in front of a mirror and decide where you want the new hem to fall. Consider the shoes you’ll typically wear with these jeans. Mark the desired length with a pin or chalk. It’s often best to mark slightly longer than you think you need, as you can always trim more off, but you can’t add it back.
Next, take the jeans off and lay them flat on a hard surface (like a table or the floor). Smooth out any wrinkles. Measure from the crotch seam down to the marked hemline on each leg. Use your measuring tape to ensure both legs match. If the original hem is still intact, you can measure from the original hem up to your mark. Aim for consistency!
Step 2: Mark the Cut Line and Fold Line
Once you’re confident with your measurement, use your fabric chalk or disappearing ink pen to mark the new hemline. This is where you will cut. Now, decide how much fabric you want to fold up for the hem. A typical hem allowance for jeans is about 1 to 1.5 inches. Mark a second line (your fold line) above the cut line, equal to this allowance. For example, if you want a 1-inch hem, mark your first line (cut line) and then a second line 1 inch higher (fold line).
Step 3: Trim the Excess Fabric
Carefully cut along the marked cut line using sharp fabric scissors or a rotary cutter. Be precise! You want to remove the excess fabric. Discard the trimmed strips or save them for another craft project.
Step 4: Fold and Press the Hem
Now, fold the raw edge of the remaining fabric up to meet your fold line. Press this fold firmly with a hot iron. This creates a crisp crease and prepares the fabric for the glue. For a cleaner look and added security, you can then fold the fabric up a second time, tucking the raw edge inside this fold, so it aligns with the original leg of the jeans. Press this second fold very firmly. This creates a double-folded hem which is more durable and less likely to fray.
If you’re using pins or fabric clips, strategically pin or clip the hem in place on the inside of the fold to hold it securely while you apply the glue. Pins can sometimes cause small holes in the fabric, so fabric clips might be preferable if you have them.
Step 5: Apply the Fabric Glue
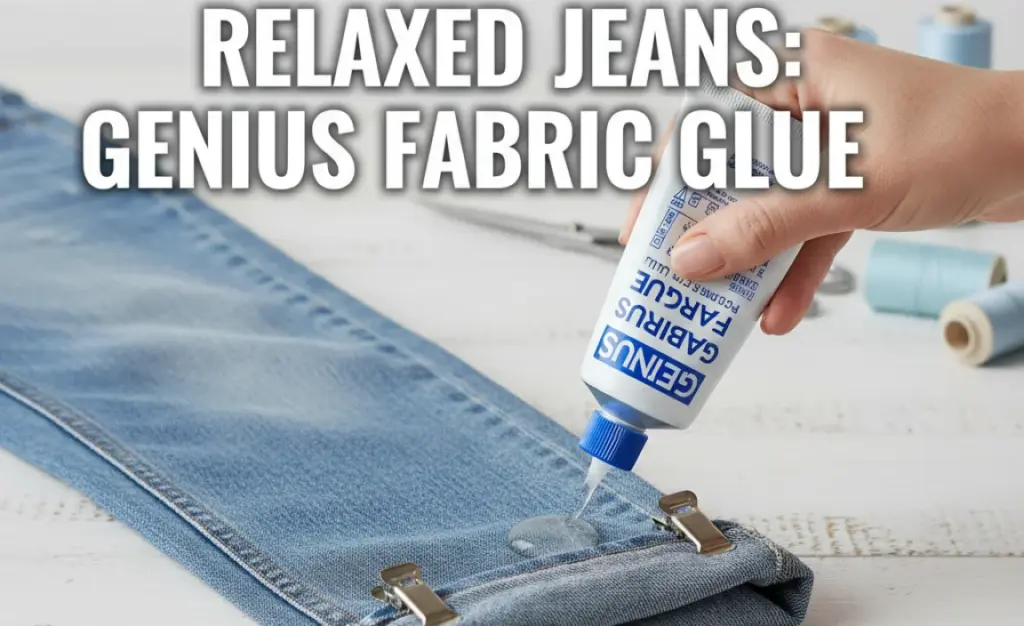
Open up the second fold slightly or carefully peel back one side of the double fold. Apply a thin, even bead of fabric glue along the raw edge of the fabric that you tucked inside. Ensure you apply enough glue to cover the entire raw edge, but not so much that it oozes out excessively.
If you opted for a single fold, apply the glue along the folded edge on the inside of the jeans. The key is to apply the glue to the surface that will be pressed against the inside of the jeans leg.
Step 6: Re-Press the Hem and Secure
Carefully press the folded hem back into place, ensuring the glue is between the two layers of fabric. Press down firmly. If you used pins or clips, ensure they are not in the way of the pressing. Once the hem is folded neatly, place heavy books or weights evenly on top of the folded hem. This ensures consistent pressure while the glue dries, creating a strong bond.
Step 7: Allow the Glue to Cure
This is a crucial step. Check the fabric glue manufacturer’s instructions for curing time. It typically ranges from 24 to 72 hours. During this time, keep the jeans flat with weights on the hem. Avoid moving or disturbing the hemmed area. Resist the urge to test it too soon!
Step 8: Check the Bond and Wash
Once the glue has fully cured, remove the weights and pins. Gently pull at the hem to ensure it’s securely bonded. If it feels secure, it’s time to test it! Turn the jeans inside out and follow the care instructions on the fabric glue for washing and drying. It’s best to wash them on a gentle cycle with cold water and tumble dry on low heat for the first wash to ensure the bond holds well.
Pros and Cons of Using Fabric Glue for Hemming Jeans
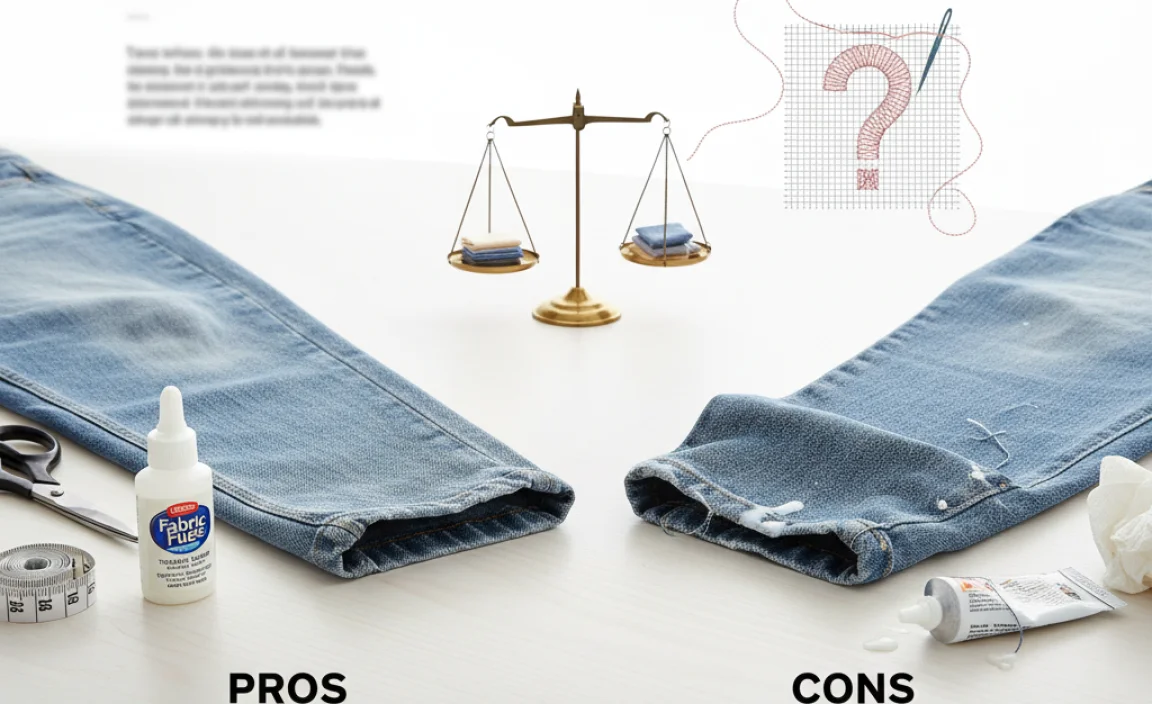
Like any method, using fabric glue has its advantages and disadvantages. Understanding these can help you decide if it’s the right approach for your project.
| Pros | Cons |
|---|---|
| Speed: Significantly faster than traditional sewing. | Durability Concerns: While good glues are durable, repeated heavy washing/drying cycles or rough wear might eventually weaken the bond more than sewing. |
| Beginner-Friendly: No sewing skills or equipment needed. | Potential for Stiffness: Some glues can make the fabric slightly stiff if too much is used or if it’s a less flexible formula. |
| Cost-Effective: Often cheaper than taking jeans to a tailor. | Application Precision: Requires careful application to avoid lumps or visible glue lines. |
| Flexibility: Good quality glues are often flexible and don’t impede movement. | Curing Time: Requires patience while the glue fully dries and cures. |
| Clean Finish: Can achieve a very neat and professional-looking hem when done carefully. | Repair Difficulty: If a section fails, it might be harder to re-glue neatly than to resew. |
Tips for a Perfect Fabric Glue Hem
Here are a few extra tips to help you achieve the best results:
- Test on a Scraps: If you’re unsure about how the glue will behave on your specific denim, cut a small scrap from the trimmed fabric and test the glue application and cure on it.
- Work in Sections: For longer hems or if you’re slow, work in manageable sections. Apply glue, press, and weight one section at a time.
- Even Application is Key: Too little glue won’t hold, too much will seep through and look messy. Aim for a consistent thin line.
- Wash Inside Out: Always wash your newly hemmed jeans inside out to protect the glued hem from direct friction in the washing machine.
- Consider the Denim Type: Super thick, rigid denim might be more challenging for fabric glue compared to softer, more pliable relaxed-fit denim. This method shines on the latter.
When to Consider Other Hemming Methods
While fabric glue is a fantastic tool, there are times when other methods might be better suited:
- Very Thick or Stretchy Denim: Extremely heavy denim might require a stronger bond than some glues can provide long-term. Very stretchy fabrics can also be tricky to keep perfectly aligned without sewing.
- Very Delicate or Expensive Jeans: For high-value items, you might want the assurance of professional tailoring or sewing.
- A Fraying Effect (Distressed Hem): If you want that popular, intentionally frayed hem look, fabric glue isn’t the right choice. You’d typically cut and then wash the jeans to encourage fraying.
- Rigid Garments: For items like denim jackets where a very stiff hem might be undesirable, sewing offers more control over flexibility.
For a detailed comparison of various hemming techniques, including sewing, you might find video tutorials from reputable sewing channels helpful, giving visual context to different approaches.
Frequently Asked Questions About Hemming Jeans with Fabric Glue
Q1: Can I hem jeans with fabric glue if I don’t want a visible fold?
A1: Yes. You can create a single fold with the raw edge tucked inwards, then glue that tucked edge to the inside of the jeans. The key is neat folding and precise glue application.
Q2: How long does fabric glue for jeans usually last?
A2: If you use a good quality, permanent, and washable fabric glue and follow the instructions, the hem should last for the lifetime of the jeans, though very heavy wear and repeated harsh wash cycles could eventually degrade it.
Q3: Will fabric glue make my jeans stiff?
A3: High-quality fabric glues are designed to remain flexible. Using only a thin, even bead and allowing it to cure properly should prevent stiffness. Too much glue can sometimes cause stiffness.
Q4: Can I use fabric glue on the outside of the hem?
A4: It’s generally not recommended to apply fabric glue to the outside of the hem as it can create a visible, shiny, or stiff line that compromises the look. The glue should be applied on the inside of the fabric layers.
Q5: What’s the best way to wash jeans after using fabric glue?
A5: For the first wash, turn the jeans inside out, use a gentle cycle with cold water, and tumble dry on low heat. After that, you can follow the garment’s care label, but always washing inside out is a good practice for longevity.
Q6: Is fabric glue safe for all types of denim?
A6: It’s generally safe for most denim, especially typical cotton or cotton-blend relaxed jeans. Always check the fabric glue’s compatibility with synthetic materials if your jeans contain a high percentage of them. If in doubt, test on an inconspicuous area.
Q7: Can I iron over the glued area?
A7: Yes, after the glue has fully cured, you can iron over the hemmed area. It’s best to iron on the inside of the jeans or place a pressing cloth over the outside to protect the fabric and the glued seam.
Conclusion: Perfectly Hemmed Relaxed Jeans Made Easy
You’ve now seen firsthand how straightforward it is to achieve a professional, durable hem on your relaxed jeans using nothing more than fabric glue. This no-sew method proves that you don’t need to be a sewing expert to get your clothes to fit perfectly. By following these steps carefully—from accurate measurement and precise cutting to proper glue application and curing—you can tackle this common clothing alteration with confidence. Your relaxed jeans will look and feel amazing, giving you that polished, put-together finish without the hassle. So next time your favorite denim is just a bit too long, reach for the fabric glue and enjoy the satisfaction of a job well done!


