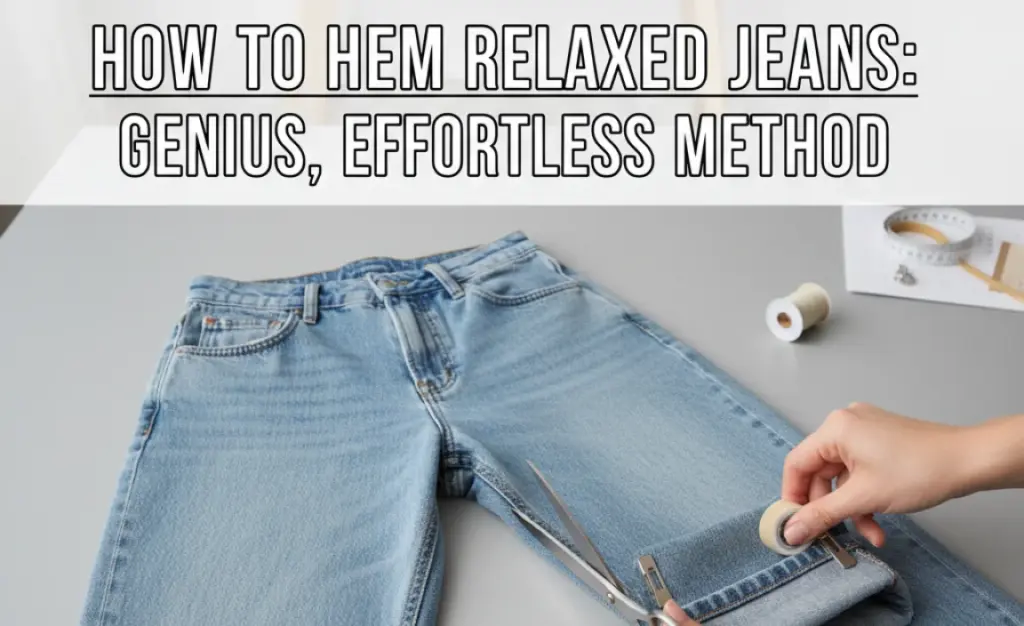
Genius, effortless hemming for relaxed jeans is achievable! This guide provides a simple, no-sew method to perfectly shorten relaxed-fit jeans without sewing skills, ensuring a clean, professional look that’s both practical and stylish. Get ready for perfectly fitting denim in minutes.
How to Effectively Hem Relaxed Jeans: A Genius, Effortless Method
Have you ever bought a pair of fantastic relaxed-fit jeans, only to have the hem drag on the floor? It’s a common frustration. Too-long denim can look sloppy, trip you up, and wear out faster at the bottom. But the thought of hemming can feel daunting, especially if you’re not a sewer. Worry not! There’s a surprisingly genius, effortless method to achieve a professional-looking hem on your relaxed jeans, no sewing machine required. We’ll walk you through it step-by-step, making it easy to get that perfect fit and put your best foot forward, stylishly and confidently.
Why Hemming Relaxed Jeans is Essential
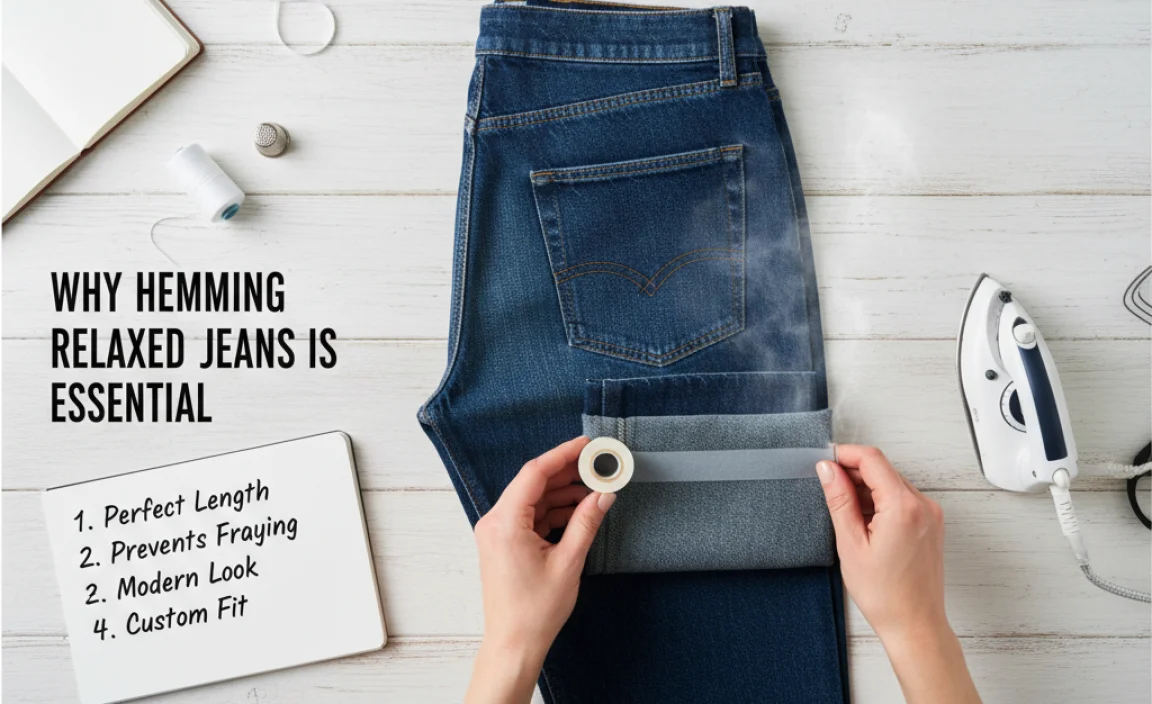
Relaxed fit jeans are loved for their comfort and laid-back style. However, their looser cut can sometimes mean they are cut longer than a slimmer style. Whether it’s a slight excess of fabric or a significant amount, a hem that’s too long can:
- Look Untidy: Jeans pooling around your ankles can detract from the overall look, making even stylish denim appear unkempt.
- Cause Tripping Hazards: Excess fabric can catch on shoes, making walking uncomfortable and potentially leading to dangerous stumbles.
- Accelerate Wear and Tear: The bottom of your jeans will constantly brush against the ground, leading to fraying, holes, and premature wear.
- Alter the Silhouette: The intended relaxed fit can be overwhelmed by excessively long cuffs, altering the intended style.
The good news is that achieving the correct length is simpler than you might think. This guide focuses on a no-sew technique that preserves the authentic look and feel of your jeans.
Gather Your Supplies for Effortless Hemming

This method requires minimal supplies, most of which you likely have around the house. The key is precision and the right adhesive. Here’s what you’ll need:
- Your Relaxed Jeans: The star of the show!
- Fabric Scissors: Sharp scissors are crucial for a clean cut. Dull scissors can snag and fray the fabric unevenly. If you don’t have dedicated fabric scissors, use the sharpest, cleanest pair you own.
- Fabric Glue or Hem Tape: This is your primary tool for creating a no-sew hem. Look for high-quality, washable options. Brands like ‘E6000 Fabri-Fuse’ or ‘Dritz Stitch Witchery’ are reliable choices.
- Iron and Ironing Board: Essential for setting the adhesive and creating crisp folds.
- Measuring Tape or Ruler: For accurate measurements to ensure even hems.
- Fabric Chalk or a Removable Fabric Marker: To mark your cutting lines accurately.
- Pins: To hold the fabric in place while you work with the glue or tape.
- A Flat Surface: For precise measuring and folding.
Choosing the right fabric glue or hem tape is important. For jeans, a strong, permanent bond is ideal. Ensure it’s specifically designed for fabric. For more information on fabric adhesives, the ScienceDirect resources on adhesives can provide a scientific overview of how they work.
The Genius No-Sew Hemming Method: Step-by-Step
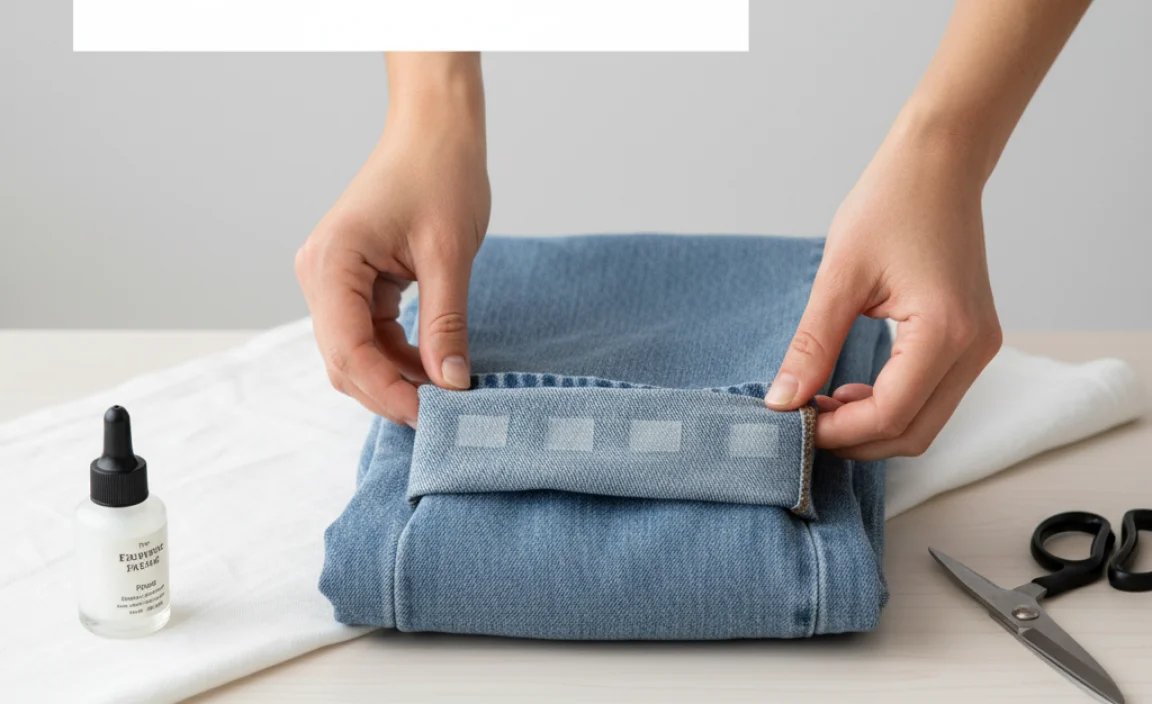
This method focuses on achieving a clean, permanent hem without any stitching. It’s designed to be straightforward, even for absolute beginners. We’ll use a combination of precise folding, marking, and a strong fabric adhesive.
Step 1: Try On Your Jeans and Determine the Ideal Length
This is the most crucial step. Wear the shoes you typically wear with your relaxed jeans. Stand in front of a mirror on a flat surface. Let the jeans fall naturally. Using your chalk or fabric marker, mark where you want the new hem to fall. A common preference for relaxed jeans is that they just skim the top of the shoe or fall slightly below.
Pro Tip: It’s always better to mark slightly longer than you think you need. You can always trim more, but you can’t add fabric back. For a cleaner break, aim for the hem to end just clearing the sole of your shoe.
Step 2: Measure and Mark for the Cut
Once you’ve marked the desired hem length, take off your jeans. Lay them flat on your work surface. Measure from the marked hemline down to the original hem. Add approximately 2 inches (about 5 cm) from your desired hemline to this measurement. This extra fabric will be used to create the folded hem allowance.
For example, if you want your jeans to end at your ankle bone, and that’s 30 inches from your waistband, and there’s already 1.5 inches of original hem, you might mark the point where you want the new hem to be. Then, measure from that point down another 2 inches. This 2-inch mark is where you will cut. Mark this line all the way around the circumference of the leg. Ensure the line is parallel to the original hem by consistently measuring from the bottom edge upwards.
Accuracy Checklist:
- Use a flexible measuring tape for waistbands to get accurate circumferences.
- Ensure your markings are visible but removable.
- Double-check measurements on both legs to ensure they are identical.
Step 3: Cut Away the Excess Fabric
With your marked cutting line clearly visible, carefully cut through both layers of denim along the line. Go slowly and steadily to ensure a straight cut. Use sharp fabric scissors for the cleanest result.
If you’re unsure about cutting, you can also fold the jeans to your desired length first and then mark your cutting line 2 inches below that folded edge. This can sometimes be easier for visual learners.
Step 4: Prepare for Folding and Adhesion
Now, take the cut edge and fold it upwards towards the inside of the jean leg, aligning it with your original desired hemline. This fold should be precisely 2 inches. Crease this fold firmly with your fingers. You should now see a clean, raw edge tucked away inside a neat fold.
Use your iron to press this fold flat. This creates a crisp starting point for your adhesive application. Make sure the raw edge is fully enclosed within this fold.
Step 5: Apply Fabric Glue or Hem Tape
This is where the magic happens. You have two main options here:
Option A: Using Fabric Glue
Carefully unfold the 2-inch hem allowance you just pressed. Apply a thin, even line of fabric glue along the inside of the folded edge, about ¼ inch from the raw, cut edge. Ensure you only apply glue to the denim that will be enclosed in the final hem. Avoid getting glue on the outside of the jeans.
Some fabric glues, like E6000 Fabri-Fuse, recommend allowing the glue to become tacky before pressing the fabric together. Follow the manufacturer’s instructions precisely for the best bond.
Option B: Using Hem Tape (Fusible Bonding Web)
Cut strips of hem tape (like Dritz Stitch Witchery) to fit the length of the hem. Place the hem tape along the inside of the folded edge, about ¼ inch from the raw, cut edge. Make sure the tape is evenly distributed.
You will typically need to iron over the hem tape for a recommended duration (often 10-15 seconds per section) at the fabric’s recommended heat setting (usually high for denim, but check your iron’s manual and the tape’s instructions). The heat activates the adhesive within the tape and bonds the fabric layers together.
Step 6: Press the Hem Firmly
Once the glue or tape is applied, carefully refold the 2-inch hem allowance upwards, tucking the raw edge inside. Press it firmly into place. Use your iron to press the entire folded section, paying attention to the seam. This step is crucial for creating a strong, permanent bond.
Ironing Tips for Denim:
- Use a high heat setting suitable for cotton or denim.
- If your fabric glue or hem tape has specific temperature instructions, follow those.
- Steam can be helpful for denim, but ensure your adhesive product doesn’t react negatively to moisture.
- Press for at least 15-20 seconds along the entire hem to ensure a solid bond.
Step 7: Secure and Let it Cure
Once pressed, use pins to hold the hem securely in place while the glue or tape cures. If you used fabric glue, you’ll need to let it dry completely. This can take anywhere from 24 to 72 hours, depending on the glue and humidity. Check the glue’s packaging for specific drying times. Hem tape usually sets immediately after cooling but still benefits from a full cure.
To ensure a perfect finish, it’s a good idea to allow the jeans to hang or lie flat during the curing process, undisturbed.
Step 8: Final Check and Trim (Optional)
After the glue has fully cured or the tape has set, remove the pins. Turn the jeans right-side out. Check the hem for any areas that didn’t bond properly. You can re-press any loose spots. If you notice any stray threads or imperfections, a quick trim with your fabric scissors will give it a polished look.
Many people prefer the look of a slightly distressed or frayed hem on relaxed jeans. If this is your style, you can leave the cut edge exposed after folding and adhering, then gently fray it with a stiff brush or by washing the jeans. However, for a clean, no-sew finish, ensure the raw edge is fully encased.
Alternative Method: Using Shampoo for a Temporary Hem (and why it’s not ideal)
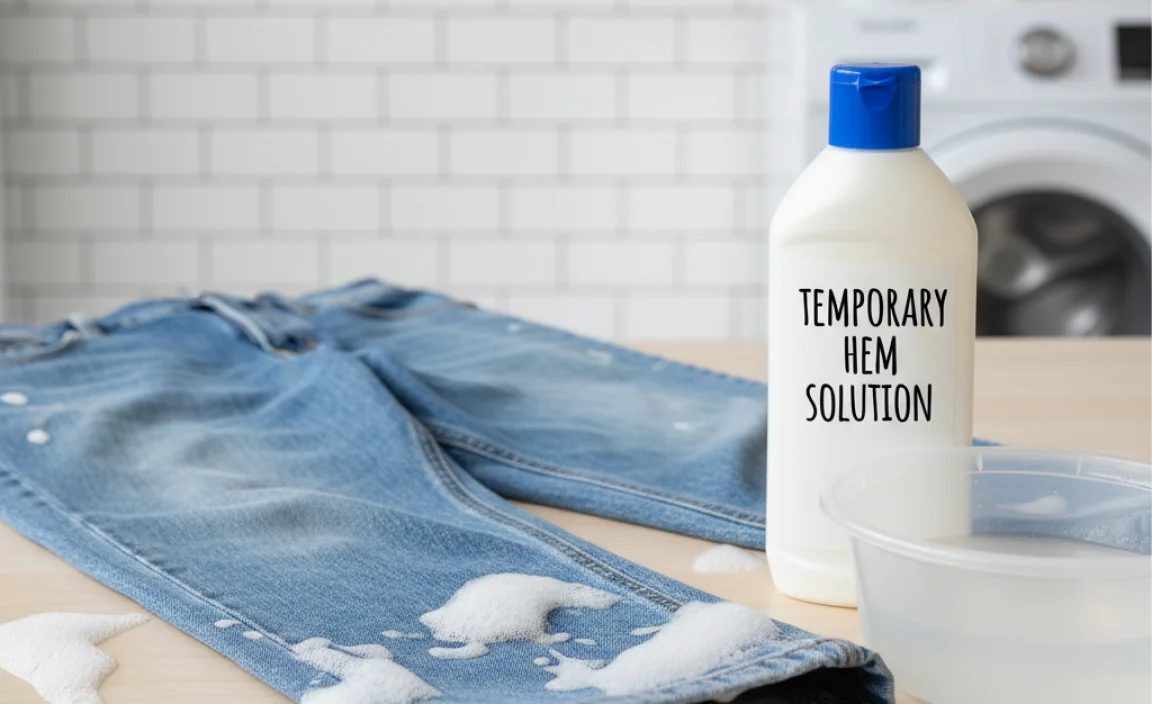
You might have come across “how to hem relaxed jeans with shampoo.” This method is largely a myth or a very temporary, unreliable trick. The premise usually involves diluting shampoo and using it as a ‘binder’ or temporary adhesive. In reality, shampoo is a cleaning agent, not an adhesive. It contains surfactants that break down grease and dirt, meaning it has no holding power whatsoever for fabric.
Attempting to hem jeans with shampoo would likely result in:
- A sticky, residue-filled fabric.
- The hem not holding at all, or only for a very brief period.
- Potential discoloration or damage to the denim over time as the chemicals in the shampoo interact with the fabric.
For a permanent, reliable, and genuinely effortless hem on your relaxed jeans, sticking to fabric glue or hem tape is the proven and effective solution.
Tools for Success: Comparing Adhesives

Choosing the right adhesive is key to a successful no-sew hem. Here’s a brief comparison of the most common options:
| Adhesive Type | Pros | Cons | Best For |
|---|---|---|---|
| Fabric Glue (e.g., E6000 Fabri-Fuse) | Strong, permanent bond. Washable and durable. Flexible once dried. | Can be messy if applied too thickly. Requires drying/curing time. Can seep through very thin fabrics. | Permanent hems on denim and other sturdy fabrics. Ideal for a clean, finished look. |
| Hem Tape (Fusible Bonding Web) | Quick application with iron. Clean finish, no drying time needed (just cooling). Easy to reposition before ironing. | Requires an iron. Can sometimes create a stiffer feel to the hem. May not be as incredibly strong as some glues for heavy-duty wear. | Simplicity and speed. Great for those who prefer ironing to glue. Works well for various fabric weights. |
| Spray Adhesive (Fabric-Specific) | Quick to apply over a large area. | Can be difficult to control for precise hemming. May not be durable enough for frequent washing. Potential for overspray. | Temporary fixes or large fabric projects, less ideal for precise hems. |
Tips for Perfecting Your Relaxed Jeans Hem
Achieving a great hem on relaxed jeans is about more than just cutting. Here are some tips to ensure a polished outcome:
- Work in Good Lighting: Make sure you can see your markings and folds clearly.
- Consider the Fabric Weight: Heavier denim, like that used in most jeans, holds a crease and adhesive well. Lighter fabrics might be more challenging.
- Pre-Wash Your Jeans: Always wash and dry your jeans before hemming. This pre-shrinks the fabric and removes any sizing that might interfere with the adhesive. It also ensures the hem will look the same after washing as it does after hemming.
- Hem on the Bias (if applicable): While less common with straight-leg relaxed jeans, if your jeans have a slight curve in the leg opening, try to keep your hemline as parallel to the original hem as possible.
- Trim Threads: After hemming, trim any loose threads for a tidy appearance.
- Reinforce if Needed: If you plan on very heavy wear, you might consider washing the jeans once after hemming and then ironing the hem again to ensure maximum bond strength.
Frequently Asked Questions
Q1: Can I really hem jeans without sewing?
Absolutely! Modern fabric glues and hem tapes are incredibly strong and durable. They create a permanent bond that can withstand washing and wearing, offering a fantastic no-sew alternative to traditional stitching.
Q2: How much fabric should I leave for the hem allowance?
For most relaxed jeans, leaving about 1.5 to 2 inches (4-5 cm) of fabric for the hem allowance is sufficient. This provides enough material to create a neat, folded edge that hides the raw cut and ensures a strong bond.
Q3: Will the hem look natural?
Yes, if done carefully. By folding the fabric inwards and pressing it, you create a clean edge that mimics a sewn hem. The key is to ensure the fold is even and the adhesive creates a solid bond without adding too much bulk.
Q4: How long will a no-sew hem last?
A well-executed no-sew hem using quality fabric glue or hem tape can last for the lifetime of the jeans. It’s designed to be permanent and become just as robust as a sewn hem, especially when suitable for washing and drying.
Q5: Can I make the hem adjustable?
While the method described is permanent, you could technically fold the jeans to a desired length, mark it, and then apply glue/tape only to that fold. However, this is less secure. For adjustable hems, consider options like fraying the original hem or using temporary fabric clips.
Q6: Is it safe to wash jeans after hemming with glue?
Yes, once the fabric glue has fully cured (usually 24-72 hours), the hem is washable. Most fabric glues are designed to be machine washable and dryable. Always check the specific product’s instructions to confirm.
Q7: What if I don’t have fabric scissors?
If you don’t have dedicated fabric scissors, use the sharpest pair of household scissors you own. Make sure they are clean, as any residue could transfer to your jeans. A clean, sharp cut is still crucial for the best results, even with household scissors.
Conclusion
Mastering the art of hemming your relaxed jeans doesn’t require a sewing machine or complex techniques. With this genius, effortless no-sew method, you can achieve a perfectly fitted pair of jeans quickly and easily. By following these clear, step-by-step instructions, gathering the right supplies, and taking your time with measurements and adhesion, you’ll transform ill-fitting denim into your favorite go-to pair. Enjoy the confidence that comes with perfectly tailored clothing, and remember that a great look is always within reach, especially when you know how to make your wardrobe work for you.


