


Quick Summary: Learn how to perfectly hem relaxed jeans at home with this easy guide. Achieve a clean, customized length and a professional finish without special tools, making your favorite jeans fit just right. This guide ensures a simple, successful outcome for everyone.
How to Hem Relaxed Jeans: An Effortless Guide
Is your favorite pair of relaxed-fit jeans dragging on the floor? Getting that perfect length can feel like a chore, especially when you’re not sure where to start. You don’t need to be a sewing expert to fix this common clothing problem. With a few basic supplies and this straightforward guide, you can easily hem your relaxed jeans to a custom fit. We’ll walk you through every step, so you can enjoy perfectly fitting denim with confidence.
Why Hemming Your Relaxed Jeans is a Game-Changer

Relaxed fit jeans are all about comfort and a laid-back style. However, their looser cut can sometimes lead to them being a bit too long, creating an untidy look or even a tripping hazard. Properly hemming them not only improves their appearance but also extends their life by preventing frayed hems from getting worse. It’s a simple alteration that makes a big difference in how your jeans look and feel.
Think about it: perfectly hemmed jeans will sit just right with your favorite shoes, whether they’re sneakers, boots, or sandals. No more awkward bunching at your ankles or stepping on the fabric. This guide focuses on techniques that are accessible to beginners and yield professional-looking results, ensuring you can tackle this common fit issue with ease.
Gathering Your Hemming Supplies

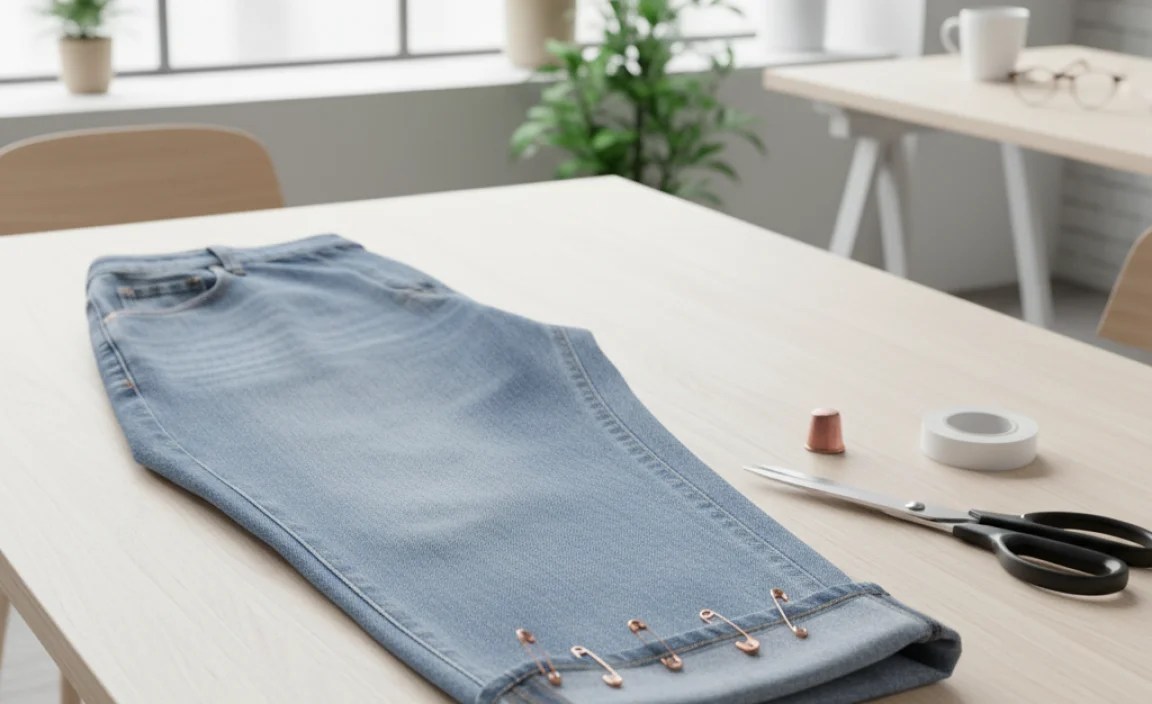
Before we start, let’s make sure you have everything you need. The good news is you probably have most of these items already, or they’re easy to find at a local craft or fabric store.
Essential Tools for Hemming Jeans
- Fabric Scissors: Sharp scissors are crucial for a clean cut. Invest in a good pair designated for fabric to get the best results.
- Measuring Tape or Ruler: For accurate measurements to ensure an even hem.
- Fabric Marker or Chalk: To mark your cutting line. Test this on an inconspicuous area first to ensure it washes out.
- Pins: To hold the fabric in place while you measure and sew.
- Sewing Machine (Recommended): While you can hand-sew, a sewing machine makes the process faster and creates a more durable, professional finish.
- Thread: Choose a color that matches your jeans as closely as possible. Denim thread is a great option for extra durability.
- Iron and Ironing Board: Essential for pressing seams and creating crisp fold lines.
- Seam Ripper (Optional but helpful): For removing original hems if you want to preserve the original look.
Step-by-Step Guide to Hemming Relaxed Jeans

Let’s get started! This process is designed to be simple and effective, even if this is your first time hemming a garment.
Step 1: Try On Your Jeans and Determine the Desired Length
Put on the relaxed jeans you want to hem. Wear the shoes you typically pair with them. Stand in front of a mirror. Decide where you want the new hem to fall. A common and flattering length for relaxed jeans is just above the shoe’s sole or where the leg naturally breaks. Take your time with this step – it’s the most important for getting the fit right.
Step 2: Mark the Length
Have a friend help you, or do this carefully yourself. Gently pull the fabric down so it’s smooth. Use your fabric marker or chalk to make a small dot where you want the finished hem to end. Repeat this on the other leg, ensuring the marks are at the same height. You can also measure from the crotch down to this point to ensure accuracy across both legs.
Step 3: Measure and Mark the Hem Allowance
Now, you need to add extra fabric for the hem itself. This is called the hem allowance. For most jeans, a 1 to 1.5-inch hem allowance is standard. A wider allowance creates a more substantial hem, which can be nice for denim.
Using your ruler, measure from your original marked length line down by your chosen hem allowance. Draw a straight line all the way around the leg at this new mark. Ensure this line is parallel to the floor and consistent all around each leg.
Tip: If you want to preserve the original “distressed” hem look, you can carefully use a seam ripper to remove the original hem stitching. Then, you can press the leg flat and re-fold it to your desired, shorter length, using the original rolled edge as your new finished hem. You’ll then stitch just above this rolled edge.
Step 4: Cut Off the Excess Fabric
Now it’s time to cut. Using your sharp fabric scissors, carefully cut along the marked hem allowance line you just drew. Try to cut smoothly and evenly. Don’t rush this part. Once you’ve cut one leg, repeat the exact same process on the other leg, making sure the lengths and hem allowances are identical.
Important Note on Denim Weight: The weight of your denim can affect how the hem falls. Heavier denim might hold a crease better, while lighter denim might drape more softly. Consider this as you decide on your hem allowance and how you’ll press it.
Step 5: Prepare the Hem for Sewing
Take one leg and fold the raw edge up towards the inside of the jean leg, aligning it with your original marked length line (the line you cut to). Press this fold firmly with your iron. This creates a crisp crease and holds the fabric in place for the next fold.
Now, fold the fabric up again, this time by the same amount as your hem allowance (1 to 1.5 inches). This second fold will cover the raw edge you just created. Press this final fold very firmly with your iron. This double fold creates a clean, durable hem that won’t fray.
Repeat this folding and pressing process for the other leg, ensuring both hems are folded and pressed identically.
Step 6: Pin the Hem in Place
Once both hems are pressed, use pins to secure them. Place pins perpendicular to the folded edge, about every 2-3 inches. This keeps the hem from shifting while you sew. Make sure the pins go through all layers of the fabric, holding the double fold securely.
Step 7: Sew the Hem
Using a Sewing Machine:
- Thread your sewing machine with a thread color that matches your jeans.
- Set your stitch length to a medium setting (around 2.5-3.0).
- Start sewing at one of the inseam or outseam seams for a less visible start/end point.
- Sew along the top edge of the folded hem, staying as close to the inner fold as possible (about 1/8 inch from the edge).
- Continue sewing all the way around the leg.
- When you reach your starting point, backstitch for a few stitches to secure the thread.
- Remove the pins as you go.
Hand Sewing (if no machine):
- Thread a needle with matching thread, and knot the end securely.
- Use a sturdy stitch like a backstitch or a blind hem stitch for a cleaner finish on the inside.
- Begin by hiding your knot inside the hem.
- Work your way around, sewing small, even stitches.
- Continue until you’ve sewn the entire circumference of the hem.
- Secure your stitches with a knot inside the hem to finish.
This is where knowledge about sewing machine stitches can be helpful. For a strong and relatively invisible stitch, the blind hem stitch is ideal for a professional look. Many sewing machine manuals offer guidance on specific stitches, and websites like Singer’s guide provide excellent visual instructions.
Step 8: Finishing Touches
Once you’ve sewn both hems, give them another press with your iron. This will ensure the stitched hem is crisp and lies flat. Trim any excess threads. If you used a fabric marker, check that it has washed out completely. You can also gently wash your jeans to remove any remaining marks and to give the hems a natural, lived-in look.
Alternative Hemming Methods
While sewing is the most durable method, there are other options for a quick fix:
No-Sew Hem Tape
This is a fantastic option for those who want a quick, temporary, or permanent solution without any sewing at all. Fabric adhesive tape (like hem tape or fusible web) is ironed onto the fabric to create a strong bond.
- Follow the instructions on the hem tape packaging carefully.
- Typically, you’ll fold the hem to your desired length, insert the tape between the folded layers, and then iron over it.
- Ensure the iron is on the correct heat setting for your fabric.
- This method works well for denim but might not be as durable as sewing for very heavy wear.
Fabric Glue
A more permanent no-sew option is fabric glue. It’s applied with a fine tip and dries strong, acting like a liquid stitch.
- Fold and press your hem as you would for sewing.
- Apply a thin, even line of fabric glue along the raw edge before making the second fold, or along the inside of the folded hem before pressing.
- Press the hem firmly and allow the glue to cure completely according to the product instructions.
- Make sure the glue is washable and durable for clothing.
Factors to Consider for Different Jean Styles

While this guide is for relaxed jeans, hemming principles apply to most denim styles. However, some nuances exist:
Original Hem Preservation
For many denim enthusiasts, the original factory hem with its frayed or selvedge edge is desirable. If you want this look, you’ll need to preserve it. This involves carefully removing the original hem stitching with a seam ripper, then re-folding and re-stitching just above the original finished edge, or carefully reattaching the original hem. This is a more advanced technique but yields an authentic look.
Stretch vs. Non-Stretch Denim
- Non-Stretch Denim: This is generally easier to hem as it holds its shape well. The methods described above are ideal.
- Stretch Denim: When hemming jeans with stretch, be mindful of the fabric’s elasticity. Avoid stretching the fabric while pinning or sewing, as this can cause the hem to ripple or become uneven. Use a longer stitch length on your sewing machine for stretch denim to accommodate the fabric’s movement.
Common Hemming Mistakes and How to Avoid Them
Even with clear instructions, a few common pitfalls can occur. Knowing them can save you frustration:
Table: Common Hemming Issues & Solutions
| Problem | Cause | Solution |
|---|---|---|
| Uneven Hem | Inaccurate marking or cutting; fabric shifting during sewing. | Measure carefully on a flat surface; use plenty of pins; sew slowly and evenly. Try pinning the entire hem before sewing. |
| Wavy Hem | Stretching the fabric while sewing; incorrect stitch length. | Avoid pulling the fabric through the machine; use a slightly longer stitch length for stretch denim. |
| Visible Stitching (on the outside) | Using a stitch that is too thick or a contrasting thread; sewing too far from the inner folded edge. | Use a matching thread; sew as close to the inner fold as possible (about 1/8 inch); consider a blind hem stitch. |
| Hem Unraveling | Insufficient fold; weak stitches; no seam finishing. | Ensure a double fold for durability; use strong stitches (backstitch); consider a zigzag stitch over the raw edge if you don’t have a serger. |
Resources like those from the Federal Trade Commission (FTC) on fabric care and labeling can also offer insights into different fabric types and their best handling practices, which is beneficial for any sewing project.
Frequently Asked Questions About Hemming Jeans
Q1: How much fabric do I need to leave for the hem allowance on jeans?
A1: For most jeans, a hem allowance of 1 to 1.5 inches is ideal. This allows for a double fold, creating a durable and neat finish.
Q2: Can I hem jeans without a sewing machine?
A2: Yes! You can hand-sew the hem using a backstitch or blind hem stitch. No-sew options like fabric glue or iron-on hem tape are also great alternatives.
Q3: How do I make sure my jean hems are even?
A3: Accurate measuring is key. Try on the jeans with your preferred shoes, mark the desired length carefully, and use a ruler to draw your cutting and folding lines. Consider measuring from the crotch down to ensure symmetry.
Q4: How can I achieve a professional-looking hem?
A4: Pressing is crucial! Use your iron to create crisp folds before sewing. Sewing as close as possible to the inner folded edge with matching thread will also contribute to a professional appearance.
Q5: What if my jeans have a raw or frayed hem?
A5: You can either preserve the original hem by carefully removing and reattaching it (a more advanced technique), or create a new, clean hem using the methods described in this guide. For a quick fix, you can sometimes recreate a frayed look by cutting the hem to length and then carefully pulling out horizontal threads.
Q6: How do I hem jeans that are really thick or bulky?
A6: Use a stronger needle for your sewing machine (like a denim needle) and a longer stitch length. Go slowly and use your machine’s handwheel to manually guide the fabric over thick seams. Avoid forcing the fabric.
Conclusion
Hemming relaxed jeans doesn’t have to be a daunting task. By following these straightforward steps, you can achieve a perfect, custom fit that enhances both the look and comfort of your favorite denim. Whether you’re using a sewing machine, a needle and thread, or a no-sew solution, the key is careful measurement, precise folding, and steady stitching. Now you can tackle any pair of jeans that needs a little adjustment, saving money and enjoying perfectly fitting, stylish pants. Happy hemming!


