Hem your relaxed jeans effortlessly without sewing! This guide provides simple, effective methods for a perfect, no-sew hem, giving your favorite jeans the ideal length and a clean finish in minutes.
Tired of your favorite relaxed jeans dragging on the floor? Getting the perfect hem length often feels like a chore, especially if you don’t have a sewing machine or the skills. It’s frustrating when a great pair of jeans just isn’t quite right because of the length. But you don’t need to be a tailor to fix this! This easy-to-follow guide will show you several straightforward ways to hem your relaxed jeans without a single stitch. Get ready to enjoy jeans that fit perfectly, from waist to hem, with minimal effort.
Why Hemming Your Jeans Matters
A proper hem isn’t just about aesthetics; it’s about functionality and longevity. When jeans are too long, they can drag, get dirty, fray unevenly, and even become a tripping hazard. For relaxed fit jeans, which often have a looser drape, the hem is crucial for maintaining their intended style and silhouette. A clean hem ensures your jeans look intentional rather than sloppy, enhancing your overall appearance. It can also prevent further unraveling of the fabric, making your jeans last longer.
Understanding Relaxed Fit Jeans
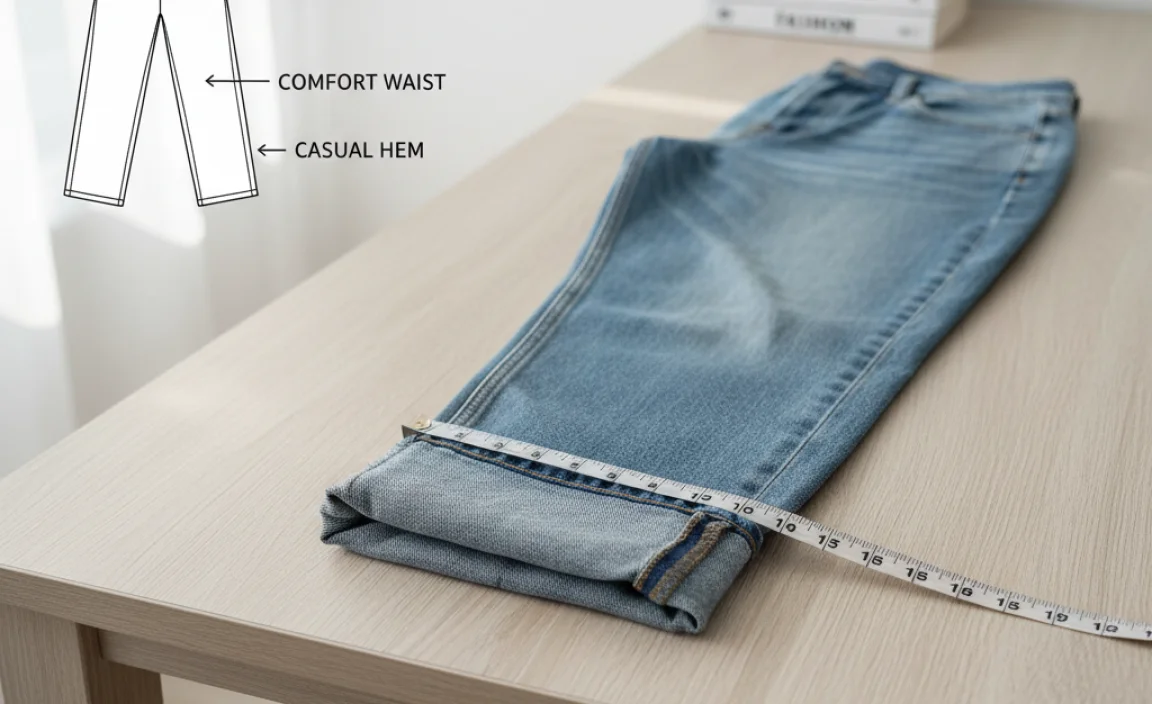
Relaxed fit jeans are designed with comfort and a casual look in mind. They offer more room through the seat, thigh, and leg compared to a straight or slim fit. This looser cut means that the hem can sometimes fall awkwardly if not adjusted correctly. The goal when hemming them without sewing is to maintain that relaxed feel while achieving a neat, defined edge that complements the jeans’ style, rather than fighting against it. You want the hem to look intentional, not like an afterthought.
Choosing Your No-Sew Hemming Method

There are several fantastic ways to achieve a no-sew hem. Each method has its own benefits, depending on the look you’re going for and the materials you have on hand. We’ll explore the most popular and effective techniques, including:
- Fabric glue or hem tape
- Fabric scissors and iron-on hemming tape
- Denim chalk or marker
- Clothing pins or clips
Method 1: Fabric Glue or Hem Tape for a Permanent Fix
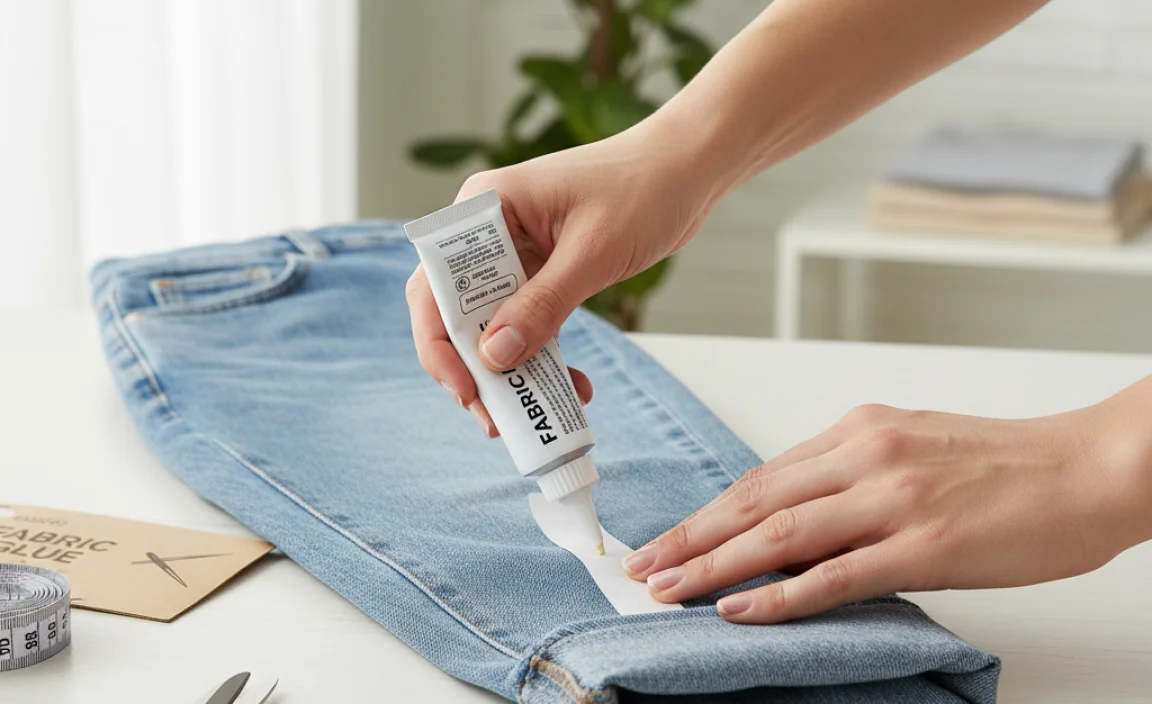
This is one of the most popular and reliable methods for a no-sew hem. Fabric glue and iron-on hemming tape create a strong, durable bond that can withstand washing and wearing. It’s ideal if you want a permanent solution.
What You’ll Need:
- Fabric glue (e.g., Dritz, Aleene’s) or iron-on hemming tape (e.g., Heat ‘n Bond, Pellon)
- Fabric scissors
- Measuring tape or ruler
- Iron and ironing board (if using iron-on tape)
- Denim chalk, tailor’s chalk, or a washable fabric marker
- Flat surface for measuring and folding
Step-by-Step Guide:
- Prepare Your Workspace: Find a clean, flat surface. Lay your jeans flat.
- Determine the Desired Length: Put on the jeans (or mark where you want them to fall). Make a small mark on the inside of one leg at the desired finished length. You can also use your favorite pair of perfectly hemmed jeans as a guide.
- Measure and Mark: Take off the jeans. Measure from the waistband down to your marked point, or use a ruler to extend the mark across the width of the leg. Ensure the mark is even.
- Add Hem Allowance: You need to create a cuff or fold. For most jeans, an allowance of 1 to 1.5 inches is usually sufficient. Mark this allowance below your desired finished length line on the inside of the leg. This is where you will cut.
- Trim the Excess Fabric: Carefully cut off the excess fabric along the lower mark you just made. Try to cut as straight as possible.
- Create the First Fold: Fold the raw edge of the fabric up to meet your desired finished length line (the first mark you made). Press the fold with your fingers to crease it.
- Apply Adhesive:
- For Fabric Glue: Apply a thin, even bead of fabric glue along the raw edge of the fabric you just folded up.
- For Iron-on Hemming Tape: Cut a piece of hemming tape to fit the width of the leg. Lay it along the folded edge, ensuring it sits on the raw fabric and the main part of the jean leg.
- Make the Second Fold: Fold the already creased fabric up again, this time covering the raw edge and securing it with the glue or hem tape. This creates a clean, double-folded hem. Ensure the folded edge aligns perfectly with your initial desired length mark.
- Secure the Hem:
- For Fabric Glue: Press the folded hem firmly together. Allow the glue to dry completely according to the product instructions (this can take several hours). You might want to use clamps or clothespins to hold it in place while drying.
- For Iron-on Hemming Tape: Place the jeans on your ironing board with the hem facing up. Follow the hemming tape manufacturer’s instructions for heat and pressing time. Typically, you’ll press with a hot iron for 10-20 seconds, moving back and forth to fuse the tape. For a stronger bond, you can iron from the inside and outside of the hem.
- Check and Finish: Once dry or ironed, turn the jeans right side out. Check for a smooth, even hem. If needed, apply a little extra glue or re-iron the tape.
Pros and Cons of Fabric Glue/Hem Tape
| Pros | Cons |
|---|---|
| Permanent and durable bond. | Can be difficult to remove if you change your mind. |
| Withstands washing and drying. | Can add a slight stiffness to the hem. |
| Relatively easy to apply. | Requires precise application to avoid visible glue or tape. |
| Good for various fabric types. | Some glues may discolor thin fabrics over time. |
Method 2: The Iron-On Hemming Tape & Scissors Method
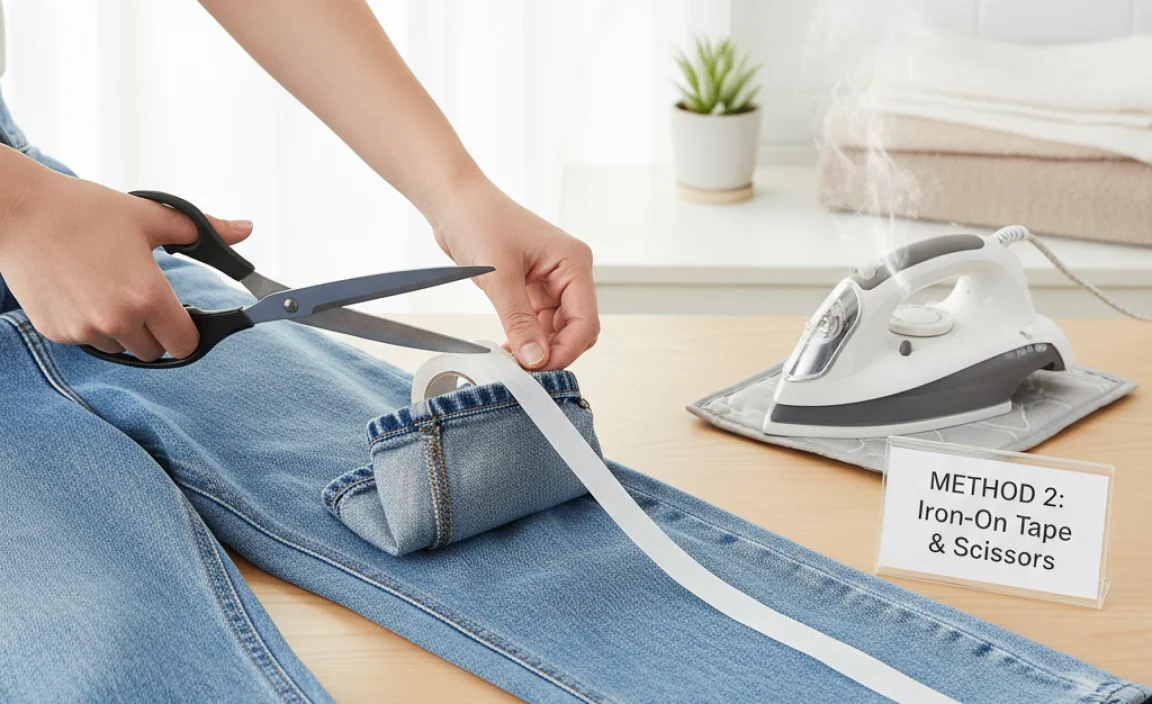
This method is very similar to Method 1, but focuses specifically on using iron-on hemming tape and cutting the fabric to size. It’s a quick and effective way to get a crisp hem.
What You’ll Need:
- Iron-on hemming tape (fusible web)
- Fabric scissors
- Measuring tape or ruler
- Denim chalk or washable fabric marker
- Iron
- Ironing board
- Paper or cardboard insert (optional, to prevent bleed-through)
Step-by-Step Guide:
- Prepare Your Jeans: Lay one leg of your jeans flat on a hard surface.
- Mark Your Desired Length: Try on the jeans or use a reference to determine where you want the hem to end. Mark this point on the outside of the jean leg.
- Add Hem Allowance: Measure down from your desired length mark by about 1-1.5 inches. Mark this new line on the outside of the jean leg. This is your cutting line.
- Cut the Excess Fabric: Using fabric scissors, carefully cut along the lower mark. Aim for a straight line.
- Prepare the Hem: Fold the raw edge of the cut fabric up to meet your first desired length mark. Crease firmly. This creates the first fold, hiding the raw edge.
- Insert Hemming Tape: Measure the width of the folded hem. Cut a piece of iron-on hemming tape to this length. Carefully slide the hemming tape into the folded hem, ensuring it sits snugly between the two layers of fabric. If you’re worried about the tape adhering to the other side of the jean leg, you can insert a piece of thin cardboard or thick paper inside the leg.
- Iron the Hem: Follow the instructions on your hemming tape packaging. Typically, you’ll set your iron to a medium-high heat (often with steam off). Place the iron on the folded hem and press down firmly for the recommended time (usually 10-20 seconds). Lift and move the iron along the hem to secure it. You can iron from both the outside and inside of the hem for a stronger hold.
- Cool and Check: Let the hem cool completely. Check that the tape has bonded securely and the hem is flat and even.
- Repeat for the Other Leg: Ensure the second leg’s hem matches the first exactly.
Method 3: The Fabric Clip and Fold (Temporary or Cuffed Look)
This method is best for a temporary hem, a slightly more casual look, or to test out a new length before committing. It can also be used to create a fashionable cuff.
What You’ll Need:
- Fabric clips or clothing pins (jeans-friendly clips are ideal to avoid damage)
- Measuring tape or ruler
- Denim chalk or washable fabric marker
Step-by-Step Guide:
- Determine Length: Put on your jeans. Decide where you want the new hem to fall. You can even fold them up temporarily to see how they look.
- Mark the Fold Line: Take off the jeans. Lay one leg flat. Using a ruler or measuring tape, measure from the bottom hem up to your desired new hem length. Make a small mark on the inside of the jean leg at this point.
- Create the Fold: Fold the bottom of the jean leg upwards to meet the mark you just made. This will create your new hemline.
- Secure with Clips: Use fabric clips or sturdy clothing pins to hold the folded hem in place. Place clips evenly along the folded edge, about every 2-3 inches, to ensure the fold stays sharp and even.
- Check for Evenness: Look at the jeans from the front, back, and sides to ensure the hem is even all the way around. Adjust clips as needed.
- Repeat for Other Leg: Make sure the second leg’s hem is precisely the same length and secured with clips.
Variations for the Clip Method:
- The Casual Cuff: Instead of folding the raw edge up, you can fold the existing hemline up once or twice to create a stylish cuff. Measure and clip this cuff to your desired width. This is a great way to show off an interesting inner lining or just add a trendier look.
- Testing Lengths: Use this method to try out different lengths before you cut or permanently alter your jeans.
Method 4: The Frayed Hem Look (Controlled Damage)
For a really trendy, lived-in look, you can create a controlled frayed hem. This requires cutting and then intentionally fraying the fabric.
What You’ll Need:
- Fabric scissors
- Measuring tape or ruler
- Denim chalk or washable fabric marker
- Pliers or tweezers
- Sandpaper or a coarse file (optional)
Step-by-Step Guide:
- Measure and Mark: Decide on your desired length. Mark a line on the inside of the jean leg where you want the finished hem to sit.
- Add Cutting Allowance: Typically, for a frayed hem, you’ll want about 1 to 2 inches below your desired hemline for fraying. Mark a second line for cutting.
- Cut the Fabric: Cut off the excess fabric along the lower cutting line.
- Create the Initial Fold: Fold the raw edge up to meet your primary hemline mark. Press firmly.
- Secure the Fold (Optional, but Recommended): To prevent excessive fraying or to stiffen the hemline before starting the fraying process, you can add a line of fabric glue or iron-on tape just inside the folded edge. Let it dry or cool.
- Begin Fraying: Wearing gloves is a good idea. Place jeans on protecting surface.
- Using Pliers/Tweezers: Gently pull individual threads from the raw edge upwards. Work your way around the entire circumference of the leg. The looser the weave of your denim, the easier this will be.
- Washing for Fray: For more uniform fraying, you can wash and dry the jeans with the cut edge exposed. This will naturally encourage fraying. Be aware that this can be less controlled.
Tips for a great Frayed Hem:
- Start with a slightly longer cut than you think you need. You can always trim more.
- Denim from older, well-worn jeans tends to fray more easily.
- When using pliers, pull threads in small batches to avoid tearing larger sections.
Important Considerations for Relaxed Jeans
The key to hemming relaxed jeans without sewing, especially without losing their signature style, is to preserve the intended silhouette and drape of the leg. Here are some points to keep in mind:
Fabric Type and Weight
The type of denim will affect how easily you can hem it and what kind of result you achieve. Heavier denim might require stronger adhesives or more robust clips. Lighter denim might fray more easily, making the frayed hem technique more successful but also requiring more care with fabric glue to avoid visible bleed-through.
The Break or Cuff
Consider how you want your jeans to sit. Do you want them to fall perfectly to the shoe (no break)? Do you want a slight break where they gently crease at the top of your shoe? Or do you prefer a cuff? Your desired “break” will influence the exact length you aim for.
- No Break: The hem should end exactly where you want it, hitting the top of the shoe.
- Slight Break: Hem about 0.5 inches longer than the no-break length.
- Full Break: Hem about 1 inch or more longer than the no-break length.
Maintaining the Original Hem
Some people prefer to keep the original hem. You can achieve this by carefully cutting off the bottom of the jean leg, leaving about 1-1.5 inches of fabric. Then, fold this fabric up and use either fabric glue or iron-on hemming tape to attach it to the inside of the leg, essentially recreating a folded-up hem. This can give a more authentic look, especially for styles where the original hem stitch is a feature.
Tools for Measuring and Cutting Accurately
Accuracy is key, even in no-sew hemming. Here are the tools that make a difference:
Measuring Tools:
- Measuring Tape: A flexible, fabric measuring tape is essential for getting precise lengths.
- Ruler or Yardstick: Useful for ensuring straight lines, especially when marking cut lines and hem allowances.
- Tailor’s Chalk or Washable Fabric Marker: These temporary markers allow you to draw lines on your denim that can be easily removed.
Cutting Tools:
- Fabric Scissors: Sharp fabric scissors are a must. Dull scissors can chew up the denim, leading to a messy edge. For denim, consider using a pair specifically designated for fabric if possible.
- Rotary Cutter and Mat (Optional): For very precise, straight cuts, a rotary cutter and self-healing mat can be excellent tools, though fabric scissors are perfectly adequate.
Tips for Best Results
No-sew hemming can be a simple process, but a few tips can elevate your results from “passable” to “professional-looking.”
- Always Measure Twice, Cut Once: This old adage is especially true when altering clothing. Double-check your measurements before making any cuts.
- Ironing is Your Friend: If using iron-on tape, press firmly and ensure all edges are well bonded. Pre-ironing the fabric can help create crisp folds.
- Test on Scrap Fabric: If you’re unsure about a particular adhesive or tape, test it on a scrap piece of denim first to see how it holds and if it leaves residue.
- Consider the “Inside Out” Method: Always make your hem on the inside of the garment. This hides the adhesive, tape, or stitching, creating a cleaner finish.
- Work on a Hard Surface: A hard, flat surface is crucial for accurate measuring, marking, and folding.
-
.lwrp.link-whisper-related-posts{
margin-top: 40px;
margin-bottom: 30px;
}
.lwrp .lwrp-title{}.lwrp .lwrp-description{
}
.lwrp .lwrp-list-container{
}
.lwrp .lwrp-list-multi-container{
display: flex;
}
.lwrp .lwrp-list-double{
width: 48%;
}
.lwrp .lwrp-list-triple{
width: 32%;
}
.lwrp .lwrp-list-row-container{
display: flex;
justify-content: space-between;
}
.lwrp .lwrp-list-row-container .lwrp-list-item{
width: calc(25% – 20px);
}
.lwrp .lwrp-list-item:not(.lwrp-no-posts-message-item){max-width: 150px;
}
.lwrp .lwrp-list-item img{
max-width: 100%;
height: auto;
object-fit: cover;
aspect-ratio: 1 / 1;
}
.lwrp .lwrp-list-item.lwrp-empty-list-item{
background: initial !important;
}
.lwrp .lwrp-list-item .lwrp-list-link .lwrp-list-link-title-text,
.lwrp .lwrp-list-item .lwrp-list-no-posts-message{}@media screen and (max-width: 480px) {
.lwrp.link-whisper-related-posts{}
.lwrp .lwrp-title{}.lwrp .lwrp-description{
}
.lwrp .lwrp-list-multi-container{
flex-direction: column;
}
.lwrp .lwrp-list-multi-container ul.lwrp-list{
margin-top: 0px;
margin-bottom: 0px;
padding-top: 0px;
padding-bottom: 0px;
}
.lwrp .lwrp-list-double,
.lwrp .lwrp-list-triple{
width: 100%;
}
.lwrp .lwrp-list-row-container{
justify-content: initial;
flex-direction: column;
}
.lwrp .lwrp-list-row-container .lwrp-list-item{
width: 100%;
}
.lwrp .lwrp-list-item:not(.lwrp-no-posts-message-item){max-width: initial;
}
.lwrp .lwrp-list-item .lwrp-list-link .lwrp-list-link-title-text,
.lwrp .lwrp-list-item .lwrp-list-no-posts-message{};
}


