


Sure, you can hem straight jeans with a simple dish soap hack! This straightforward method uses common household items to help you achieve a clean, even hem without special tools. Follow these easy steps for perfectly fitting jeans every time.
How to Hem Straight Jeans: Genius Dish Soap Hack
Are your favorite straight-leg jeans a little too long, pooling around your ankles and making you feel a bit sloppy? You’re not alone! Getting the perfect length on jeans can be a surprisingly common frustration, especially when you’re not ready to commit to permanent alterations or don’t have sewing skills. But what if I told you that a common kitchen staple could be your secret weapon? That’s right, a bit of humble dish soap can make achieving a neat, just-right hem much easier than you think. Stick around, because in this guide, I’ll walk you through a clever, beginner-friendly method to get your jeans looking sharp and feeling comfortable, no tailor required. We’ll uncover how a simple trick can help you mark and prepare for a perfect hem.
Why a “Dish Soap Hack” Works for Hemming Jeans

You might be wondering, “Dish soap? For hemming jeans?” It sounds a little unusual, doesn’t it? But this method taps into a simple principle of how water and fabric interact, making it a surprisingly effective tool for marking a straight line. When water meets fabric, it often causes a slight, temporary darkening or a change in texture. Dish soap, when diluted, helps the water spread more evenly and predictably, creating a visible, albeit temporary, line that resists some of the natural variations in denim. This temporary line serves as a clear, easy-to-follow guide, helping you mark where to cut or fold with confidence, even if you’re not a seasoned sewer. It’s a fantastic way to get a precise mark without chalk or pens that might leave a permanent stain.
Gathering Your Simple Supplies

The beauty of this dish soap hack is that you likely have everything you need right in your kitchen or laundry room. No fancy tools or expensive supplies are necessary. Here’s what to have on hand:
- Your Straight Jeans: The star of the show! Make sure they are clean and dry before you start.
- Mild Dish Soap: Any basic liquid dish soap will do. We’re not looking for anything fancy, just something that will help water spread.
- A Small Bowl or Cup: For mixing the dish soap and water solution.
- Water: Lukewarm water works best. Too hot might affect some fabric dyes, and too cold might not mix as well.
- Measuring Tape or Ruler: To ensure both legs are even and to get your desired length.
- Fabric Scissors or Rotary Cutter: Sharp scissors are crucial for a clean cut. A rotary cutter and mat provide extra precision if you have them.
- Iron and Ironing Board: Essential for pressing your hem neatly.
- Sewing Machine or Needle and Thread (Optional for permanent hem): If you plan to permanently hem your jeans, you’ll need these. You can also use fabric glue or hemming tape as alternatives.
- Pins: To hold your hem in place before sewing or ironing.
Step-by-Step Guide: Hemming Your Straight Jeans with the Dish Soap Hack

Ready to give your jeans the perfect length? Follow these simple, step-by-step instructions. We’ll start by identifying the right length, then use our dish soap trick to mark it, and finally, prepare for the finished hem.
Step 1: Determine Your Desired Jean Length
First things first, let’s figure out how short you want your jeans to be. Put on the jeans and the shoes you’ll most commonly wear with them. Stand in front of a mirror.
- To find the perfect length:
- Gently pull the excess fabric at the hem downwards.
- Look at where the hem naturally falls without bunching.
- Consider the classic straight-leg look. It usually falls just at or slightly above the top of your shoe.
- If you want a slightly cropped look, aim for mid-ankle or just below the calf.
Once you’ve decided, you can either mark your desired length with a pin now, or you’ll do it shortly after the marking phase. It’s often easier to mark after the initial dish soap application.
Step 2: Prepare the Dish Soap Solution
In your small bowl or cup, mix about one tablespoon of mild dish soap with approximately half a cup of lukewarm water. Stir gently until the soap is dissolved. You want a slightly soapy water, not a bubbly lather. A small amount of suds might form, but that’s okay. The goal is to create a solution that will slightly darken the fabric where it’s applied.
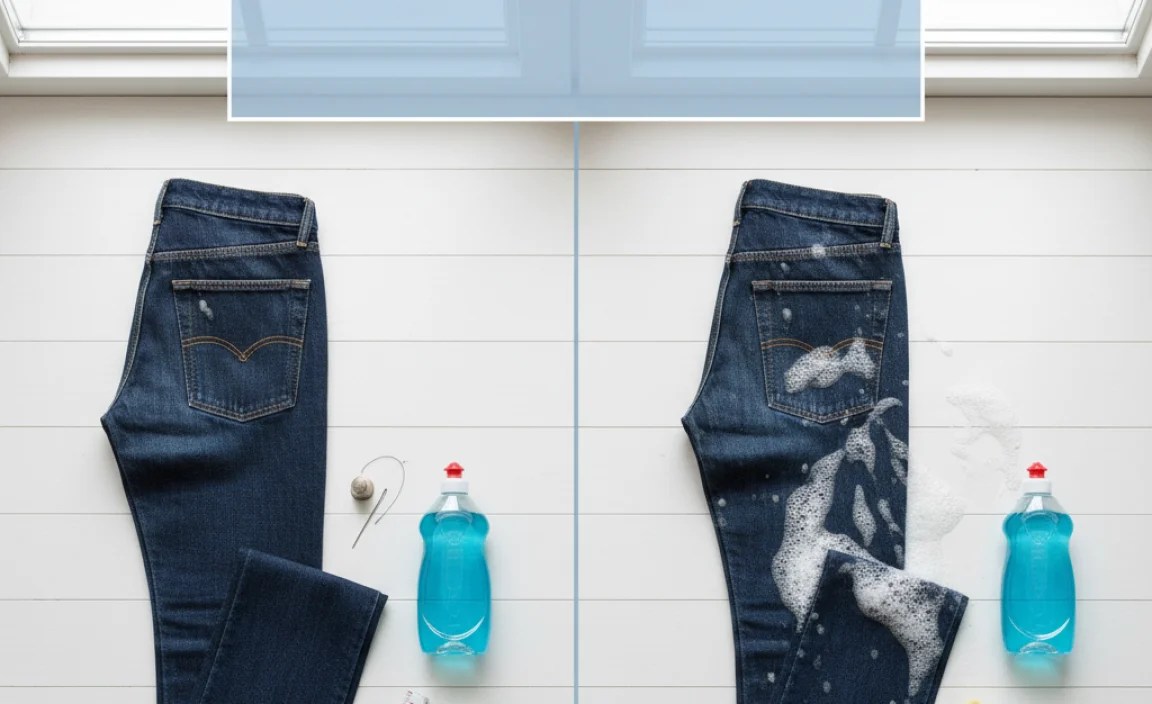
Step 3: Apply the Dish Soap Solution to Mark the Hemline
This is where the magic happens. Lay one leg of your jeans flat on a clean, hard surface. Take a damp cloth or a sponge, dip it into your dish soap solution, and wring out any excess so it’s not dripping heavily. Carefully run the damp cloth along the inside hem of one jean leg. You’re aiming to create a visible, slightly darker line where you want to make your cut. Move slowly and deliberately, ensuring the line is as straight and even as possible. The moisture will slightly saturate the denim, and the soap helps it spread evenly, creating a temporary guide. Repeat on the other leg, trying your best to match the height and straightness.
Pro Tip: It’s easier to get a straight line if you can keep the fabric taut. You can press down on the fabric with one hand while marking with the other.
Step 4: Check and Refine Your Mark
Once you’ve marked both legs, step back and look. The damp lines should be visible, indicating your target hemline. If one leg looks higher or lower, you can carefully dampen and re-wipe that section to adjust. Once you’re satisfied with the uniformity of your marks, allow the marked areas to dry completely. This is important because the ink or marking tool you use next needs a dry surface to adhere to without bleeding too much.
Important Note: This dish soap marking is temporary and will wash out. Its primary purpose is to give you a clear visual guide for the next (more permanent) marking step.
Step 5: Mark the Permanent Cutting Line
With the dish soap line dry, it’s time to create a more defined, permanent cutting line. You have a few options here, depending on what you have available:
- Fabric Chalk or Tailor’s Pencil: These are designed for marking fabric and will usually wash out. Draw a line directly on top of or just below your dried dish soap mark.
- Washable Fabric Marker: Similar to chalk, these are generally safe for most fabrics and wash away.
- A Light Pencil (Use with Caution): If you don’t have fabric markers, a very light-handed application with a graphite pencil can work, but test on an inconspicuous area first to ensure it washes out completely. Avoid pressing hard.
Make sure to leave a little extra room below your marked line for the actual hem fold. The amount depends on how you plan to finish the hem, but typically 1/2 inch to 1 inch is sufficient.
To ensure accuracy, it’s often best to try the jeans on again at this stage, or use your measuring tape to confirm that the marked line on both legs is at the exact same height relative to the crotch seam.
Step 6: Cut Off the Excess Fabric
Now for the cutting! Carefully cut along the permanent line you just marked. Make sure to snip through the outer layer of denim so you don’t create a jagged edge. Use sharp fabric scissors or a rotary cutter for the cleanest result. Take your time to ensure a straight, even cut all the way around each leg. If your jeans have a distinctive frayed hem you wish to replicate, you might choose to cut slightly higher than your desired final length and then distress the edge later.
A helpful tip from professional tailors is to avoid cutting while the garment is on your body. Lay it flat to ensure a precise, even cut.
Step 7: Prepare and Create the Hem
With the excess fabric removed, it’s time to create your new hem. You have several options, from a simple no-sew finish to a classic sewn hem.
Option A: No-Sew Hem (Quick & Easy)
This is a great option if you’re in a hurry or want to try out a new length before committing to sewing.
- Fold: Fold the raw edge of the denim up by about 1/2 inch towards the inside of the leg and press firmly with an iron.
- Fold Again: Fold it up another 1/2 inch to 1 inch, enclosing the raw edge. Press again.
- Secure: Use fabric glue (like Aleene’s Fabric Fusion or Fabri-Tac) or double-sided fabric hemming tape (like HeatnBond or Dritz). Apply the adhesive generously along the inside of the folded hem.
- Press: Press the hem firmly into place. For fabric glue, let it cure according to the product instructions. For hemming tape, you’ll usually need to apply heat with an iron.
Option B: Simple Sewn Hem (Durable & Classic)
This method provides a more professional and long-lasting finish.
- Fold: Fold the raw edge of the denim up by about 1/2 inch towards the inside of the leg and press lightly with your iron.
- Fold Again: Fold it up another 1/2 inch to 1 inch, enclosing the raw edge. Press again to create a crisp fold.
- Pin: Pin the folded hem in place all the way around the leg. Ensure the pins are placed perpendicular to the fold.
- Sew: Using a sewing machine, sew as close to the inner folded edge as possible. Use a sturdy thread, preferably one that matches your jeans or the original stitching. If sewing by hand, use a strong backstitch for durability.
Tip for Sewing: Denim is thick! You might need a heavier-duty needle for your sewing machine. Slow down as you approach thick seams (like side seams) to avoid breaking your needle or jamming the machine. For a true denim look, consider using a contrasting thread color like gold or orange.
Option C: Replicating the Original Hem (Advanced)
If your jeans have a thicker, rolled hem with visible stitching, and you want to replicate that look:
- Carefully unpick the original hem stitching using a seam ripper.
- Allow the denim edge to fray naturally or use the dish soap method again to help guide your cleaning or cutting.
- You can then reattach the original hem or create a new one that mimics its thickness and appearance. This is more involved and may require practice.
Step 8: Final Press and Check
Once your hem is secured (whether by glue, tape, or sewing), give it a good final press with your iron. This flattens everything out and gives your jeans a polished, finished look. Turn your jeans right-side out and try them on. Check the length and ensure they hang evenly. Congratulations, you’ve successfully hemmed your straight jeans!
Comparing Hemming Methods
While the dish soap hack is excellent for marking, the final hemming method can vary. Here’s a quick look at common techniques:
| Method | Ease of Use | Durability | Appearance | Time Commitment |
|---|---|---|---|---|
| No-Sew (Glue/Tape) | Very Easy | Good (can sometimes unstick with heavy washing) | Can look clean, but might be slightly bulkier than sewn | Quick (under 30 mins) |
| Simple Sewn Hem | Easy to Moderate (requires basic sewing skills) | Very Durable | Clean, classic, professional | Moderate (1-2 hours) |
| Replicating Original Hem | Difficult (requires advanced skill) | Very Durable (if done correctly) | Authentic, indistinguishable from original | Time-consuming (2-4+ hours) |
| Professional Tailor | Not Applicable (service) | Excellent | Professional, precise | Varies (days/weeks) |
The dish soap hack serves as a helpful preliminary step for any of these methods, ensuring you have a clear, even line to work with before you commit to cutting and finishing.
Maintaining Your Newly Hemmed Jeans

To keep your perfectly hemmed jeans looking their best, it’s wise to follow good garment care practices. For denim, especially if it’s raw or dark wash, washing less frequently can help preserve the color and integrity of the fabric. When you do wash:
- Turn your jeans inside out.
- Use cold water.
- Choose a gentle cycle.
- Consider using a detergent made for dark colors.
- Avoid high heat in the dryer, as it can cause shrinkage and fade color. Air drying or tumble drying on low is best.
For any no-sew hems, be mindful of washing and drying cycles. Prolonged exposure to high heat or vigorous washing might weaken the fabric glue or tape over time. Regular sewing will typically withstand more wear and tear.
Troubleshooting Common Hemming Issues
Even with a clear guide, you might encounter a few hiccups. Here’s how to handle them:
- Uneven Cut: If your cut isn’t perfectly straight, don’t panic! For sewn hems, you can often adjust your sewing line slightly to accommodate minor wobbles. For no-sew hems, ensure your fold covers any imperfections. If the cut is significantly uneven, you may need to go back to your marking and trim again, taking care to measure precisely. Referencing authoritative guides on garment construction, like those found on the Ohio State University Extension website, can provide valuable insights into proper techniques.
- Fabric Fraying Too Much: If your denim starts to unravel excessively after cutting, you can use a zigzag stitch along the raw edge before folding to secure it. This is especially helpful if you’re not doing a double fold.
- Hem is Too Tight or Too Loose: This usually comes down to the initial measurement or the amount folded. If it’s slightly off after you’ve sewn or glued, unraveling and re-doing the hem is often the best solution for a perfect fit. Take your time measuring and folding next time.
- Dish Soap Mark Doesn’t Appear: Some denim washes or blends might not show the soapy water mark as clearly. In such cases, you might need to rely more heavily on your measuring tape and pins, or use a more traditional marking tool like chalk from the start.
Frequently Asked Questions (FAQ)
What type of dish soap should I use?
Any mild, liquid dish soap will generally work. Avoid abrasive or heavily colored soaps, as they might cause unexpected fabric reactions or staining.
Will the dish soap stain my jeans?
No, when used as directed with water and for temporary marking, dish soap is designed to wash away and should not stain your jeans. Always test on an inconspicuous area if you’re concerned.
How much fabric should I leave for the hem?
Typically, 1/2 inch to 1 inch is sufficient. This provides enough material to fold over neatly and secure without adding excessive bulk.
Can I use this method on other fabrics?
This dish soap hack is best suited for sturdy fabrics like denim. For delicate fabrics like silk or chiffon, it’s safer to use tailor’s chalk or a fabric marker and proceed with extreme caution or seek professional help.
What if I don’t have a sewing machine?
No problem! You can easily hem jeans using fabric glue, double-sided fabric tape, or by hand-sewing with a needle and thread. The no-sew options are quick and effective.
How do I ensure my jeans are the same length?
Put the jeans on with the shoes you intend to wear them with and mark your desired length. Then, lay the jeans flat and use a measuring tape from the waistband down to your marked point on both legs to ensure consistency. The dish soap marking also helps here if you can make the lines match.
Is this method good for skinny jeans or only straight jeans?
The dish soap marking method itself is versatile and can be used on any pant leg to mark a line. However, the “genius hack” specifically refers to helping you achieve a


