


Quick Summary:
Easily hem your tapered jeans at home with simple tools and a clear process. This guide breaks down how to achieve a perfect, professional-looking fit without expensive alterations, ensuring your favorite jeans always look sharp and feel just right.
Tapered jeans are a staple for a reason – they offer a modern silhouette that pairs well with almost anything. But when they’re a little too long, they can look sloppy and lose their intended shape. You don’t need to be a sewing expert or spend money at the tailor to get that perfect length. This guide will walk you through, step-by-step, how to hem your tapered jeans yourself, making them look like they were custom-made just for you.
Why Hemming Tapered Jeans is Worth Your Time

Finding jeans that fit perfectly can be a challenge, especially with the popular tapered cut. The taper means the leg narrows from the knee down to the ankle, so a standard hem might not sit right, creating bunching or an awkward drape. Properly hemming them ensures the taper remains true to its design, giving you a clean, polished look. It’s a simple alteration that makes a huge difference in how your jeans present and feel.
Gather Your Essential Tools
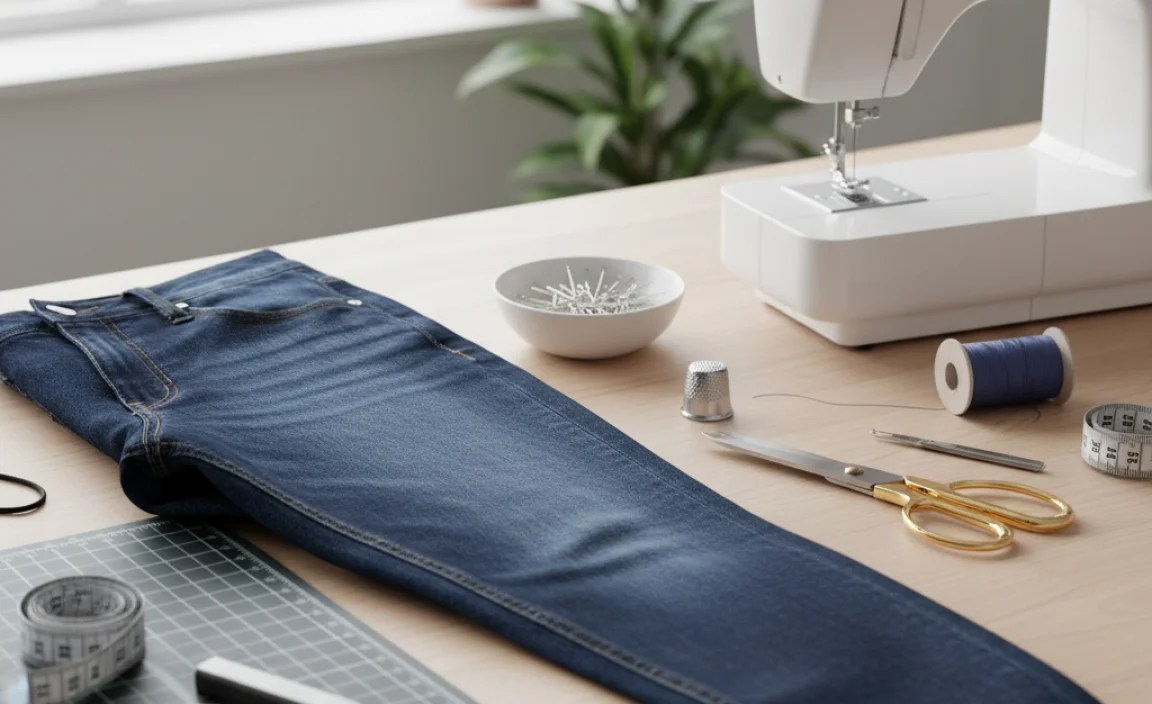
Before you start, having the right tools makes the job much smoother. You don’t need a fancy sewing machine, though it can speed things up if you have one. Most of this can be done with items you likely already have around the house.
- Fabric Scissors: Sharp scissors are crucial for a clean cut. Dull scissors can snag and fray the denim.
- Measuring Tape or Ruler: For accurate measurements.
- Fabric Chalk or a Washable Marker: To mark your hemline.
- Straight Pins: To hold the fabric in place while you sew.
- Sewing Needle: A sturdy needle suited for denim.
- Thread: Choose a thread color that closely matches your jeans. If you want the hem to be less visible, match the original stitching color. For a more visible, “workwear” look, you can choose a contrasting color.
- Seam Ripper (Optional): If you decide to alter an existing hem.
- Iron and Ironing Board: To press your hems for crisp lines.
- Your Tapered Jeans: Of course!
Step-by-Step Guide to Hemming Tapered Jeans

Let’s get started! Follow these steps carefully for a neat and professional hem. We’ll cover two main methods: a simple no-sew hem and a more durable sewn hem.
Method 1: The Simple Sewn Hem (Recommended for Durability)
This method is the most common and provides a long-lasting hem that looks like it came from the store.
-
Prepare Your Jeans:
Wash and dry your jeans as you normally would. It’s important to hem them after washing, as denim can shrink. Lay them flat on a clean surface. -
Try Them On and Mark the Length:
Put on the jeans, wearing the shoes you typically wear with them. Stand in front of a mirror. You’ll want to decide where you want the hem to fall. For tapered jeans, aim for them to just skim the top of your shoe or have a slight break. Use fabric chalk or a washable marker to make a small dot on the inside of each leg where you want the new hem to end. Then, take the jeans off. -
Measure and Mark the Hemline:
Lay the jeans flat, front leg facing up. Measure from the dotted mark you made up to the bottom edge of the existing hem. This is the total length you need to tuck up. Let’s say you want to shorten your jeans by 2 inches. You’ll need to account for the folded hem allowance as well. A good rule of thumb is to add about 1 inch for the double fold (this is where the fabric is folded over twice to create a clean edge). So, if you want 2 inches of your jeans gone, you’ll mark a line 3 inches from the bottom edge of the jeans.
To do this accurately: Measure from the bottom edge of the jeans upwards by your desired final length (e.g., 2 inches). Then, from that mark, measure upwards another 1 inch (this is your allowance for the double fold). This second line is where you’ll actually cut, if you’re shortening significantly. However, for most hemming, you’ll simply fold the fabric up.
It’s best to measure from the bottom hem upwards. For a standard hem, you’ll want to fold up about 1/2 inch, then another 1/2 inch to hide the raw edge. If you are cutting off excess, then you mark your desired finished length, add 1/2 inch for the first fold, and another 1/2 inch for the second fold where the raw edge will be hidden. Mark this line with your chalk or marker all the way around the leg. Make sure the line is straight and parallel to the existing hem. -
Trim Excess Fabric (If Necessary):
If you are shortening the jeans by more than an inch or so, you may need to trim off the excess fabric. Measure from the new hemline mark you just made (the one that allows for your double fold) up to the original bottom edge. If there’s excess fabric beyond your double fold allowance, carefully cut it off with your fabric scissors. Aim to cut about 1/2 inch below your marked hemline, which will be the point where you fold everything up. This step is crucial if you want to maintain the original look of the jeans and avoid excessive bulk. Remember, tapered jeans have less fabric to begin with, so be precise. -
Create the Double Fold:
On the marked hemline, fold the bottom edge of the fabric upwards by 1/2 inch, towards the inside of the jeans. Press this fold firmly with your iron. This creates your first fold.
Now, fold that same section upwards again by another 1/2 inch, so the raw edge is completely enclosed within this second fold. Press this second fold crisply with your iron. This double fold creates a clean, finished edge that won’t fray. Pin the hem in place all the way around the leg, ensuring the pins go through all layers and are placed about every 1-2 inches. -
Sew the Hem:
Now it’s time to sew. Thread your needle with a doubled piece of matching thread, tying a knot at the end. You can hand-stitch this by using a simple running stitch or a blind stitch for a nearly invisible finish. A blind stitch involves catching just a few threads of the jean fabric on the outer side with each stitch, and then catching the folded hem fabric more deeply. This makes the stitching almost disappear from the outside.
If you’re using a sewing machine, set it to a straight stitch. You can use a denim needle for best results. Stitch as close to the inner folded edge as possible to keep the stitch line neat. Sew all the way around the leg, backstitching at the beginning and end to secure the thread. -
Finish and Press:
Once you’ve sewn all the way around, tie off the thread securely on the inside of the jeans. Trim any excess thread. To get a perfectly sharp finish, press the hem with your iron one last time. Your tapered jeans are now perfectly hemmed!
Method 2: The No-Sew Hem (Quick Fix)
This method is great for a quick fix or if you don’t have a sewing machine or needle and thread. However, it’s less durable and may not hold up as well to washing.
-
Follow Steps 1-3 from Method 1 to try on your jeans and mark your desired length with chalk or a washable marker. Then lay them flat and mark your hemline, allowing at least 1 inch for a double fold.
-
Apply Hem Tape:
Lay your jeans flat. Fold the bottom edge up by 1 inch, pressing with an iron. Fold it up again by another 1 inch to create a double fold, hiding the raw edge. Press this double fold firmly with your iron.
Cut a piece of fabric hem tape (like Dritz Fix-All Tape ) to the length of your hem.
Carefully open up the second fold of your hem only. Insert the hem tape between the two layers of folded fabric, positioned so it’s centered within the fold.
Following the hem tape manufacturer’s instructions, use your iron (set to the appropriate heat for denim) to press the tape, fusing the fabric layers together. You’ll need to press firmly and for the recommended time to ensure a strong bond. -
Press and Check:
Once the tape has cooled, press the entire hem again to ensure it’s secure. Try on your jeans to check the length and ensure the hem tape is holding well.
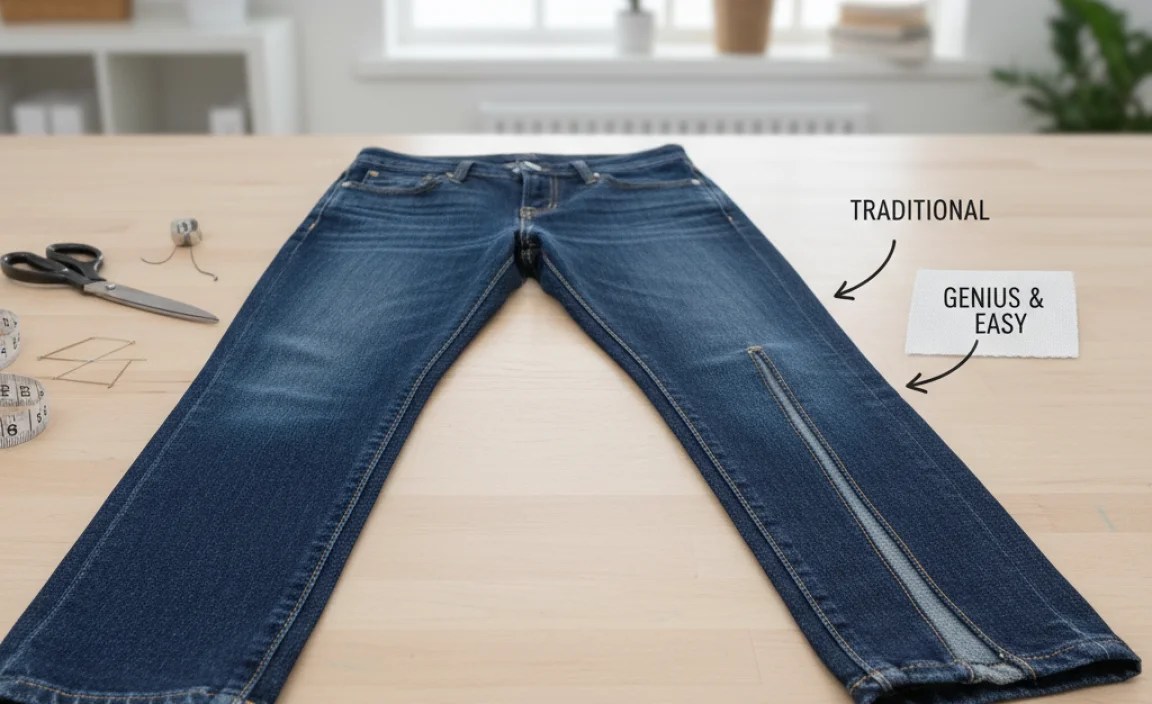
Considerations for Tapered Jeans

Tapered jeans present unique challenges and opportunities when hemming. The narrowing leg means you need to be extra precise, as any unevenness will be more noticeable. Here’s what to keep in mind:
- Maintain the Taper: When marking your hemline, ensure it remains parallel to the original stitching downwards. Don’t just measure straight across if the original stitch line wasn’t. Try to follow the existing line of the leg as it tapers.
- Bulkiness: Tapered jeans have less fabric to begin with. A thick double fold might create unwanted bulk at the ankle. If your denim is particularly thick, you might opt for a slightly narrower double fold (e.g., 1/2 inch followed by 1/2 inch) or consider trimming more fabric if you’re shortening them significantly.
- Original Hem: If you want to preserve the original “worn” look of the jean’s hem, you can carefully use a seam ripper to detach the original hem, then cut the jeans to your desired length, and re-attach the original hem. This is a more advanced technique but yields an authentic look.
Comparing Hemming Methods
Each method has its pros and cons. Choosing the right one depends on your priorities – speed, durability, and aesthetic.
| Method | Pros | Cons | Best For |
|---|---|---|---|
| Sewn Hem (Hand or Machine) | Durable, professional finish, holds up well to washing, customizable stitch type. | Requires sewing skills/tools, takes more time. | Long-term solutions, achieving a clean, store-bought look. |
| No-Sew Hem (Hem Tape) | Fast, requires no sewing skills, good for urgent fixes. | Less durable, can come undone with washing/wear, may be visible. | Quick alterations, temporary fixes, for casual wear that won’t be washed often. |
| No-Sew Hem (Fabric Glue) | Very quick, requires minimal supplies. | Least durable, can be stiff, may degrade over time, not ideal for repeated washing. | Very temporary fixes for special occasions. |
A Quick Note on Baking Soda Hemming
You might have come across methods involving baking soda for hemming. While baking soda is an excellent cleaning agent and deodorizer, particularly for fabric, it doesn’t have inherent properties that create a permanent or secure hem. It’s possible its inclusion in a hemming context relates to cleaning or pre-treating denim, or perhaps a misunderstanding of methods for distressing fabric. For actual hemming, rely on sewing, hemming tape, or fabric glue for a secure and lasting result. For instance, the National Center for Home Food Preservation, which often addresses fabric-related uses of household items, doesn’t list baking soda as a textile adhesive or hemming aid. For accurate fabric adherence, it’s best to stick to traditional sewing supplies.
Frequently Asked Questions About Hemming Tapered Jeans
Q1: How much length should I add for a double fold hem?
For a standard, durable hem, add about 1 inch for a double fold. This means folding up 1/2 inch, then another 1/2 inch to enclose the raw edge. If your denim is very thick, you might get away with a slightly narrower fold, but 1 inch is a safe bet.
Q2: Can I hem tapered jeans without cutting them?
Yes! You can achieve a hem by folding the fabric up and securing it with sewing or hem tape. This preserves the original length of the fabric, just shorter. However, if your jeans are drastically too long, you may need to trim excess fabric to avoid excessive bulk.
Q3: What’s the best way to hem tapered jeans by hand?
The best hand-sewing method for a clean finish is a blind stitch (also called a blind hemming stitch). It involves catching just a few threads of the outer jean fabric with each stitch and a larger portion of the folded hem. This makes the stitching nearly invisible from the outside, mimicking a professional machine hem.
Q4: Why do my hemming attempts look bulky?
Bulkiness can occur if the denim is thick, or if you haven’t trimmed away excess fabric when shortening the jeans significantly. Ensuring a crisp double fold, pressing well with an iron, and using a thinner fabric for the inner fold can help reduce bulk. Trimming excess fabric beyond your double fold allowance is key.
Q5: How do I make sure the hem is straight on tapered jeans?
The trick is to measure and mark from the existing seam or a point parallel to it as you go around the leg. Laying the jeans flat and using a fabric ruler or measuring tape against the curve of the leg helps. Always check the hemline’s straightness from multiple angles while you’re working and after pinning.
Q6: How do I hem tapered jeans to keep the original factory look?
To keep the original “chain-stitched” or distressed hem look, you’ll want to use a seam ripper to detach the original hem. Then, cut the jeans to your desired length, and sew the original hem back onto the bottom. This is a more advanced technique, often called “re-attaching the original hem,” and requires careful work to match the original stitching and drape.
Conclusion
Hemming your tapered jeans might seem daunting at first, but with the right tools and a little patience, it’s a perfectly achievable DIY project. Whether you choose the durable sewn method or the quick no-sew option, you’ll end up with jeans that fit perfectly and look exactly how you want them to. This simple alteration can refresh your wardrobe, make your favorite pairs feel new again, and give you the confidence of a perfectly tailored fit. So grab those scissors and needle, and give your tapered jeans the custom treatment they deserve!
.lwrp.link-whisper-related-posts{
margin-top: 40px;
margin-bottom: 30px;
}
.lwrp .lwrp-title{
}.lwrp .lwrp-description{
}
.lwrp .lwrp-list-container{
}
.lwrp .lwrp-list-multi-container{
display: flex;
}
.lwrp .lwrp-list-double{
width: 48%;
}
.lwrp .lwrp-list-triple{
width: 32%;
}
.lwrp .lwrp-list-row-container{
display: flex;
justify-content: space-between;
}
.lwrp .lwrp-list-row-container .lwrp-list-item{
width: calc(25% – 20px);
}
.lwrp .lwrp-list-item:not(.lwrp-no-posts-message-item){
max-width: 150px;
}
.lwrp .lwrp-list-item img{
max-width: 100%;
height: auto;
object-fit: cover;
aspect-ratio: 1 / 1;
}
.lwrp .lwrp-list-item.lwrp-empty-list-item{
background: initial !important;
}
.lwrp .lwrp-list-item .lwrp-list-link .lwrp-list-link-title-text,
.lwrp .lwrp-list-item .lwrp-list-no-posts-message{
}@media screen and (max-width: 480px) {
.lwrp.link-whisper-related-posts{
}
.lwrp .lwrp-title{
}.lwrp .lwrp-description{
}
.lwrp .lwrp-list-multi-container{
flex-direction: column;
}
.lwrp .lwrp-list-multi-container ul.lwrp-list{
margin-top: 0px;
margin-bottom: 0px;
padding-top: 0px;
padding-bottom: 0px;
}
.lwrp .lwrp-list-double,
.lwrp .lwrp-list-triple{
width: 100%;
}
.lwrp .lwrp-list-row-container{
justify-content: initial;
flex-direction: column;
}
.lwrp .lwrp-list-row-container .lwrp-list-item{
width: 100%;
}
.lwrp .lwrp-list-item:not(.lwrp-no-posts-message-item){
max-width: initial;
}
.lwrp .lwrp-list-item .lwrp-list-link .lwrp-list-link-title-text,
.lwrp .lwrp-list-item .lwrp-list-no-posts-message{
};
}


