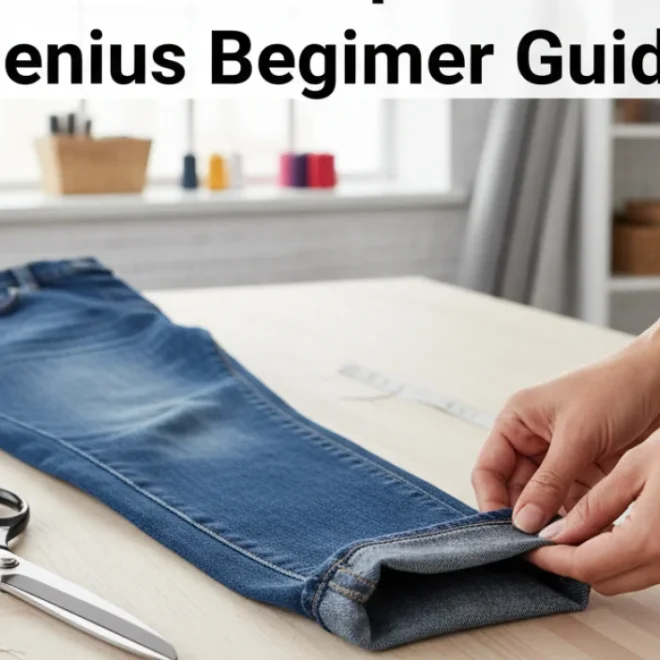
Quick Summary: Need to hem tapered jeans affordably? This guide shows you exactly how to do it yourself, step-by-step. Get a perfect fit without spending a fortune, transforming your favorite denim into a budget-friendly staple with professional-looking results.
How to Hem Tapered Jeans: Budget-Friendly Genius
Tapered jeans are fantastic, but sometimes the length just isn’t quite right. You might love the way they fit through the hip and thigh, but the cuffs drag on the floor or look a little too baggy. Getting them altered can be an unexpected expense, especially if you’re trying to stick to a budget. Don’t worry, though! Hemming your own tapered jeans is a surprisingly achievable DIY project. With a few basic tools and this clear, step-by-step guide, you can achieve a custom fit that looks great and saves you money. Let’s transform those jeans into your perfect pair.
Why Hemming Tapered Jeans is Worth It

Tapered jeans offer a modern silhouette, hugging your legs from the knee down to the ankle. This design can be incredibly flattering, but it also means that standard lengths might not always work perfectly. Too long, and they can look sloppy; too short, and they lose their intended shape. Getting them hemmed professionally is an option, but costs can add up, especially if you have several pairs. Learning to hem them yourself is a skill that pays for itself quickly. It gives you complete control over the final look and length, ensuring they complement your favorite shoes and personal style. Plus, the satisfaction of a job well done is a fantastic bonus!
Gathering Your Essential Tools
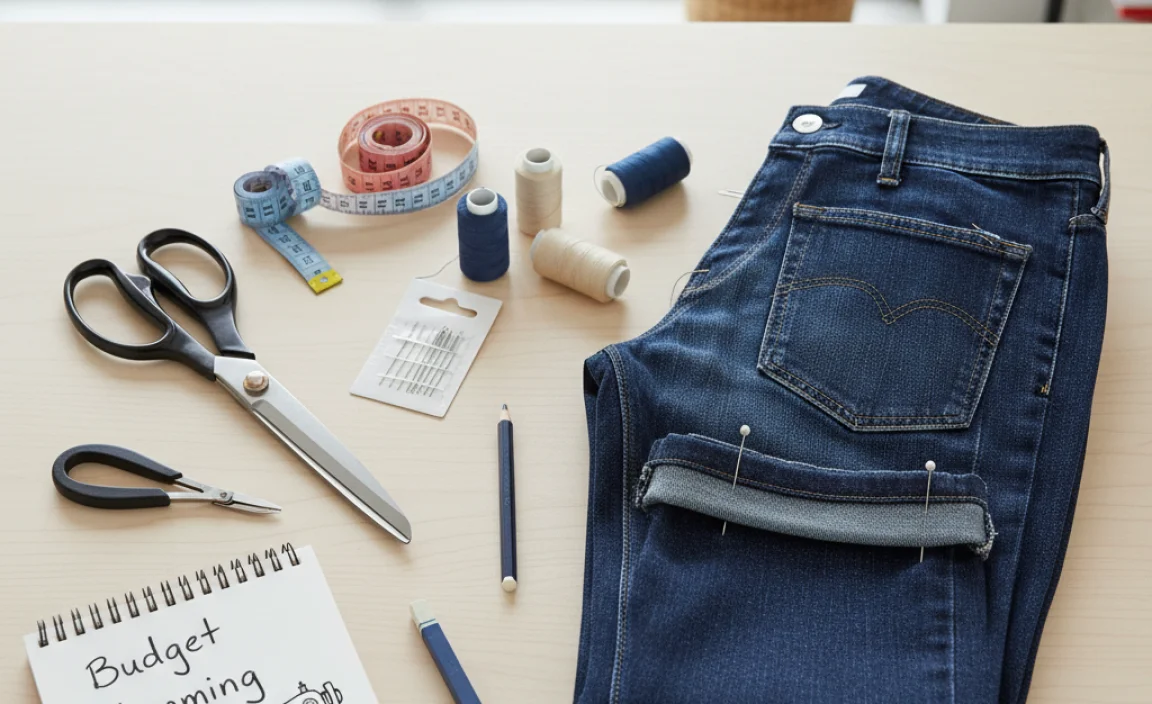
Before you start, having the right tools makes the process smoother and the results better. You don’t need a fancy sewing machine, though one can speed things up. Let’s gather what you’ll need:
- Your Tapered Jeans: The stars of the show!
- Fabric Scissors: Sharp scissors specifically for fabric will give you a clean cut.
- Measuring Tape or Ruler: For accurate measurements.
- Fabric Chalk or a Pencil: To mark your cutting and folding lines.
- Pins: To hold the fabric in place while you sew.
- Thread: Choose a color that closely matches your jeans. Often, a darker or slightly contrasting thread is used on the original hem, so assess what looks best.
- Needle: A standard sewing needle will work. If using a sewing machine, ensure you have the correct needle for denim.
- Iron and Ironing Board: Crucial for pressing folds crisply and ensuring neat seams.
- Seam Ripper (Optional but Recommended): For carefully removing the original hem if you want to preserve it.
- Sewing Machine (Optional): For faster and stronger seams, but hand-sewing is perfectly fine.
Step-by-Step Guide to Hemming Tapered Jeans

Let’s get started! Follow these steps carefully for a professional-looking finish. The key to hemming tapered jeans is to maintain that tapering line as you shorten them.
Step 1: Try On and Mark Your Desired Length
Put on the jeans and the shoes you’ll most often wear with them. Stand in front of a mirror. Decide where you want the new hem to fall. Use your fabric chalk or pencil to make a small mark on the outside of one leg, at the point where you want the bottom of the hem to end. This is your target length.
- Pro Tip: It’s easier to trim more off later than to add fabric back. Aim slightly longer if you’re unsure.
Step 2: Measure and Mark the Cut Line
Take off the jeans. Lay them flat on a clean surface. Use your ruler or measuring tape to measure from the mark you just made down to the current bottom edge of the jeans. This measurement is how much you need to remove from each leg. Now, measure down from your initial mark by this amount and draw a straight line all the way across the leg. This line is where you will cut. Double-check this measurement on the other leg to ensure symmetry.
Step 3: Decide on Your Hemming Method
You have a few options for how you’ll finish the hem:
- Keeping the Original Hem: This is the most popular method for a seamless, factory-like look. It involves carefully removing the original hem, shortening the leg, and reattaching the original hem. This often requires a seam ripper.
- Folding and Sewing a New Hem: A simpler method where you fold the fabric up twice and sew a new hemline. This is quicker but might look less like the original.
We will focus on the method that preserves the original hem, as it’s often the most desired for tapered jeans.
Step 4: Detach the Original Hem (If Preserving It)
This is where the seam ripper comes in handy. Lay one leg flat. Carefully use the seam ripper to cut the stitches holding the original hem to the leg of the jeans. Work slowly and gently to avoid damaging the fabric. You want to detach the thick, folded-over hem edge from the main part of the jean leg. Once all the threads are cut, you should be able to unfold the original hem. Repeat for the other leg.
Tip: Most jeans have a “chain stitch” on the outside of the hem. You only need to cut these stitches. The inside seam is usually a standard stitch holding the leg together.
Step 5: Cut Off the Excess Fabric
Now, go back to the cut line you marked in Step 2. Smooth out the fabric and use your sharp fabric scissors to cut off the excess denim below that line. Try to make your cut as straight and even as possible. Remember, this is the point of no return, so measure twice, cut once!
Important Note: Ensure you are cutting straight across the leg. For tapered jeans, the leg opening is naturally narrower than the thigh. The horizontal cut line you draw will naturally cut across the taper, which is correct for preserving the original hem’s shape.
Step 6: Prepare for Reattaching the Original Hem
You now have the jean leg shortened and the loosened original hem piece. Take the loosened hem piece and align it with the raw edge of the shortened jean leg. Ensure the original outside seam of the hem is facing outward. Pin the original hem in place, working your way around the leg. Make sure to pin through all layers (the raw edge of the jean leg and the inside of the original hem piece).
Considerations for Tapered Jeans: As you pin, you’ll notice the hem might try to flare out slightly if you aren’t careful. Gently ease it to match the natural taper of the leg opening. The original hem was designed for a certain leg shape, and you’re reapplying it to a shorter version of that same shape.
Step 7: Sew the Hem Back On
Now it’s time to sew. You can do this by hand or with a sewing machine. If hand-sewing, use a strong stitch like a backstitch for durability. Aim to catch just enough fabric on the inside of the hem and the raw edge of the jean leg to create a secure seam without being too bulky. The goal is to replicate the original stitch line from the outside. If using a sewing machine, set it to a straight stitch and a medium to long stitch length. Stitch as close as possible to the original seam line visible on the outside of the jeans. Go slowly, especially around curves and the thicker denim areas.
- Machine Sewing Tip: Use a denim needle and a strong thread. You might want to use a “walking foot” if you have one, as it helps feed the thick denim evenly.
- Hand Sewing Tip: A simple whip stitch can also work if done neatly and closely.
Step 8: Press and Finish
Once you’ve sewn all the way around, trim any excess threads. Now, take your iron and ironing board. Press the new hem flat. You can press it to one side, or if you want a cleaner look, press the seam allowance towards the inside of the leg. Make sure the original hem sits neatly against the leg, looking like it was always that length. For an extra professional touch, you can even try to press a new crease into the leg if desired.
Alternative: The Simple Fold Hem
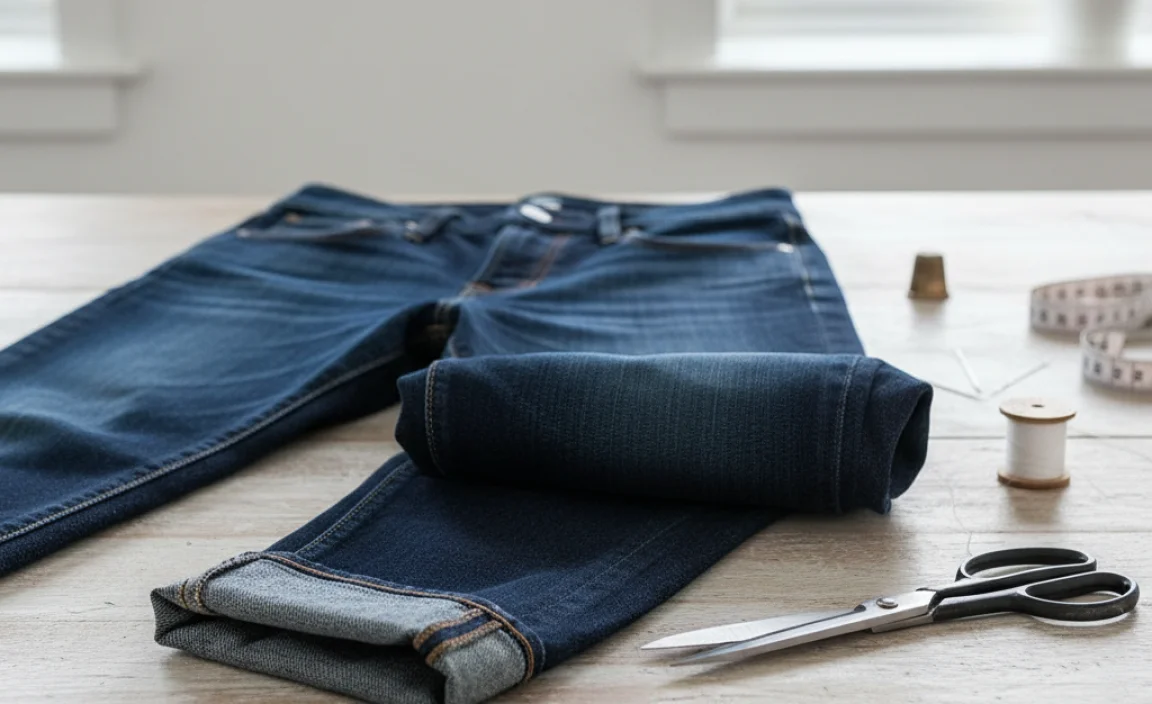
If you don’t have a seam ripper or prefer a quicker method, you can create a new hem:
- Measure and mark your desired length as before.
- Fold the raw edge up by about 1/2 inch (1.25 cm) and press firmly.
- Fold it up again by another 1/2 inch (1.25 cm) to enclose the raw edge. Press again.
- Pin the hem in place.
- Sew along the top edge of the folded hem. This will create a double-fold hem.
While this method is faster, it won’t have the distinct, thicker look of the original chain-stitched hem.
Comparing Hemming Methods

To help you decide, here’s a quick comparison:
| Method | Pros | Cons | Best For |
|---|---|---|---|
| Reattaching Original Hem | Authentic, factory-like appearance; preserves original aesthetic. | Requires more time and tools (seam ripper); can be trickier to get perfect. Generally considered the most professional outcome. | Those who want their jeans to look untouched by alteration. |
| Simple Folded Hem | Quicker, easier, requires fewer specialized tools. | New hem might look less authentic; can add bulk. | Casual hemming, or when speed is more important than exact replication. |
| No-Sew Hem Tape | Extremely fast, requires no sewing skills or machines. | Least durable, may wash out or peel over time; not ideal for heavy denim or frequent wear. | Temporary fixes or very casual wear. |
Maintaining Your Hemmed Jeans
Once your jeans are perfectly hemmed, proper care will help them last. Always wash your jeans inside out to protect the fabric and minimize fading. Use cold water and a gentle cycle. Air drying is best; tumble drying on low heat can be used sparingly, but avoid high heat. This will help preserve the integrity of your new hem and the denim itself.
For more information on denim care, check out resources from organizations like the Federal Trade Commission (FTC), which offers general garment care advice.
When to Consider Professional Alterations: While DIY hemming is budget-friendly, complex repairs or very precise styling might benefit from a professional tailor. However, for a simple length adjustment on tapered jeans, this guide should give you excellent results.
Frequently Asked Questions (FAQ)
Q1: Can I hem tapered jeans without a sewing machine?
Absolutely! Hand-sewing with a needle and thread is perfectly effective for hemming jeans. It just takes a little more time and patience. Use a strong stitch like a backstitch for durability.
Q2: How much fabric should I leave for the hem?
If you’re reattaching the original hem, you’ll be working with the existing hem allowance. If creating a new folded hem, leaving about 1 to 1.5 inches (2.5 to 4 cm) for the double fold is usually sufficient.
Q3: How do I make sure the hem is even on both legs?
The best way is to measure carefully. Pin one leg as you want it, then lay the jeans flat and measure the amount to be trimmed from top to bottom of the hem. Use that measurement to mark the second leg.
Q4: What kind of thread should I use?
Use a strong polyester thread that closely matches the color of your jeans. Many jeans have a slightly thicker, often gold or orange, decorative thread on the outside hem, but for sewing the new hem, matching the denim color is usually best for a subtle repair.
Q5: My jeans are very thick denim. Will this still work?
Yes, but it might be more challenging, especially with a sewing machine. Use a heavy-duty needle designed for denim and go slowly. Hand-sewing might offer more control on particularly thick denim.
Q6: Can I shorten the legs of my tapered jeans significantly?
You can shorten them by a few inches. However, if you need to shorten them drastically, you might alter the intended taper of the jeans. It’s best to make smaller adjustments for a natural look.
Q7: What if I mess up the cut?
Don’t panic! If you cut too much, you can sometimes “let down” the hem if there was enough fabric there originally. If not, you might need to purchase some denim fabric to create a new, wider cuff to attach, or consider a professional tailor for very significant mistakes.
Conclusion
Hemming tapered jeans yourself is a rewarding and practical skill. It allows you to achieve a perfect fit without the expense of professional alterations, making your favorite denim pieces even more valuable. By following these steps, gathering your supplies, and working with patience, you can confidently transform your jeans. You’ll not only gain a better-fitting wardrobe staple but also the satisfaction of a well-executed DIY fashion project. So go ahead, grab those scissors, and give your tapered jeans the custom length they deserve!


