Quick Summary: Learn how to hem tapered jeans using a simple dish soap trick for a clean, precise fold. This method ensures your jeans maintain their stylish taper while achieving the perfect length, no sewing machine required.
Tapered jeans are fantastic for achieving a modern look, but they can be tricky when it comes to length. Too long, and they bunch up at your shoes, ruining the silhouette. Too short, and you’re stuck with an awkward crop. Many people shy away from hemming because it seems complicated, especially with the specific shape of tapered jeans. Don’t worry! There’s a surprisingly simple trick using everyday dish soap that makes achieving a perfect hem achievable for anyone. We’ll walk you through it step-by-step, so you can confidently adjust your favorite jeans to fit just right.
Why Hemming Tapered Jeans Can Be Tricker
Tapered jeans are designed to narrow from the knee down to the ankle. This means that if you simply cut and fold them straight across, you can end up with a hem that looks unbalanced or too wide at the ankle, disrupting the intended silhouette. The goal is to create a hem that follows that beautiful taper. Traditional hemming methods can sometimes be intimidating for beginners, involving pins, chalk, and a sewing machine. But what if you could get a clean, crisp hem using a few common household items and a bit of patience? That’s where our “dish soap trick” comes in, offering a no-fuss approach to getting that perfect fit.
The “Dish Soap Trick” Explained: What It Is and Why It Works
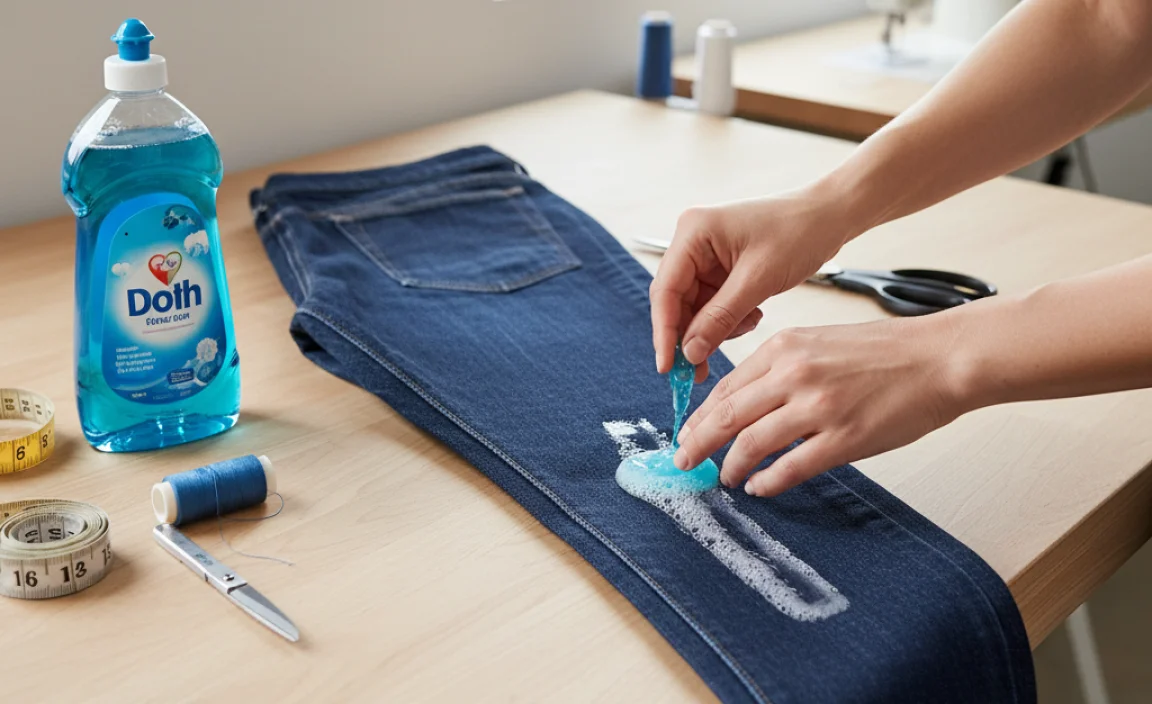
You might be wondering how dish soap can possibly help you hem jeans. It sounds unusual, but it’s a clever method for creating a temporary, yet firm, crease and guide for your hem. Dish soap, particularly a good degreasing one, has properties that can help the fabric hold a fold more firmly and temporarily. When applied sparingly to the inside of the fabric where you want your hem to be, it acts as a mild “sizing” agent, making the denim more pliable and easier to crease sharply. This crease then serves as a precise guideline, ensuring your folded hem is straight and even, even with the curve of the tapered leg.
This method bypasses the need for precise measuring tape and chalk marks in many cases, relying on the soap to help you achieve a visually accurate fold. It’s a fantastic temporary solution if you’re unsure about the exact length or want to try out a new hemline before committing to a permanent alteration. Plus, it washes out easily, leaving no trace.
Materials You’ll Need
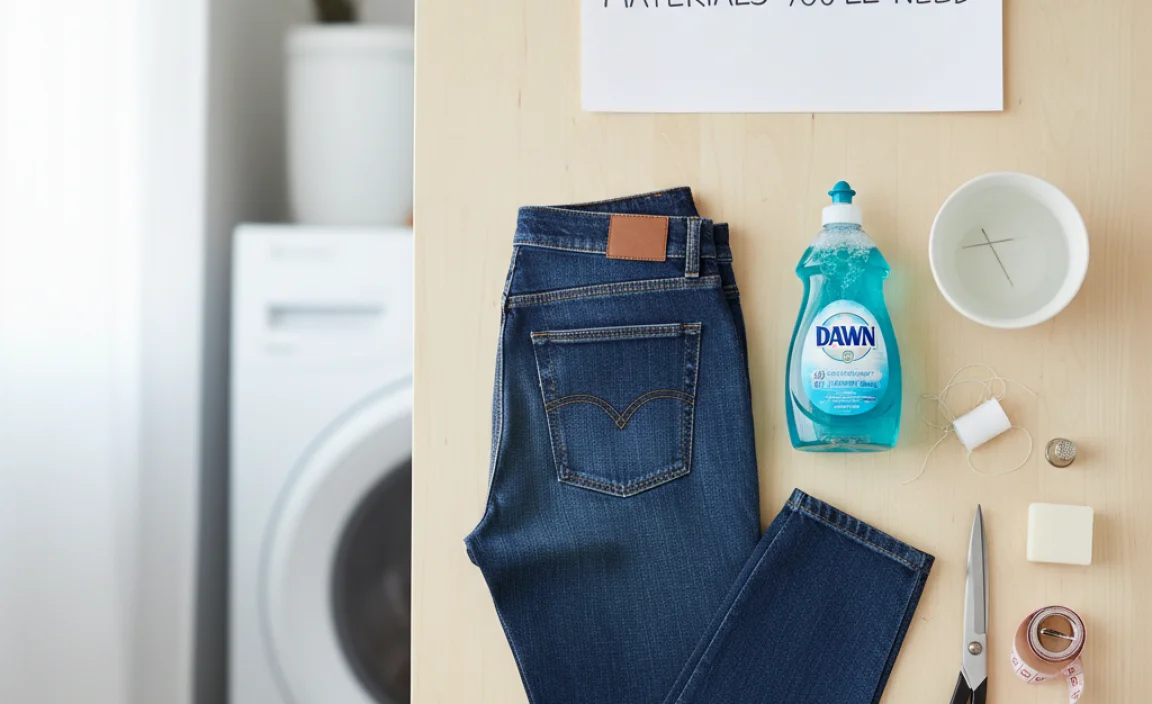
Before we dive into the steps, let’s gather everything you’ll need. You probably have most of these items at home already.
- Your Tapered Jeans: Make sure they are clean and dry.
- Liquid Dish Soap: A standard degreasing dish soap works best.
- Scissors: Sharp fabric scissors are ideal for a clean cut, but sharp craft scissors will do in a pinch.
- Iron and Ironing Board: Essential for setting the crease.
- Measuring Tape (Optional but Recommended): For checking initial length and ensuring symmetry.
- Fabric Glue or Iron-On Hem Tape (for permanent hemming): If you decide you want the hem to be fixed.
- Needle and Thread (for permanent hemming): If you prefer a traditional sewn hem after using the dish soap guide.
- A Flat Surface: To lay your jeans out on.
Step-by-Step Guide: How to Hem Tapered Jeans with Dish Soap
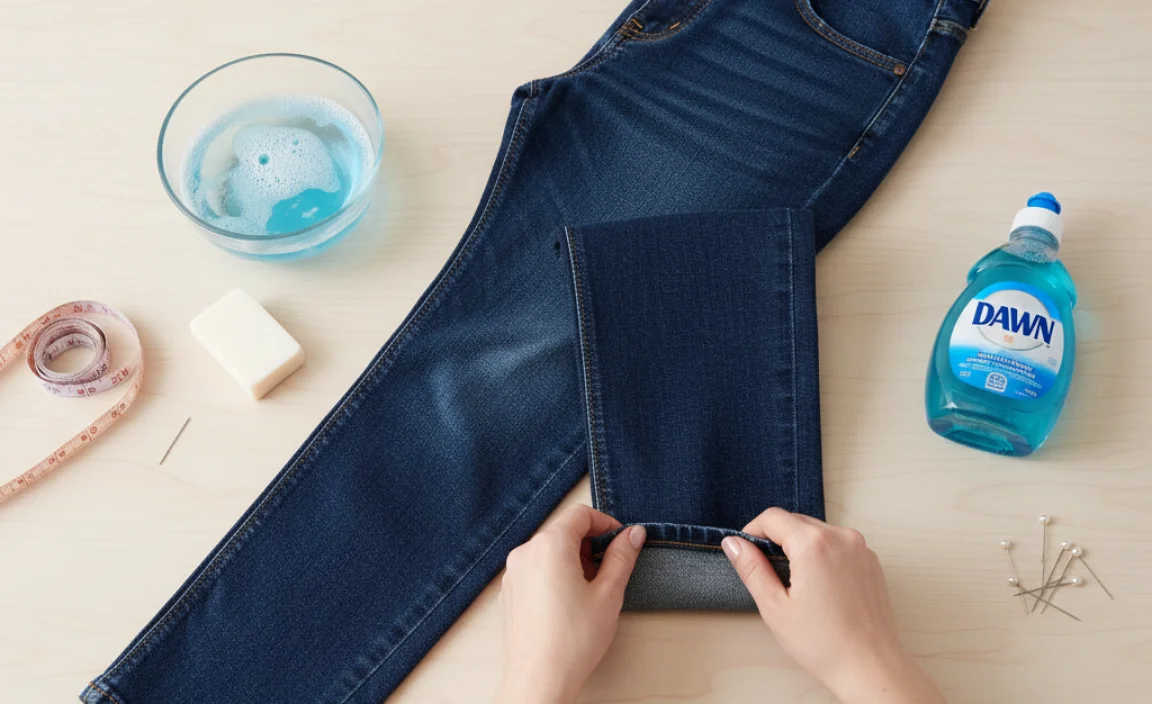
This method is designed to be straightforward. Take your time and follow each step carefully. Remember, the dish soap is your guide, not a permanent solution on its own. You’ll primarily use it to create a perfect temporary crease.
Step 1: Try Them On and Determine Desired Length
First things first, put on the jeans you want to hem. Stand in front of a mirror. Decide where you want the hem to fall. Pay attention to how they look with the shoes you typically wear with tapered jeans. This is crucial because the right length makes all the difference for tapered styles.
Gently push the jeans up your leg to simulate how the fabric will sit at the new hemline. Note the current hem and measure how much excess fabric you want to remove on one leg. If you’re aiming for a specific inseam length, now is the time to measure it.
Step 2: Prepare Your Jeans for the “Dish Soap Trick”
Lay one leg of your jeans flat on a table or a clean floor. Smooth out any wrinkles. Now, fold the bottom of the leg inward to the desired new hem length. Use your fingers to create a sharp crease. This initial crease is where the dish soap will help solidify the line. If you’re using a measuring tape, ensure this folded edge is an equal distance from the bottom on all sides of the leg opening. For tapered jeans, aim to make this fold slightly inward towards the inseam, following the natural narrowing of the leg, rather than a straight horizontal line.
Step 3: Apply the Dish Soap
This is the key step. Dip a finger or a small cotton swab into your liquid dish soap. Carefully apply a thin, even line of dish soap along the inside of the fabric along the crease you just made. You don’t need a lot – just enough to lightly coat the fibers along the folded edge. The soap will make the denim more receptive to pressing and holding the fold.
Work your way around the entire circumference of the hemline. Be precise, sticking to the folded edge itself. Avoid getting large splotches of soap on the surrounding fabric, as this could lead to water spots when washed. The goal is to create a subtle barrier that helps the crease set.
Step 4: Press the Crease with Heat
Lay the folded leg flat again. Place your hot iron onto the folded edge. Press down firmly and move the iron slowly along the crease. The heat from the iron, combined with the dish soap, will help to set the fold into a crisp, defined line. You are essentially “ironing in” your hem. Be careful not to scorch the fabric. A medium-high heat setting, suitable for denim, should work well. You’re not just ironing the fold flat; you’re creating a firm, temporary crease that will guide your next steps whether you plan to cut, glue, or sew.
This is where the “dish soap trick” truly shines. The soap acts like a mild starch, helping the denim remember the fold. You’ll notice the crease becomes quite pronounced and holds its shape better than a simple finger crease.
Step 5: Assess and Adjust
Once you’ve pressed the crease, let it cool for a moment. Then, unfold the leg slightly. You should see a clean, defined line where your dish soap was applied. This line is your guide. If the crease isn’t as sharp as you’d like, repeat the ironing step. Ensure the fabric is perfectly flat before ironing to get the best results.
Now, evaluate the folded hem. Does it look even? Is it the length you wanted? Because this is a tapered jean, the crease should ideally follow the natural diagonal line of the leg narrowing. You can compare it to the other leg to ensure symmetry. If you need to adjust, simply re-crease using the dish soap and iron. This is the beauty of the dish soap method – it’s easily reversible if you’re not happy with the initial fold.
Step 6: Choose Your Permanent Hemming Method
You now have a perfectly creased guideline. You have a few options for making this hem permanent:
| Method | Description | Pros | Cons |
|---|---|---|---|
| Cutting and Folding (No Sewing) | Cut off the excess fabric above your crease, then fold the remaining fabric up and secure with fabric glue or iron-on hem tape. | Quickest, requires minimal skill, no sewing machine needed. | Can look less finished, potential for fraying if not secured well. |
| Folding and Sewing | Fold the excess fabric up along the crease. You can either do a double fold for a cleaner edge or leave it as a single fold, then secure with a sewing machine or by hand. | Most durable, professional look, best for longevity. | Requires sewing skills or a sewing machine. |
| “Original Hem” (Cuff) | If you want to keep the original factory hem, you’ll need to carefully unpick the existing hem and reattach it after shortening the leg. This is best for jeans where you want that distinctive “worn” hem look. | Maintains the original look of the jeans. | Most challenging, requires careful unpicking and precise reattachment. |
Step 7 (Option A): Cutting and Securing with Fabric Glue or Hem Tape
If you’ve chosen to cut, carefully trim off the excess denim above your pressed crease. Leave about 1/2 inch (1.3 cm) of fabric below the crease to fold up. Apply a thin, even line of high-quality fabric glue along the inside of the crease. Fold the remaining fabric up and press firmly onto the glue. Hold or clip in place according to the glue’s instructions. Alternatively, use iron-on hem tape. Place the tape inside the folded hem and press with your iron according to the tape’s instructions. Ensure the folds are sharp and the edges are aligned neatly.
Step 7 (Option B): Folding and Sewing
With your crease firmly set, fold the excess fabric of the leg upwards along the dish soap line. For a cleaner finish, you can fold it up twice to create a double-rolled hem, hiding the raw edge. Pin the hem in place. Using a sewing machine, stitch as close to the inner folded edge as possible. A straight stitch is usually fine. If sewing by hand, use a neat hemming stitch. Ensure your stitching is even and secures the hem well. For tapered jeans, be mindful of the curve of the leg to ensure the stitching remains consistent.
Step 7 (Option C): Preserving the Original Hem
This method is more advanced. You’ll need to carefully unpick the existing hem stitching using a seam ripper. Once unpicked, you can carefully detach the original hem band. Measure and cut your jeans to the desired new length, making sure to account for the width of the original hem band you’ll need to reattach. Apply the dish soap trick above where you want the new hem to sit to guide your cut. Reattach the original hem band, ensuring it aligns perfectly with the taper of the leg, and stitch it securely in place. This method preserves the authentic look of the jeans but requires more precision.
Step 8: Repeat for the Other Leg
Once you’re happy with the hem on the first leg, repeat the entire process for the second leg. Use the first leg as a guide to ensure both hems are the same length and have a symmetrical appearance. Laying them flat side-by-side and comparing the folded edges is a good way to check for evenness.
Step 9: Wash and Finish
After your chosen hemming method is completely dry and set (especially if using glue), it’s time to wash your jeans. Wash them inside out in cold water on a gentle cycle. This will wash away any residual dish soap and further set the new hem. Once washed, you can tumble dry on low or hang them to dry. Give them a final press with the iron to ensure everything looks sharp and neat.
Comparing Hemming Methods for Tapered Jeans
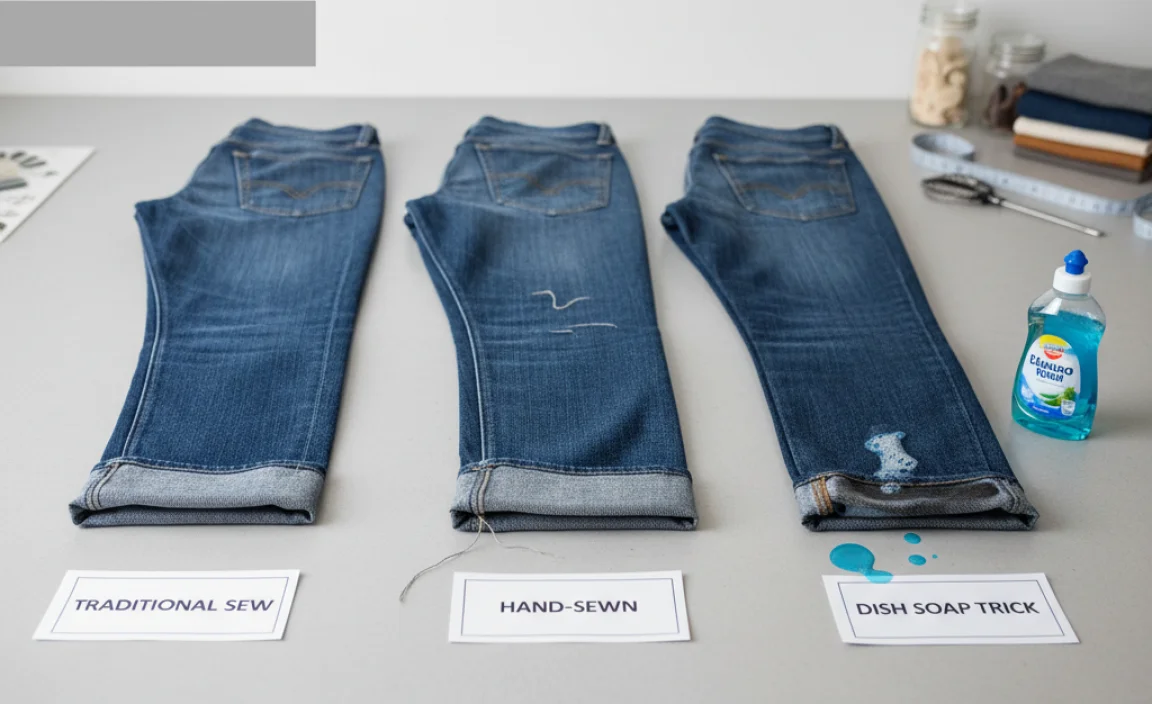
The dish soap trick is particularly effective for tapered jeans because it helps create a precise fold that accounts for the leg’s narrowing shape. Here’s a look at how it stacks up against other common methods:
| Hemming Trick | Ease for Tapered Jeans | Result Quality | Permanence |
|---|---|---|---|
| Dish Soap Method | Excellent – helps create a clear guide for the taper. | Very Good – crisp and accurate fold. | Temporary guide; requires permanent method to complete. |
| Pinning and Chasing | Fair – can be tricky to keep evenly spaced with the taper while pinning. | Good – if pinned accurately. | Temporary; requires sewing. |
| Measuring and Chalking | Good – requires careful measurement at multiple points due to taper. | Excellent – professional finish if done precisely. | Temporary; requires sewing. |
| No-Sew Hem Tape Without Guide | Fair – relies on eyeballing the fold, which can be difficult with taper. | Fair to Good – can look uneven if not perfectly folded. | Permanent (until removed with heat). |
The dish soap trick acts as an excellent intermediary, simplifying the most challenging part of hemming tapered jeans: creating that accurate, consistent fold line. It bridges the gap between simple eyeballing and complex measuring, giving you visual confidence throughout the process.
Maintaining Your Jeans’ Taper and Hem
Once you’ve successfully hemmed your tapered jeans, proper care will ensure they retain their shape and the new hemline looks great for a long time. Always wash denim inside out in cold water, preferably on a gentle cycle, to minimize fading and stress on the fabric. Avoid using harsh detergents or bleach. When drying, opt for air drying or a low tumble dry setting. Over-drying in a hot dryer can shrink and damage denim fibers. Steer clear of excessive heat when ironing, especially directly on any decorative stitching, and always iron denim inside out to protect the outer finish.
For tapered jeans specifically, be mindful of how you store them. Hanging them or folding them in a way that preserves the taper from knee to ankle will help them keep their intended shape. Avoid constantly pushing them into tight drawers where they can lose their form.
Frequently Asked Questions
What kind of dish soap is best for hemming jeans?
Any standard liquid dish soap that is good at cutting grease will work. Brands like Dawn, Palmolive, or store-brand equivalents are all suitable. The key is that it’s a liquid that can be applied thinly and will act as a mild temporary binder for the fabric when heated.
Can I use this dish soap trick on other types of pants?
Yes, absolutely! This dish soap method works well for hemming any type of pants or trousers made from cotton or cotton blends, including chinos, dress pants, and even lighter-weight denim. It’s particularly helpful for garments where maintaining a crisp crease is important.
Will the dish soap stain my jeans?
No, not if you use it sparingly and wash the jeans afterward. The dish soap is designed to break down grease and food particles, so it will easily wash out with water. Just make sure to apply it evenly along the fold and avoid excessive amounts.
How long does the dish soap crease last?
The dish soap crease is temporary and is designed to hold firmly enough for you to apply a permanent hemming method (like glue, tape, or sewing). Once the jeans are washed, the effect of the dish soap will be gone. The permanent hemming method is what ensures the length is maintained.
What if I don’t have an iron? Can I still use this trick?
While an iron is highly recommended as it significantly helps set the crease, you might get some success with a very hot, very heavy object pressed firmly onto the folded seam for an extended period. However, the heat is crucial for activating the dish soap’s temporary setting properties. An iron will yield the best and most reliable results. You can often find very affordable irons at thrift stores if this is a one-time need.
How much fabric should I leave for the hem?
When you decide where your final hem will be, fold the excess fabric up. For a simple hem, leaving about 1/2 inch (1.3 cm) of fabric to fold up is usually sufficient. If you plan for a double-folded hem (folding the raw edge under twice for a cleaner finish), you’ll need to leave about 1 inch (2.5 cm).
Is this a good method for high-waisted tapered jeans?
Yes, the method is effective for any style of tapered jeans, regardless of the waist rise. The principle of creating a precise fold line along the narrowing leg remains the same. The dish soap trick helps you manage the curve of the taper, which is often the trickiest part of hemming.
Conclusion
Hemming your tapered jeans doesn’t have to be a daunting task. The “dish soap trick” offers a practical, accessible, and remarkably effective way to achieve a precise hemline that respects the natural taper of your jeans. By using this simple household item, you create a firm guide that makes cutting, gluing, or sewing a breeze. Remember to take your time, try the jeans on to find your perfect length, and always ensure you have a permanent hemming method ready to secure your work. With these steps, you’ll confidently adjust your favorite jeans to fit perfectly, enhancing both


