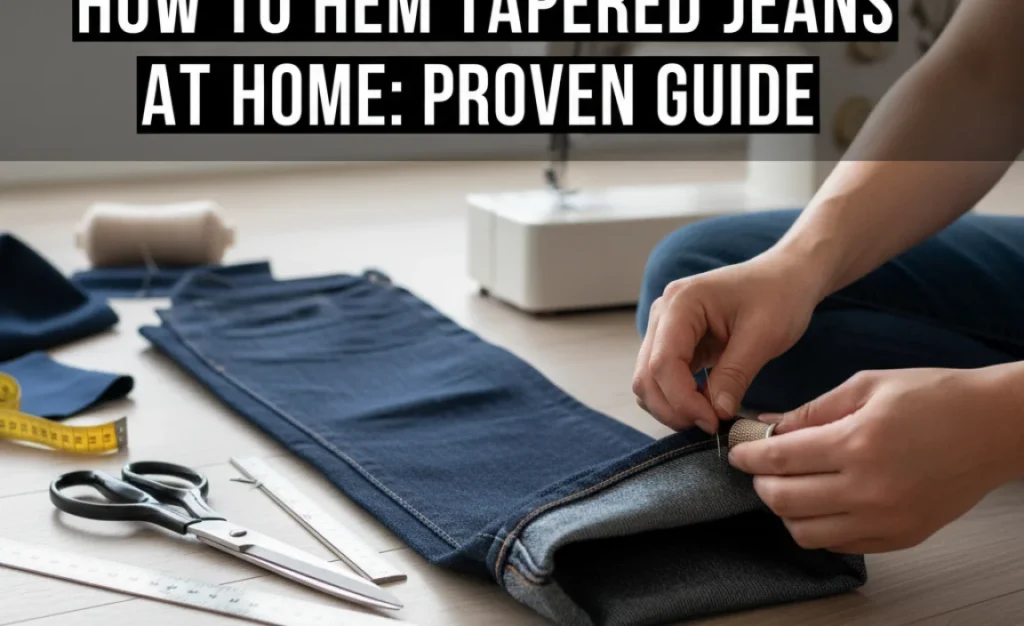
Quick Summary: You can easily hem tapered jeans at home with a few basic sewing tools. This guide provides clear, step-by-step instructions for a professional-looking finish on your favorite tapered denim, ensuring a perfect fit without a trip to the tailor.
Tapered jeans are a modern staple, offering a sleek silhouette that flatters many body types. But when they’re just a little too long, that perfect look can be lost in excessive fabric pooling around your ankles. It’s a common frustration, but the good news is you don’t need to be a sewing expert to fix it. With some simple tools and a bit of patience, you can achieve a clean, custom hem right in your own home. Get ready to give your jeans a perfect fit and a polished finish—you’ll be surprised how straightforward it is!
Why Hemming Tapered Jeans is Worth It
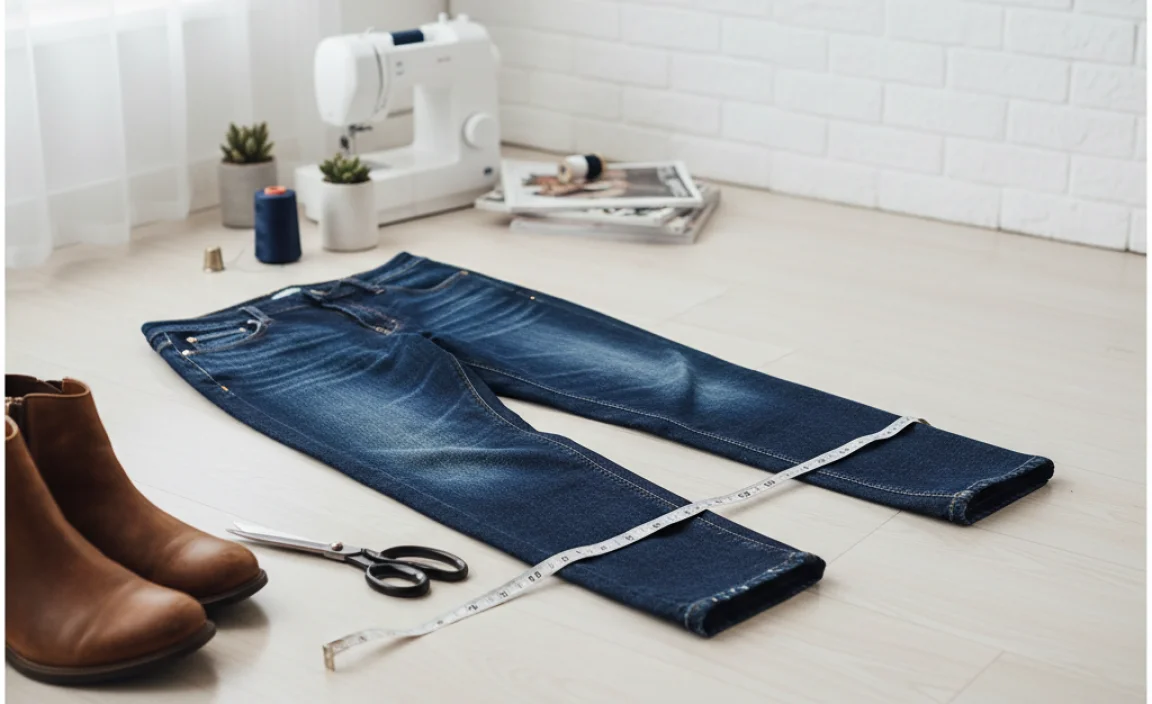
Hemming your own tapered jeans might seem daunting, but the benefits are significant. Firstly, it’s incredibly cost-effective. Professional alterations can add up, especially if you frequently need minor adjustments. Doing it yourself saves money that can be put towards other wardrobe upgrades or essentials.
Secondly, it allows for complete customization. Tapered jeans are all about the fit from hip to ankle. Getting the length just right ensures the taper looks its best and eliminates the unsightly “stacking” or bunching of fabric at the shoe. This precise fit can transform the entire look and feel of your outfit.
Finally, it’s a practical life skill. Learning to hem is a fundamental sewing technique that can be applied to a variety of garments. It offers a sense of accomplishment and self-sufficiency, empowering you to maintain and personalize your wardrobe with confidence. Plus, for tapered styles, an accurate hem is crucial for maintaining the intended design – too long and the taper gets lost, too short and the proportions are off.
Essential Tools for Hemming Tapered Jeans
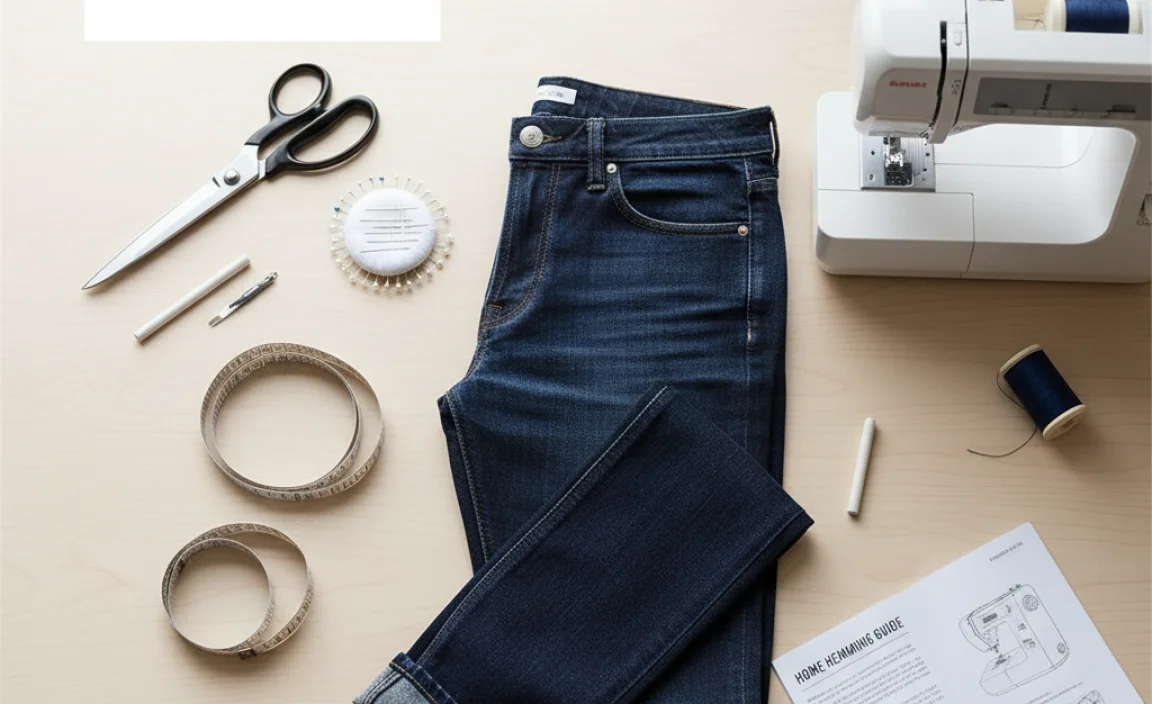
Before you start, gather everything you’ll need. Having all your supplies ready makes the process smooth and prevents interruptions.
- Sewing Machine: While hand-sewing is possible, a sewing machine will give you a more durable and professional-looking stitch.
- Heavy-Duty Needles: Jeans are made of thick denim. Use needles specifically designed for denim or heavy fabrics (size 90/14 or 100/16).
- Matching Thread: Choose a strong polyester thread that matches the color of your jeans or the original hem thread.
- Fabric Scissors: Sharp scissors are essential for clean, precise cuts.
- Measuring Tape or Ruler: For accurate length measurements.
- Fabric Chalk or Disappearing Ink Pen: To mark your cutting and sewing lines. Any marking tool that won’t permanently stain your jeans will work.
- Straight Pins: To hold the hem in place while you sew.
- Seam Ripper: To carefully remove the original hem if you plan to preserve it.
- Iron and Ironing Board: For pressing seams and hems for a crisp finish.
- Your Tapered Jeans: Of course!
Preparing Your Jeans: The Crucial First Steps
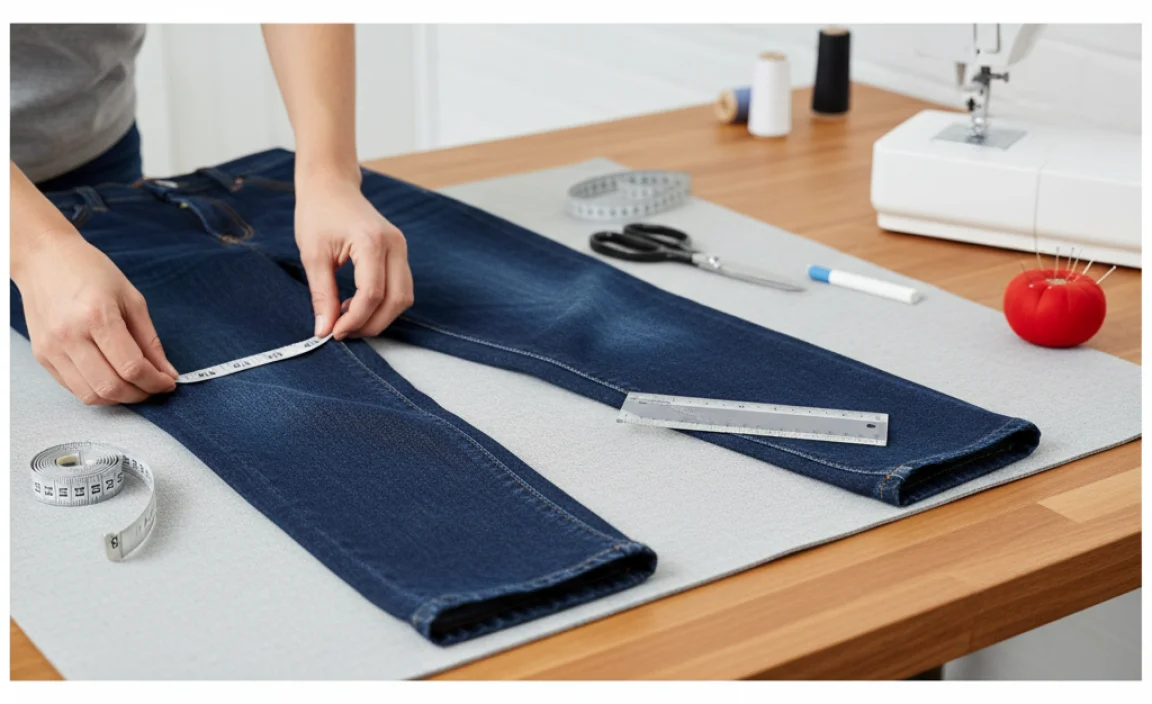
Proper preparation is key to a successful hem. This stage ensures accuracy and makes the sewing process much easier.
- Wash and Dry Your Jeans: Always start with clean jeans. Wash and dry them as you normally would to account for any shrinkage. Trying to hem pre-shrunk jeans is essential for an accurate final length.
- Try Them On: Put on the jeans you want to hem and the shoes you typically wear with them. This is the most accurate way to determine the desired length.
- Determine the Desired Length: Stand in front of a mirror. Have a friend (or use a long mirror) help you mark the point where you want the hem to fall. For tapered jeans, aim for the hem to sit cleanly on top of your shoe, with no bunching. You can mark this with a pin or by gently pinching the fabric.
- Measure and Mark: Take the jeans off. Lay them flat on a clean surface. Using your measuring tape or ruler and fabric chalk, measure from the marked point down to where you want the raw edge of the fabric to be. Add your seam allowance. A standard seam allowance for a hem is about 1 to 1.5 inches, giving you enough fabric to fold over twice for a sturdy hem.
Two Popular Hemming Methods for Tapered Jeans
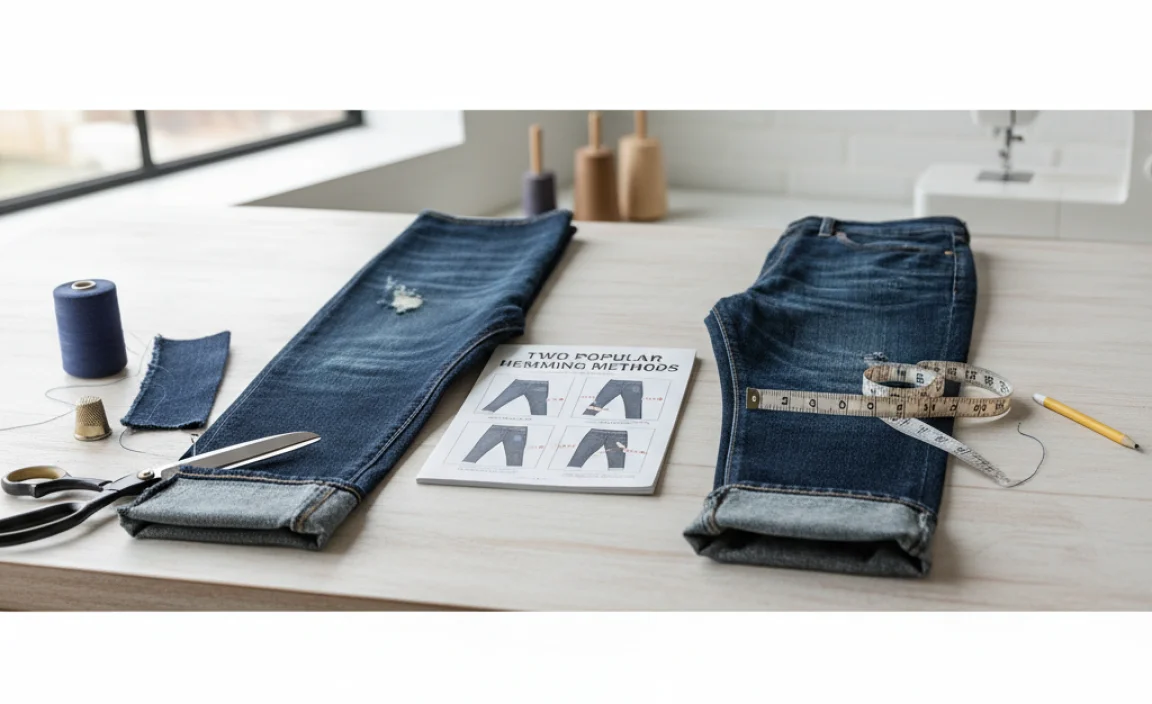
There are a few ways to approach hemming, especially with tapered jeans. The best method often depends on whether you want to keep the original factory hem or create a new, clean finish. For tapered jeans, preserving the original hem can sometimes help maintain the authentic look and feel.
Method 1: Preserving the Original Factory Hem
This method is popular because it retains the original look of your jeans, including the double-stitch detail often found on jean hems. It’s ideal for achieving an authentic, worn-in appearance.
Pros:
- Maintains the original factory look and stitching.
- Preserves the authentic denim aesthetic.
- Often easier for beginners as it involves repurposing existing material.
Cons:
- Can be trickier to execute precisely, requiring careful seam ripping and reattachment.
- May add a slight bulk to the hemline if not done perfectly.
- Requires precision to ensure the new hem matches the old stitch line.
Step-by-Step Guide: Preserving the Original Hem
- Rip the Original Hem: Lay one leg of your jeans flat. Using your seam ripper, carefully and slowly detach the existing hem from the leg. Try to remove only the stitching that holds the hem in place, leaving the leg fabric intact. Work your way all the way around.
- Press the Released Hem: Once the hem is released, you’ll have a section of folded fabric. Iron this section flat so it lies smoothly against the leg of the jeans. This reveals the original finished edge of the jean leg.
- Measure and Mark the New Length: Put the jeans back on (with shoes) to confirm your desired length. Then, lay the jeans flat again. Measure from the original finished edge (the bottom of the leg) up to your desired finished hem length. Mark this point with fabric chalk. Now, measure an additional 1 to 1.5 inches upwards from that mark. This extra fabric is your seam allowance. Mark a cutting line at this point.
- Cut Off Excess Fabric: Using your sharp fabric scissors, cut off the excess fabric along the marked cutting line. Discard the excess.
- Fold and Press the New Hem: Take the remaining fabric at the bottom of the leg and fold it upwards towards the inside of the jean leg, aligning the raw edge with the bottom of the original finished edge you revealed in step 2. Press this fold firmly with your iron.
- Fold Again and Press: Now, fold that folded edge up again, so the raw edge is enclosed within the fold. The second fold should cover the original finished edge. This creates a clean, double-folded hem. Press this second fold very well. You should now have a double-folded hem that looks similar to the original.
- Pin the Hem: Secure the folded hem in place with straight pins, inserting them perpendicular to the fold. Place pins about every 1-2 inches to ensure the fabric stays put.
- Sew the Hem: This is where you reattach the original hem. Place the pinned hem under your sewing machine’s needle. Align the original stitch line of the hem with the needle. You will be sewing through all the layers: the original hem, the fabric of the jean leg, and the second fold you created. Sew slowly and carefully, following the original stitch line as closely as possible. If your machine has a walking foot, now is a great time to use it, as it helps feed thick denim evenly.
- Finish and Trim: Once you’ve sewn all the way around, tie off the thread securely. Trim any excess threads. You can also press the finished hem one last time for a crisp look. Repeat for the other leg.
Method 2: Creating a New, Clean Hem
This method involves cutting off the original hem and creating a fresh, clean finish. It’s a good option if your original hems are frayed, damaged, or if you prefer a more streamlined, modern look.
Pros:
- Results in a very clean, modern finish.
- Eliminates bulk and potential fraying from old hems.
- Simpler to execute than preserving the original hem.
Cons:
- Does not preserve the original factory stitching or look.
- May require a more precise fold and stitch to look professional.
Step-by-Step Guide: Creating a New, Clean Hem
- Determine and Mark the Final Length: Put on your jeans with the shoes you’ll wear. Stand in front of a mirror and decide exactly where you want the bottom of the hem to fall. Mark this point with a pin or fabric chalk.
- Measure and Mark Your Cutting Line: Lay the jeans flat. Measure from your first mark upwards to determine your desired finished hem length. Mark this point. Now, add your seam allowance – about 1 to 1.5 inches – above that mark. This is your cutting line. For tapered jeans, it’s crucial that this line is perfectly even all around the leg opening.
- Cut Off Excess Fabric: Using your fabric scissors, cut along the marked cutting line. Ensure the cut is straight and even.
- Fold and Press the First Hem: Take the raw edge of the cut fabric and fold it upwards towards the inside of the jean leg by about 0.5 to 0.75 inches. Press this fold firmly with your iron. This creates a clean folded edge to work with.
- Fold and Press the Second Hem: Fold the fabric upwards again, by another 0.5 to 0.75 inches, enclosing the raw edge within the fold. This creates your double-folded hem. This second fold should align with your desired finished hem length. Press this second fold very well. A well-pressed hem makes sewing much easier and results in a neater finish.
- Pin the Hem: Secure the folded hem in place with straight pins, inserting them perpendicular to the fold. Place pins about every 1-2 inches.
- Sew the Hem: Using your sewing machine, stitch along the top edge of the folded hem. Aim to sew as close to the folded edge as possible, about 1/8 inch from the top. Use a straight stitch. If you have a zipper foot or edge-stitching foot, it can help you get close to the edge. Go slowly, especially as you navigate the thicker seams around the leg opening of tapered jeans.
- Finish and Trim: Once you’ve sewn all the way around, tie off your stitches securely. Trim any excess threads. You can also give the hem a final press with the iron to ensure it lies flat and neat. Repeat for the other leg.
Understanding Hem Width and Its Impact on Your Tapered Jeans
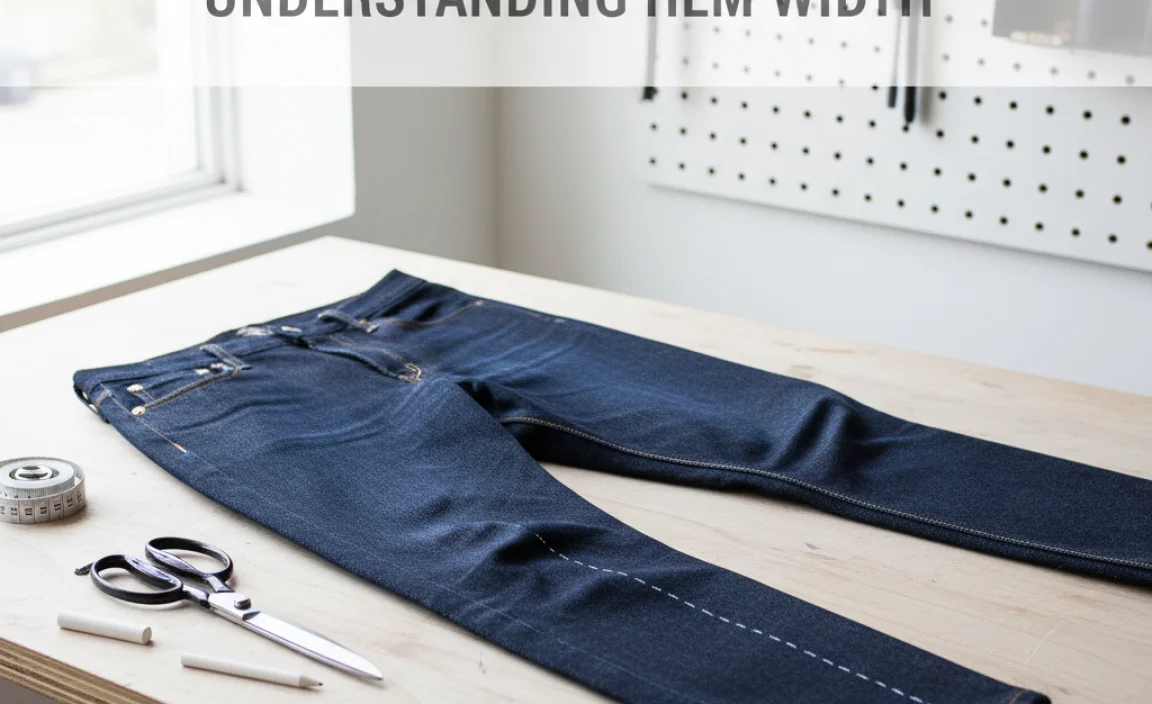
The width of your hem – meaning how much fabric you fold over and stitch – plays a subtle but important role in the overall look of your tapered jeans. It affects both the aesthetics and the durability of the hem.
A wider hem (1.5 inches or more) generally creates a more substantial, durable finish. This can be beneficial for heavier denim or for jeans you wear frequently. It also adds a touch of classic style, reminiscent of traditional workwear. However, on very tapered jeans, a very wide hem can sometimes look a bit too heavy or break the clean line of the taper, especially if the original jean fabric is lightweight.
A narrower hem (around 1 inch) offers a sleeker, more modern appearance. It’s often preferred for lighter-weight denim or when you want the hem to be less noticeable, allowing the taper to take center stage. This width can help maintain a very streamlined silhouette from thigh to ankle. However, a narrower hem might be slightly less durable over time and can be trickier to sew perfectly straight without practice.
For most tapered jeans, a mid-range hem of 1.25 inches is a safe and stylish bet. It offers a good balance of durability and a clean aesthetic, fitting well with the modern taper without being overpowering. When deciding, consider the weight of your denim and the overall style you’re aiming for.
Why Tapered Jeans Need Special Hemming Attention
Tapered jeans are designed to narrow gradually from the thigh down to the ankle. This specific cut means that the circumference of the leg opening is significantly smaller than at the calf or knee. This characteristic requires a different approach to hemming compared to straight-leg or bootcut jeans.
- Maintaining the Silhouette: The primary goal is to shorten the jean leg without disrupting the intended taper. If you simply cut off the excess fabric and hem straight across, you might end up with a leg opening that looks proportionate to a larger leg circumference, negatively impacting the taper’s aesthetic.
- Dealing with Fabric Buildup: As you fold the fabric to create the hem, the tapering means you’re folding a smaller amount of fabric at the bottom than you would on a straight leg. This can sometimes lead to slight bunching or bulk if not pressed and sewn carefully.
- Preserving Original Details: Many tapered jeans have distinct stitching or detailing on the original hem. Preserving this detail often involves carefully unpicking and reattaching the original hem to the newly shortened leg, a process that requires precision.
Proper hemming ensures that the taper remains sharp, the proportions are flattering, and the intended style of the jeans is preserved. It’s about making sure that the fabric sits smoothly and cleanly at the shoe line, which is crucial for the overall success of the tapered silhouette.
Table: Comparing Hemming Methods
Here’s a quick comparison to help you choose the best method for your tapered jeans:
| Feature | Method 1: Preserving Original Hem | Method 2: Creating New, Clean Hem |
|---|---|---|
| Final Look | Authentic, factory-original stitching and detail | Clean, modern, seamless finish |
| Ease of Execution | Moderate to difficult (requires careful seam ripper use and precision sewing) | Easy to moderate (more straightforward folding and stitching) |
| Time Required | Potentially longer due to seam ripping complexities | Shorter, as it skips the seam-ripping step |
| Best For | Jeans where preserving original details is important; achieving a vintage look. | Modern styles; when original hems are damaged or not desired; speed and simplicity. |
| Tool Needs | Adds seam ripper to standard hemming tools | Standard hemming tools sufficient |
| Potential for Bulk | Slightly higher if not perfectly aligned | Minimal if pressed and sewn well |
Tips for Sewing Thick Denim
Sewing denim, especially multiple layers at the hem of jeans, can be challenging. Here are some tips to make the process smoother:
- Use the Right Needle: As mentioned, a denim needle (size 90/14 or 100/16) is non-negotiable. A sharp, sturdy needle is essential for piercing through thick layers without breaking or skipping stitches. You can often find these at your local fabric store or through online retailers like Bernina‘s guide on needle selection.
- Slow Down: Don’t rush. Sewing denim requires patience. Go slow, especially when you reach thicker seams (like the inseam or side seam).
- Use the Handwheel: For particularly thick areas, you can disengage the motor and turn the handwheel manually to guide the needle through the fabric. This gives you more control and prevents the machine from jamming.
- Invest in a Walking Foot: A walking foot (also called a even-feed foot) is a game-changer for sewing heavy fabrics like denim. It feeds the top and bottom layers of fabric at the same rate, preventing shifting and ensuring an even stitch.
- Press Your Seams: Use the iron liberally to press each fold before pinning and sewing. This creates crisp lines and makes it easier for the fabric to lie flat. For denim, you might need to use steam and apply firm pressure.
- Adjust Stitch Length: For a strong hem, a slightly longer stitch length (around 2.5 to 3.0 mm) is often recommended for denim.
- Test Stitches: Always test your stitch on a scrap piece of denim before sewing your actual hem. This allows you to check tension


