To hem tapered jeans, you’ll need basic sewing supplies and a clear understanding of your desired fit. This guide breaks down the process into simple steps, ensuring a professional and flattering result for your jeans, regardless of your sewing experience.
Are your favorite jeans a little too long, bunching at the ankle? This is a common style frustration, especially with tapered fits that require a precise hem to look their best. Getting the length just right can make a huge difference in how your jeans drape and complement your footwear. Don’t worry, hemming tapered jeans is a straightforward process that anyone can tackle. We’ll walk you through each step, from preparation to the final stitch, ensuring a neat and stylish outcome. Let’s get your denim looking sharp!
Why Hemming Tapered Jeans Matters
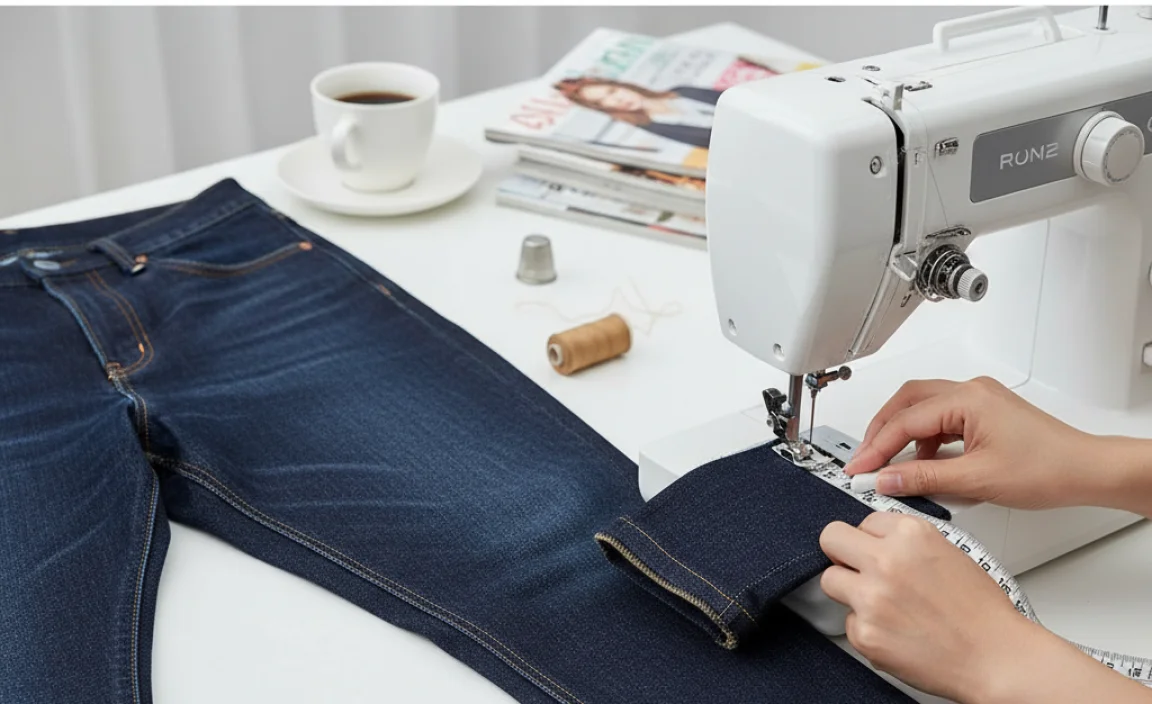
Tapered jeans are designed to narrow from the knee down to the ankle. This shape creates a modern, clean silhouette that pairs well with many shoe styles. However, if they are too long, the excess fabric can disrupt this intended taper, leading to an unattractive bunching or “pooling” effect around your ankles. This not only looks unkempt but can also make your legs appear shorter.
A well-executed hem on tapered jeans:
- Restores the clean lines of the taper.
- Ensures the jeans break correctly over your shoes.
- Prevents premature wear and tear from dragging on the ground.
- Elevates your overall look by presenting a sharp, polished appearance.
Essential Tools and Materials
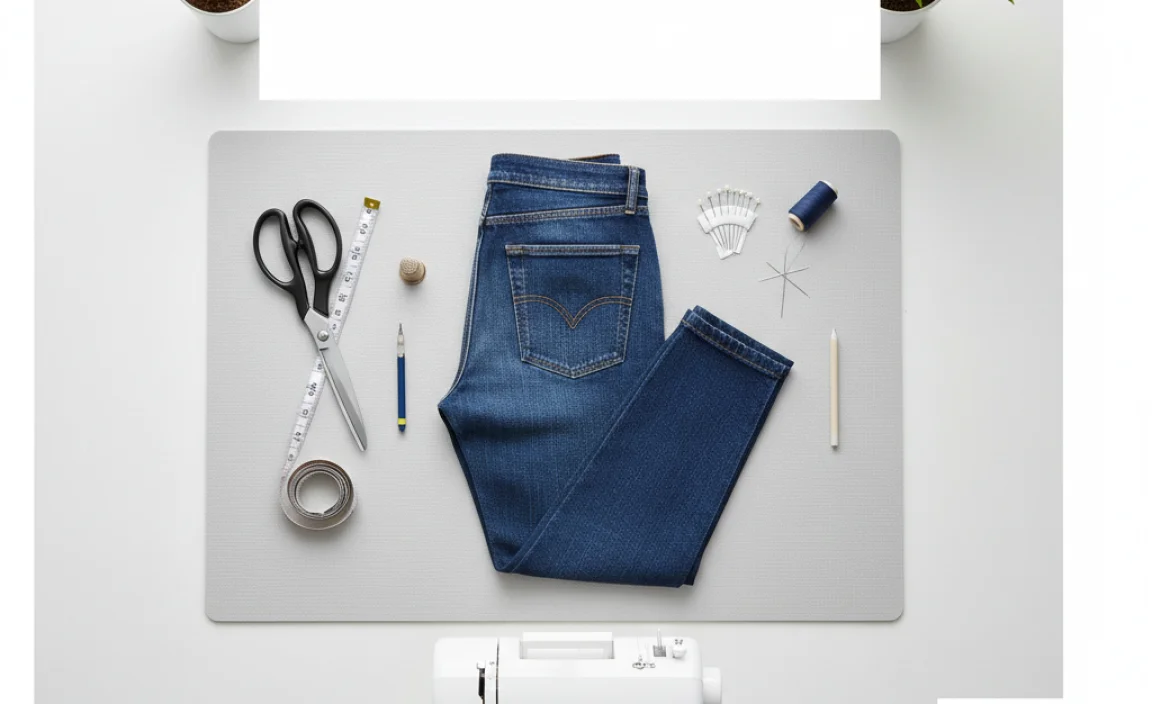
Before you begin, gather these items to make the hemming process smooth and efficient. Having everything ready will save you time and prevent frustration.
What You’ll Need:
- Your Tapered Jeans: The star of the show!
- Fabric Scissors: Sharp scissors are crucial for clean cuts. Dull scissors can snag and pull the fabric.
- Measuring Tape or Ruler: For accurate measurements.
- Fabric Marker or Chalk: To mark your cut lines. Disappearing ink pens or chalk are ideal.
- Pins: To hold the fabric in place while you measure and sew.
- Sewing Machine: While hand-sewing is possible, a machine provides a neater and more durable finish.
- Thread: Matching your jeans’ original thread color is best for an invisible hem. If unsure, a neutral color like grey or cream often works.
- Seam Ripper: To carefully remove the original hem if you are recreating it.
- Iron and Ironing Board: For pressing creases and ensuring a flat finish.
- Optional: Hemming Tape: For a no-sew option, although sewing is recommended for durability.
Step-by-Step Guide to Hemming Tapered Jeans
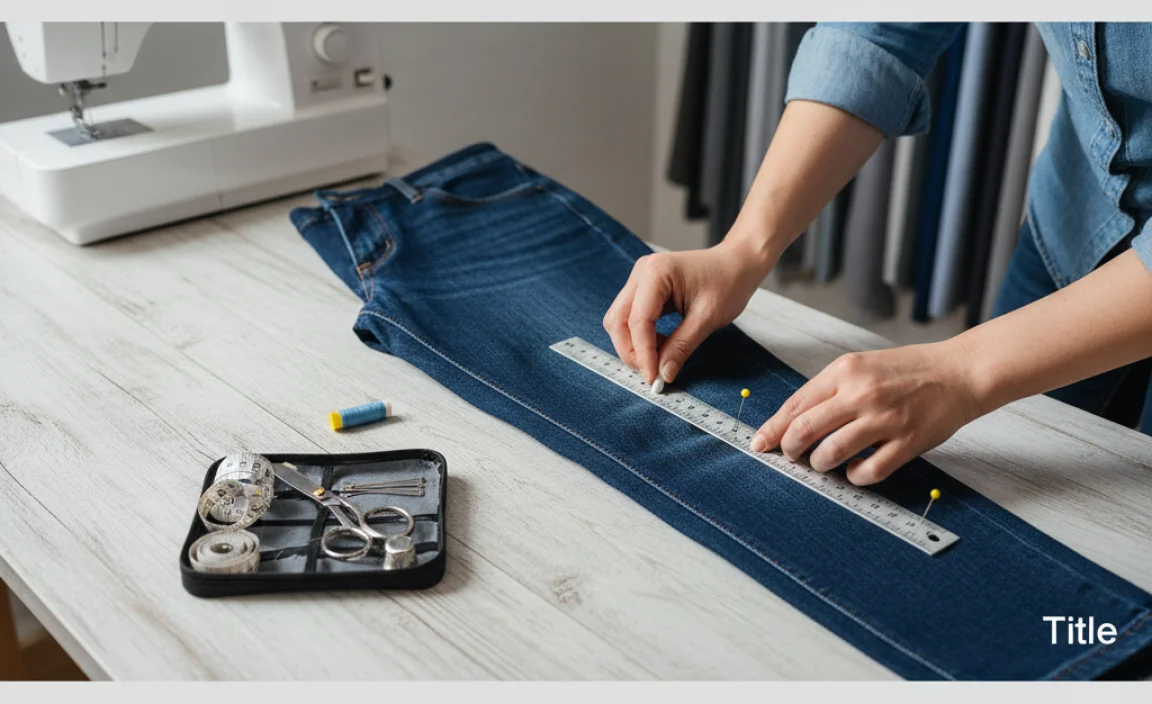
This guide focuses on the most common and effective method for hemming tapered jeans, ensuring a professional look that complements their unique shape.
Step 1: Try On and Determine the Desired Length
Wear the shoes you typically intend to wear with these jeans. This is crucial because different shoe heights can alter how the jeans fall on your leg. Stand naturally and have a friend mark the desired length with a pin, or carefully mark it yourself with fabric chalk or a marker. Aim for the hem to hit the top of your shoe or slightly above, depending on your preference. For tapered jeans, ensure the length maintains the flattering line without excessive bunching.
Tip: For a precise measurement, have someone else mark the length while you are standing. If you are marking yourself, try not to pull the fabric upwards, as this can distort the measurement!
Step 2: Mark the Cut Line
Once you have your desired length marked, take off the jeans. Lay them flat on a clean, hard surface. Using your measuring tape and fabric marker, draw a straight line that is parallel to the original hem. This line should be the desired finished length from your marking. Add an extra 1 to 1.5 inches below this line for your hem allowance (this is where you’ll fold the fabric). For tapered jeans, it’s important that this line is perfectly straight to maintain the leg’s silhouette.
Step 3: Cut Off the Excess Fabric
Using your sharp fabric scissors, cut along the marked line. Be as precise as possible. If your jeans have a thick, rolled hem, you may need to carefully unpick the original stitching with a seam ripper first. Once the original hem is removed, lay the jeans flat and cut the excess fabric to your marked line. Ensure you cut both legs to the exact same length.
Writer’s Note: It’s always better to cut slightly longer than shorter. You can always trim more if needed, but you can’t add fabric back.
Step 4: Prepare the New Hem
Now, take each leg and fold it upwards along the cut edge. The raw edge of the fabric should be folded up 1 to 1.5 inches (your hem allowance) and pressed flat with an iron. This creates a clean fold that will form the new hem. Pin this folded edge in place securely to prevent it from shifting.
Step 5: Sew the Hem
This is where you’ll secure the folded hem. You have a few options:
Option A: Using a Sewing Machine
Thread your sewing machine with matching thread. Set your stitch length to a medium setting (around 2.5mm). Starting at a seam on the inside of the leg to minimize visibility, sew along the top edge of the folded hem, keeping a consistent distance from the fold (about 1/8 inch). Go slowly, especially around curves, and backstitch at the beginning and end to secure your stitches. Remove the pins as you sew.
Option B: Hand Sewing with a Hem Stitch
For a nearly invisible finish, use a hem stitch (also known as a blind hem stitch). Thread your needle with matching thread and knot the end. Hide the knot within the folded fabric. Make small, discreet stitches that catch only a few threads from the main fabric of the jeans and go across the folded hem. This method is more time-consuming but very effective for a clean look.
Pro Tip: If you want the look of the original hem with its double stitching, you can remove the original hem carefully with a seam ripper, cut the leg to length, then press and re-stitch the original hem back on. This requires patience but gives the most authentic result.
Step 6: Finishing Touches
Once you’ve sewn the hem, remove any remaining pins. Press the new hem firmly with an iron. This will give your jeans a crisp, finished appearance. Turn the jeans right-side out and try them on to admire your work!
Recreating the Original Jean Hem (Advanced)
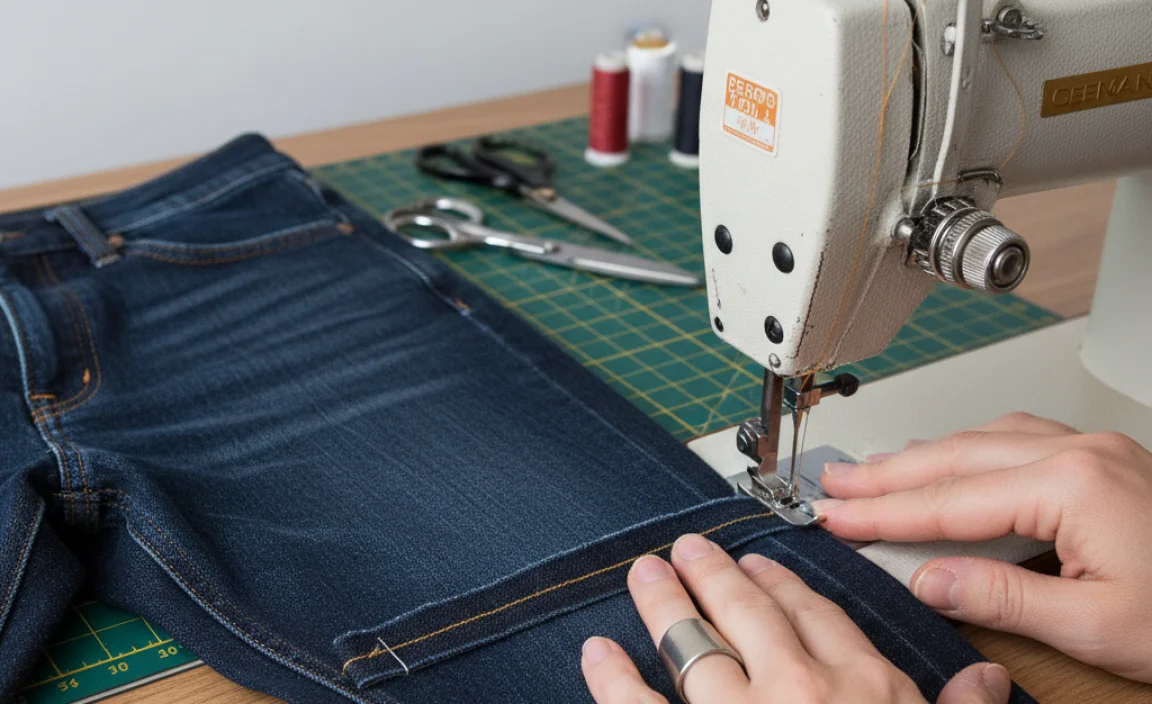
If your jeans have a distinctive original hem—often a thicker, sometimes slightly faded or contrast-stitched band around the bottom—you might want to recreate this for an authentic look. This is a more advanced technique but yields excellent results.
Materials Needed:
- Seam Ripper
- Sharp Fabric Scissors
- Measuring Tape
- Fabric Marker
- Matching or Original Thread
- Sewing Machine
- Iron
Steps:
- Unpick the Original Hem: Carefully use a seam ripper to remove the stitching of the original hem on both legs. Be patient; you want to salvage the original hem band intact if possible.
- Press the Original Hem Flat: Once unpicked, lay the jeans flat and detach the original hem band from the leg. Press this band flat with your iron.
- Measure and Mark: Try on the jeans with your desired shoes. Mark where you want the bottom of the original hem band to sit. Then, take the jeans off and lay them flat.
- Cut Excess Fabric: Measure how much fabric needs to be removed so that when the original hem band is reattached, the jeans will be the correct length. Cut the excess fabric from the bottom of the leg, leaving about 1/2 inch of raw fabric below where the hem band will sit. The original hem band itself will serve as your hem allowance width.
- Reattach the Original Hem: Lay the jeans leg flat. Position the original hem band right sides together with the bottom edge of the jean leg. Align the raw edges. Pin the hem band in place.
- Sew the Hem Band: Using your sewing machine with matching thread, carefully sew the hem band to the leg along the pinned edge. Use the original stitch line as a guide if possible.
- Press and Finish: Turn the hem band down and press it flat with your iron. Topstitch the hem band in place from the outside, ensuring it lies flat and looks as close to the original as possible.
This method requires precision, but it’s the best way to maintain that authentic, factory-finished look that comes with jeans.
No-Sew Hemming Option
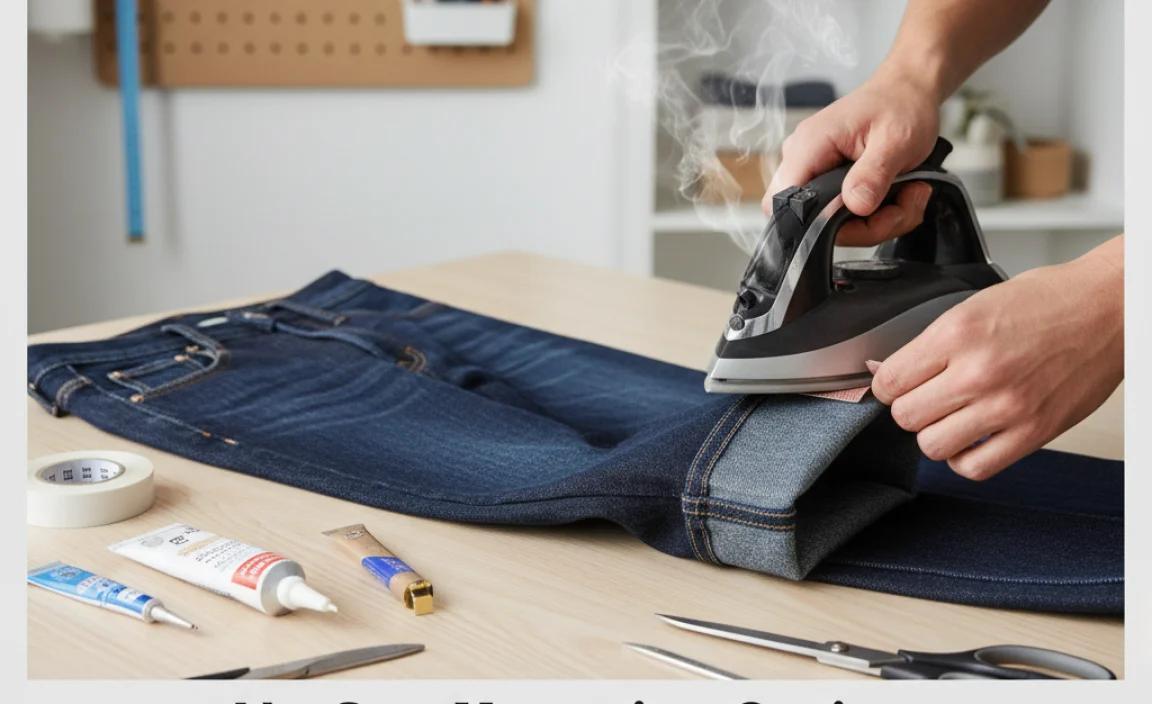
For those who don’t sew or need a quick fix, a no-sew hem is an option. This typically involves fabric glue or hemming tape.
Hemming Tape Method:
- Follow steps 1-3 above to determine length and cut excess fabric.
- Fold the raw edge up by 1/2 inch and press with an iron.
- Fold it up again by 1 inch (or desired hem width) and press again, ensuring the raw edge is enclosed.
- Place hemming tape between the two layers of folded fabric.
- Follow the hemming tape manufacturer’s instructions, which usually involve pressing with an iron to activate the adhesive.
Important Note: While convenient, no-sew hems are generally less durable than sewn hems and may not hold up as well to frequent washing and wear. They are best for temporary solutions or delicate fabrics that cannot be sewn.
Understanding Hem Types for Tapered Jeans
The way you hem your tapered jeans can impact their overall look. Here are a few common types:
| Hem Type | Description | Best For | Appearance |
|---|---|---|---|
| Standard Fold-Over | The most common method: folding the raw edge up twice and sewing. | Everyday wear, versatility. | Clean, modern, can match original hem if done precisely. |
| Original Hem Reconstruction | Carefully removing and reattaching the original finished hem band. | Authentic, vintage, or specific style jeans. | Identical to factory finish, often with thicker stitching. |
| Cuffed Hem | Folding the jeans up a few inches from the desired length, creating a visible cuff. | Casual looks, showing off footwear, warmer weather. | Distinctive, casual, adds visual weight to the ankle. |
| Raw Hem | Cutting the jeans to the desired length and leaving the edge unfinished to fray naturally. | Edgy, casual, distressed looks. | Casual, undone, requires occasional trimming to manage fraying. |
For tapered jeans, maintaining the clean line is key. A well-executed standard fold-over or original hem reconstruction is usually ideal. A cuffed hem can also work well, as the added width at the ankle can complement the taper.
Troubleshooting Common Hemming Issues
Even with care, you might encounter minor hiccups. Here’s how to fix them:
- Uneven Hem: If you notice your hem is slightly uneven after sewing, you can carefully unpick the stitching and re-trim the fabric to be perfectly straight. For minor discrepancies, a very slight adjustment during pressing might suffice.
- Stitches Puckering: This can happen if your tension is too high or your stitch length is too short. Try adjusting your sewing machine’s settings or using a slightly longer stitch length and ironing flat.
- Thread Breaking: Ensure your needle is appropriate for denim and is not bent or dull. Check that your thread is not tangled and that your machine is properly threaded.
- Hem Not Lying Flat: Make sure you pressed the initial fold thoroughly before sewing. Ensure you are not pulling or stretching the fabric as you sew.
Maintaining Your Hemmed Jeans
Proper care will ensure your new hem lasts and your jeans continue to look great. Always follow the garment’s care label for washing instructions. Generally, washing jeans inside out in cold water on a gentle cycle helps preserve color and reduce wear. Air drying is best, but if you must use a dryer, use a low heat setting. Avoid harsh detergents.
For tapered jeans, especially those with a perfectly reconstructed original hem, consider infrequent washing to maintain their shape and color. Spot cleaning for minor stains is often a better approach.
Fading and Dyeing Your Jeans (Optional)
If you’re looking to customize your tapered jeans further after hemming, you might consider altering their color. For a distressed or lighter look, you can use a bleach solution. According to the U.S. Environmental Protection Agency, bleach should be used with caution, in well-ventilated areas, and mixed with water to control the lightening process. For a deeper or different color, fabric dyes are available. Always test on a scrap piece of fabric first and follow dye instructions carefully.
Note on Hemming with Hydrogen Peroxide: While some online sources mention using hydrogen peroxide for fading or distressing jeans, especially for a more subtle, bleached effect, it’s important to use it with caution. Hydrogen peroxide can weaken fabric fibers over time if used in high concentrations or left on for extended periods. A diluted solution (e.g., 1 part peroxide to 4 parts water) applied sparingly and rinsed thoroughly is usually sufficient for a mild lightening effect. Always test on an inconspicuous area first.
Applying a Fading Technique:
- Gather your supplies: Hydrogen peroxide (or bleach), water, spray bottle, gloves, well-ventilated area.
- Put on gloves and ensure good ventilation.
- Dilute the hydrogen peroxide (start with a 3:1 water to peroxide ratio).
- Spray the solution onto the areas you want to lighten, avoiding the seams for a more natural look.
- Let it sit for 15-30 minutes, checking the color periodically.
- Rinse thoroughly with cold water to stop the bleaching process.
- Wash and dry the jeans as usual.
This technique can give a sun-bleached appearance, subtly altering the color of your hemmed tapered jeans.
Frequently Asked Questions About Hemming Tapered Jeans
Q1: How much fabric should I leave for the hem allowance on tapered jeans?
A: For most denim, 1 to 1.5 inches is a standard hem allowance. This provides enough fabric to fold over twice for a clean, durable finish without adding too much bulk to the tapered leg.
Q2: Can I hem tapered jeans without a sewing machine?
A: Yes, you can hand-sew the hem using a strong needle and thread, opting for a neat stitch like a hem stitch for invisibility. Alternatively, fabric glue or hemming tape can be used for a no-sew finish, though this is generally less durable.
Q3: What’s the best way to measure the length for tapered jeans?
A: Always try the jeans on with the shoes you plan to wear them with. Have someone else mark the desired length while you stand normally, or mark it carefully yourself. Ensure the length is even on both legs to maintain the jean’s taper and drape correctly.
Q4: My jeans have a thick, double-stitched hem. How can I get that look?
A: This requires recreating the original hem. Carefully unpick the original hem, cut the leg to the desired length, and then reattach the original hem band. Sewing machines are best for this, often using a denim needle and sturdy thread.
Q5: Will hemming affect the taper of my jeans?
A: If done correctly, hemming should not negatively affect the taper. In fact, it helps preserve the intended silhouette by removing excess fabric that could otherwise disrupt the taper’s clean line. Ensure your hem is straight and parallel to the original leg seam.
Q6: How do I prevent the raw edge from fraying after cutting?
A: The most common method is to fold the raw edge up twice and sew it down, enclosing the raw edge. If you’re aiming for a raw hem look, you can use a product like Fray Check to stabilize the edges and prevent excessive unraveling, or simply accept and manage the fraying.
Conclusion
Hemming tapered jeans is a valuable skill that can significantly improve the fit and appearance of your favorite denim. By following these step-by-step instructions, you can achieve a professional-looking hem that maintains the stylish taper of your jeans.


