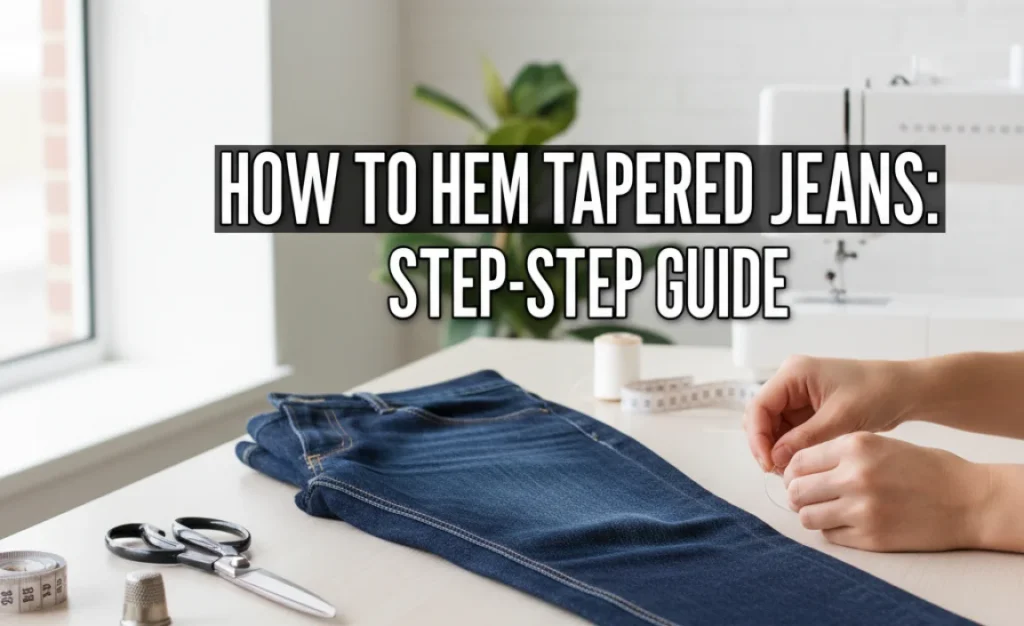
Summary: Learn how to hem tapered jeans yourself with this simple, step-by-step guide. We’ll show you how to get that perfect fit and clean finish without a tailor, making your favorite jeans look and feel brand new.
Are your favorite jeans a little too long, especially around the ankle? Tapered jeans, with their leg narrowing towards the hem, can be a bit trickier to shorten than straight-leg styles, often leading to an awkward bunching or a strange shape. It’s a common frustration, but don’t worry! With a few basic tools and some clear instructions, you can achieve a professional-looking hem right at home. This guide will walk you through every step, ensuring your tapered jeans fit perfectly and look exactly how you want them to. Get ready to transform your denim!
Understanding Your Tapered Jeans Hem
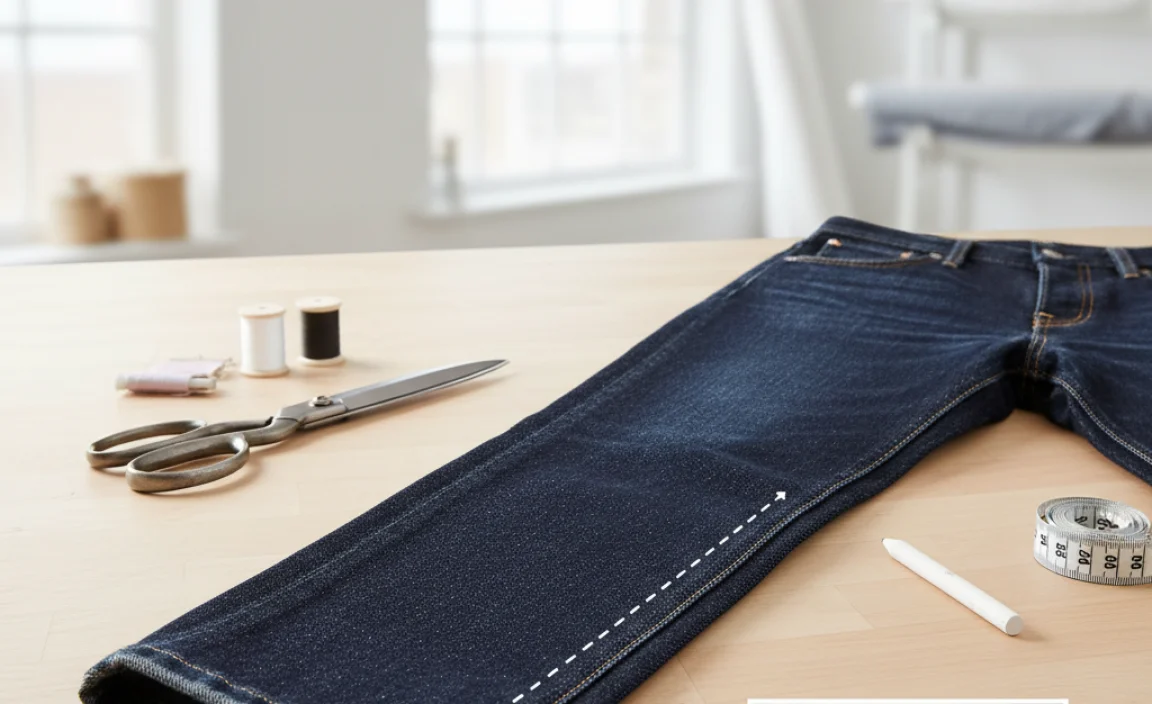
Before we dive into the hemming process, let’s quickly talk about what makes hemming tapered jeans unique. Unlike straight-leg jeans where the hem stays roughly the same width from knee to ankle, tapered jeans intentionally narrow. This means when you shorten them, you need to maintain that taper. If you simply cut off the excess fabric and sew a straight hem, you’ll disrupt the intended silhouette, often resulting in a hem that’s wider than the leg just above it. The goal is to preserve the stylish taper while achieving the correct length.
Essential Tools for Hemming Tapered Jeans
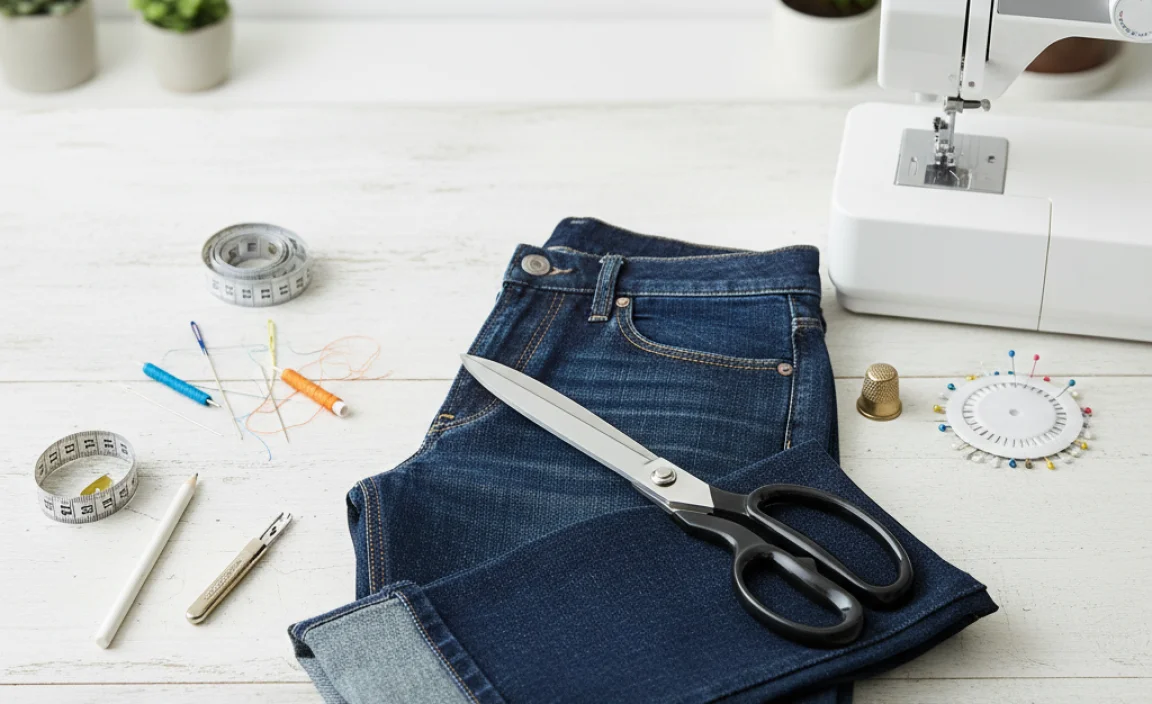
Gathering the right tools makes any sewing project smoother and more enjoyable. For hemming your tapered jeans, you won’t need a high-tech sewing machine, but a few key items will ensure a neat and durable finish. Think of these as your trusty sidekicks for a successful denim alteration.
What You’ll Need:
- Your Tapered Jeans: Make sure they are clean and dry.
- Sharp Fabric Scissors: For clean cuts that won’t fray excessively.
- Measuring Tape or Ruler: For accurate length measurements.
- Fabric Chalk, Pencil, or Disappearing Ink Pen: To mark your cutting line.
- Straight Pins: To hold the fabric in place while you’re working.
- Sewing Machine (Recommended): For a strong, professional stitch. A heavy-duty needle is advisable when sewing through denim.
- OR Heavy-Duty Hand-Sewing Needles: If you don’t have a machine, an upholstery needle or a heavy-duty hand-sewing needle will work.
- Matching Thread: Choose a thread color that closely matches your jeans’ existing stitching for an invisible repair, or opt for a contrasting color for a more visible, stylistic detail.
- Seam Ripper (Optional but helpful): Useful for removing the original hem if you want to preserve its look.
- Iron and Ironing Board: To press seams and create crisp folds.
Step-by-Step Guide to Hemming Tapered Jeans
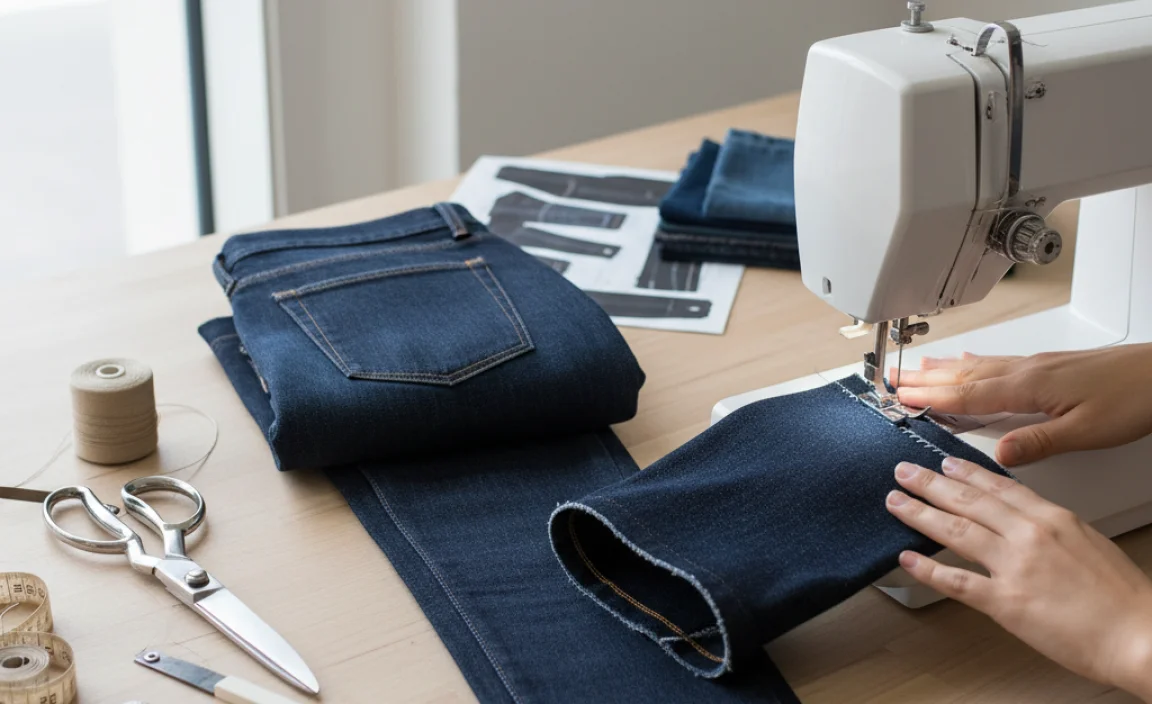
Let’s get started! This guide breaks down the process into manageable steps. Don’t rush; take your time with each part to ensure the best results. Remember, practice makes perfect, and even if your first attempt isn’t flawless, your jeans will still fit better!
Step 1: Try On and Mark Your Desired Length
Put on the jeans you plan to hem. Wear the shoes you would typically wear with these jeans. Stand in front of a mirror and assess the current length. Pin up the jeans to your desired length. It’s best to start by taking off a little at a time. You can always shorten them further, but you can’t add fabric back!
Tip: Have a friend help you pin them perfectly straight, or use a full-length mirror to check your work as you pin.
Step 2: Measure and Mark the Cut Line
Once pinned, take off the jeans. Lay them flat on a clean surface. Measure carefully from the bottom of the pin to the original hem. Add your desired seam allowance. A common seam allowance for hemming jeans is about 1 inch to 1.5 inches (2.5 cm to 3.8 cm). This extra fabric will fold up to create the new hem. Mark this new cutting line clearly with your fabric chalk or pen, both on the inside and outside of the leg if possible.
Important Note on Taper: When marking, pay attention to the taper. Make sure your marked cutting line follows the natural line of the jean’s taper. If you’re unsure, measure the width of the leg at the intended hemline and compare it to the width a few inches above the knee to ensure you’re preserving the narrowing effect.
Step 3: Cut Off the Excess Fabric
Using your sharp fabric scissors, carefully cut along the marked line. Ensure you are cutting through both layers of the jean leg evenly. Go slowly to make a clean, straight cut that respects the taper. If you plan to reattach the original hem for an authentic look, you’ll need to carefully unpick and save the original hem first (see Tip below).
Preserving the Original Hem (Optional “Original Hem” Method): For that authentic, slightly worn look, you can try to reattach the original hem. First, carefully unpick the stitching of the original hem using a seam ripper. You’ll have a strip of fabric with the original folded edge. Then, trim the excess fabric from the bottom of the jean leg, leaving about 1/2 inch (1.3 cm) below the original hem allowance. Fold up the jean leg to the desired length, press it, and then enclose the raw edge with the saved original hem piece. Stitch it securely.
Step 4: Prepare the New Hem Fold
Turn the jeans inside out. Fold the raw edge up by your seam allowance amount (e.g., 1 inch). Press this fold firmly with your iron. Then, fold it up again, encasing the raw edge within the fold. This second fold should bring the folded edge up to your original pinned line (or the desired finished hem length). Press this double-folded hem firmly. This creates a clean, double-folded hem that won’t fray.
Double-Folded Hem Advantage: This technique is standard for a reason. It hides the raw edge completely, preventing unraveling and giving a neat finish that looks professional. It’s also more durable than a single fold.
Step 5: Secure the Hem with Pins
Once you have your double-folded hem pressed in place, use straight pins to secure it all the way around the leg opening. Place the pins perpendicular to the folded edge, about every 1-2 inches, to keep everything in place while you sew. Make sure the folded edge is even and follows the taper. You can check this by measuring the width of the hem at several points.
Step 6: Sew the New Hem
Using a Sewing Machine:
Thread your sewing machine with matching (or contrasting) heavy-duty thread and install a denim needle. Start sewing at the inseam side of the hem for a less visible start to your stitching. Sew along the top edge of the folded hem, removing pins as you go. Keep your stitching line straight and consistent. Sew all the way around the leg opening. Backstitch at the beginning and end to secure the stitches.
Using Hand-Sewing Needles:
Use a heavy-duty needle and matching thread. A backstitch is a strong and relatively neat stitch for this purpose. Start at the inseam. Make small, even stitches, going through all layers of the folded hem. Aim for consistent stitch length and tension. Backstitch at the start and end.
Step 7: Trim Loose Threads and Press
Once you’ve finished sewing, trim any loose stray threads. Give your newly hemmed jeans a final press with the iron. Pay attention to the hem area to ensure it lies flat and neat. Turn the jeans right side out and admire your work!
Maintaining the Taper: A Visual Guide
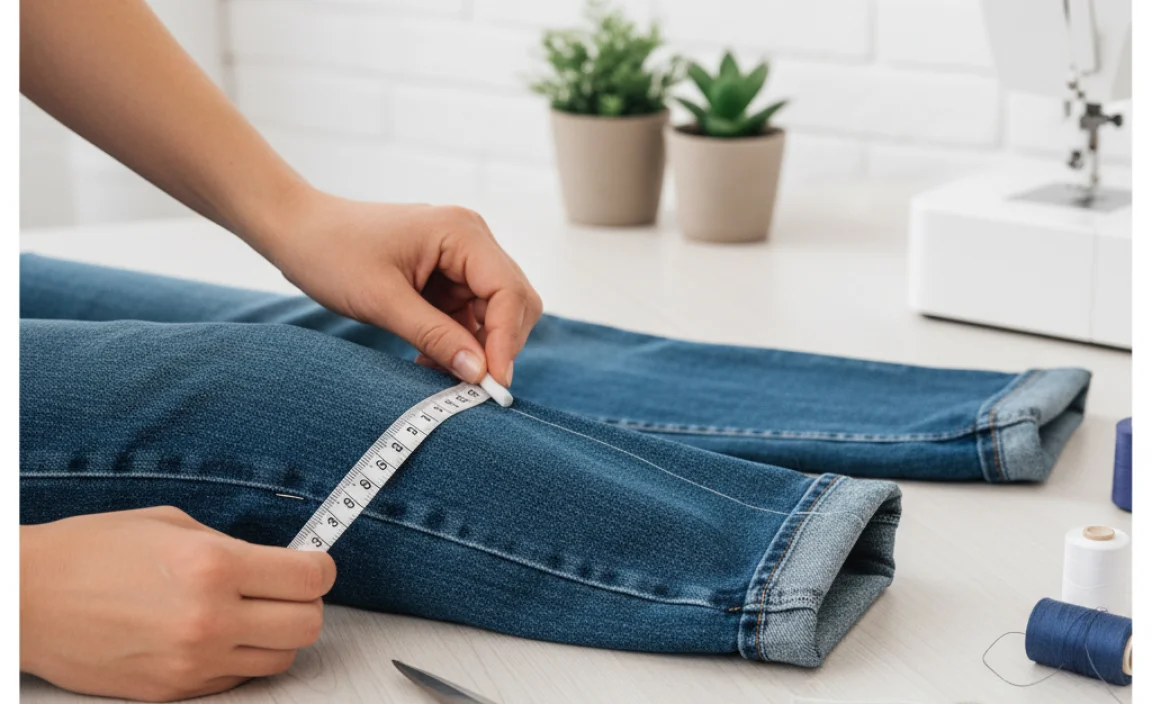
The key to successfully hemming tapered jeans is ensuring the new hemline maintains the leg’s narrowing shape. Here’s a breakdown of how this works visually:
| Feature | Straight Leg Jeans Hem | Tapered Jeans Hem | Visual Goal |
|---|---|---|---|
| Hem Width | Remains consistent from knee to ankle. | Gradually decreases from knee to ankle. | New hem width matches the taper at that point. |
| Cut Line | A straight line across the leg. | Follows the natural inward curve of the leg. | Ensures the taper is not disrupted. |
| Finished Look | Clean, consistent opening. | A neat opening that fits the narrowed leg. | Jeans fit snugger at the ankle without bunching. |
Think of it this way: if your jeans are 8 inches wide at the thigh and 6 inches wide at the knee, the taper means they might be 5 inches wide at the point where you want the hem to end, before any alterations. When you cut and hem, you want the new opening to be that 5 inches (or whatever the natural taper dictates) to maintain the silhouette. Using your measuring tape to check the width at various points on the leg before cutting is crucial.
Alternative Hemming Techniques for Tapered Jeans
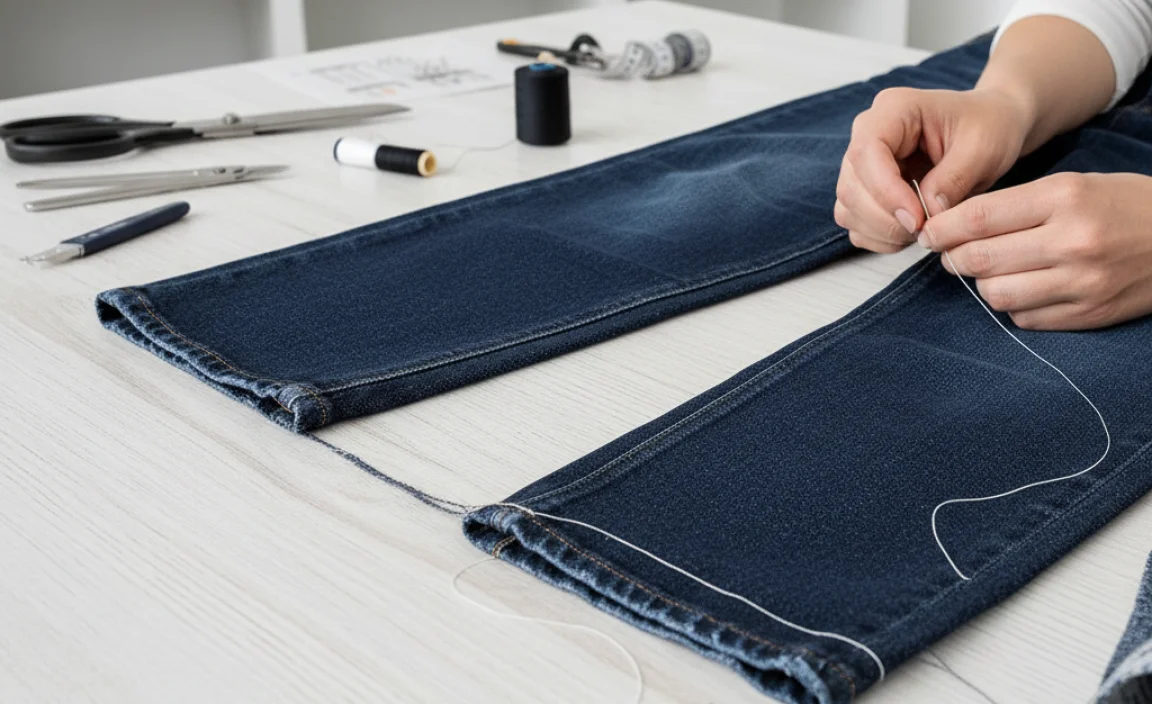
While the double-folded hem is the most common and durable method, a couple of other techniques can be used, depending on the desired look and the type of machinery available.
1. The Cuffed Hem
This is a non-permanent option that works well for casual looks. Simply fold the bottom of the jean leg up twice to create a cuff of your desired width. You can secure this with a few strategically placed stitches or a fabric adhesive if you want it to stay put, but many people wear it un-sewn.
- Pros: Easy, no cutting required, adjustable length.
- Cons: Can look bulky, may not suit all styles, can come undone.
2. The Blind Hem Stitch
A blind hem stitch is designed to be nearly invisible from the right side of the fabric. It’s a more advanced technique that requires a specific stitch setting on a sewing machine or careful hand-stitching. It creates a very clean, professional finish, often seen on dress pants.
- Pros: Very clean, professional, almost invisible finish.
- Cons: Requires a specific sewing machine setting or advanced hand-sewing skills, can be less durable for heavy denim wear.
For most DIY hemming of tapered jeans, especially for beginners, the double-folded hem is the most practical and reliable choice. It offers durability and a clean, understated finish.
Troubleshooting Common Hemming Issues
Even with the best intentions, sometimes things don’t go exactly as planned. Here are a few common issues and how to fix them:
- Uneven Hem: If your hem looks wavy or uneven after sewing, it’s usually because of inconsistent tension or the fabric shifting during sewing. Pressing with an iron can help smooth it out. For minor waves, a good press might be enough. For significant unevenness, you might need to unpick and re-sew, paying closer attention to keeping the fabric taut but not stretched.
- Stitching Looping or Bunching: This almost always indicates a problem with your sewing machine’s tension or threading. Consult your sewing machine manual for troubleshooting thread tension and re-thread the machine carefully.
- Raw Edge Showing: If your double-fold wasn’t quite wide enough or the fabric slipped, you might see a raw edge peeking out. You can either try to carefully use a seam ripper to adjust the fold, or if it’s just a small spot, you can try to carefully trim away the rogue thread and perhaps add a small dab of fabric glue to secure it.
- Jeans Still Too Long: Don’t panic! You can always take out the hem and shorten it further. Just repeat the measuring, folding, and sewing steps from Step 4 onwards, making the hem even narrower this time.
Remember, every alteration is a learning experience. Don’t be discouraged by minor setbacks!
FAQ: Hemming Tapered Jeans
Q1: Do I need a special sewing machine to hem jeans?
No, you don’t necessarily need a special machine. A standard home sewing machine can handle denim, but it’s highly recommended to use a “denim” or “heavy-duty” needle, which is stronger and sharper. You’ll also want to use a strong thread, like a polyester or cotton-poly blend.
Q2: How do I figure out the correct, new hem width to keep the taper?
The best way is to measure the width of the leg at your desired hem point before you cut. Compare this to the width of the leg a few inches above that point to ensure you’re preserving the narrowing shape. When you fold for the hem, try to maintain this natural taper in the fold.
Q3: What’s the best stitch for hemming jeans?
For strength and a clean look, a straight stitch on a sewing machine is common. If you want a more decorative or authentic look, you might use a double-needle stitch, which mimics the original hem on many jeans. For a nearly invisible hem, a blind hem stitch works well. Hand-sewing with a backstitch is also a solid option.
Q4: How much fabric should I leave for the hem allowance?
For a durable and neat double-folded hem, aim for a total seam allowance of about 1 to 1.5 inches (2.5 to 3.8 cm). This allows for a 0.5-inch to 1-inch initial fold, and then a second fold to enclose the raw edge.
Q5: Can I hem my jeans without a sewing machine?
Yes, you absolutely can! You’ll need good quality hand-sewing needles (like upholstery or denim needles) and strong thread. A backstitch or a whipstitch can create a secure and tidy hem, though it will take more time and effort than using a machine. Ensure your stitches are small and even.
Q6: My jeans look bulky after hemming. What did I do wrong?
Bulky hems usually happen when the fabric isn’t pressed well during the folding process, or if too much fabric is folded. Ensure each fold is pressed flat before the next. Also, make sure you’re not folding over excess fabric that’s more than you need for your chosen seam allowance (1-1.5 inches is typical). For very thick denim, a single fold can sometimes work if finished with a serger or zigzag stitch, but a double fold is generally preferable for durability.
Conclusion
Hemming tapered jeans might seem daunting at first, but with this step-by-step guide, you’re well-equipped to achieve a professional and flattering fit. We’ve covered everything from selecting your tools to making precise cuts and securing a durable hem that respects the unique shape of your denim. Remember to take your time, press your seams carefully, and most importantly, have confidence in your abilities. A perfectly hemmed pair of jeans not only feels better but also elevates your entire look. Enjoy rocking your newly customized denim, knowing you did it yourself!


