To hem tapered jeans, you’ll need to carefully measure, mark, and cut the excess fabric to achieve a clean, proportional fit. This guide provides step-by-step instructions for beginners, ensuring a professional look without needing a sewing machine.
Tapered jeans are a stylish choice, but their unique fit can make hemming a bit tricky. If your favorite pair is too long, you might be wondering how to shorten them without ruining that perfect taper. It’s a common problem, and the good news is that with a few simple tools and a little patience, you can achieve a professional-looking hem right at home. This guide will walk you through everything you need to know, step-by-step, so you can get back to rocking your perfectly fitting jeans.
Why Hemming Tapered Jeans Can Be Tricky
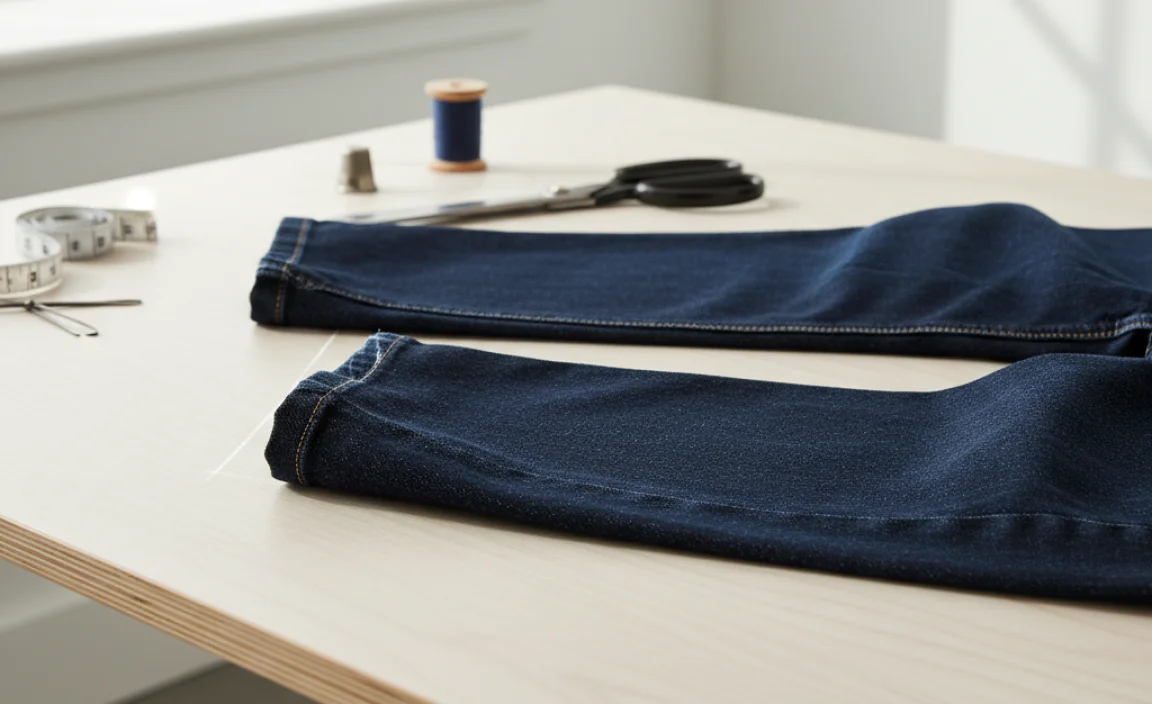
Tapered jeans are designed to narrow down from the knee to the ankle. This means a simple straight hem might look “off” or disproportionate when finished. The goal is to maintain that gradual taper. Cutting too much or hemming unevenly can disrupt the silhouette, making the jeans look awkward. Unlike straight-leg jeans, where the leg opening remains consistent, tapered jeans require a bit more precision to ensure the new hemline complements the existing shape. It’s all about preserving the intended design and ensuring the finished product looks as good, if not better, than when you bought them.
Essential Tools for Hemming Tapered Jeans
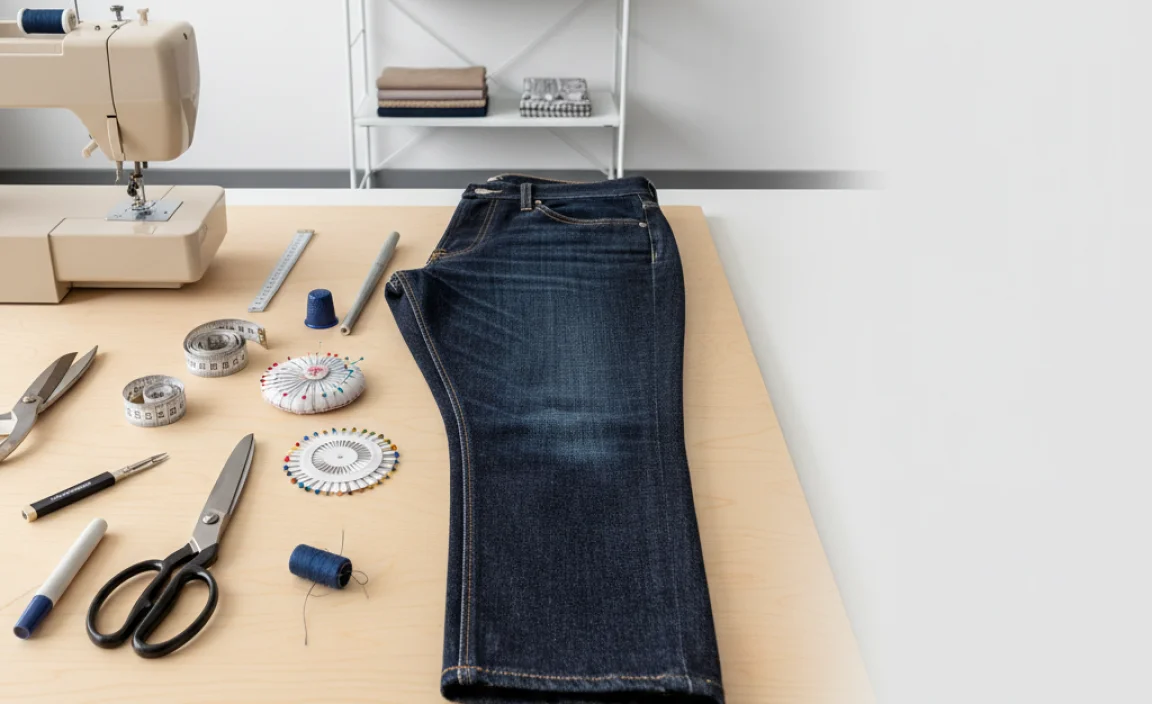
Before you begin, gather your supplies. Having everything ready will make the process much smoother. Think of this as your essential hemming toolkit. You don’t need a sewing machine, but some basic hand-sewing skills will be helpful.
- Fabric Scissors: Sharp scissors are crucial for a clean cut. Dull scissors can snag and create a ragged edge.
- Fabric Marker or Tailor’s Chalk: For marking your hemline accurately.
- Measuring Tape or Ruler: To ensure even measurements on both legs.
- Pins: To hold the fabric in place while you work.
- Thread: Choose a color that closely matches your jeans.
- Sewing Needle: A sharp, sturdy needle designed for denim works best.
- Iron and Ironing Board: For pressing seams and creases.
- Seam Ripper (Optional but recommended): To carefully undo the original hem if you want to preserve the factory look.
- Measuring Stick or Straight Edge: To help draw a straight line for your cut.
Step-by-Step Guide to Hemming Tapered Jeans
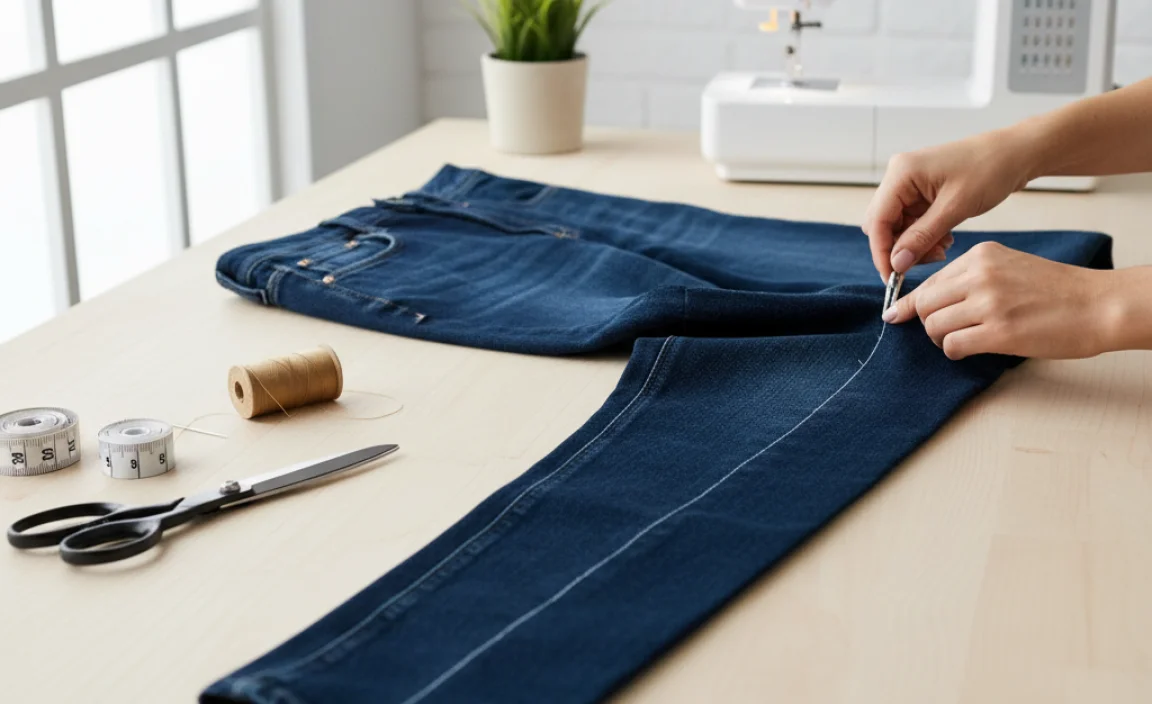
Let’s get started! This process focuses on hand-hemming, which is perfect for beginners and doesn’t require a sewing machine. We’ll take it one step at a time.
Step 1: Decide on the Desired Length
Put on the tapered jeans and the shoes you plan to wear with them most often. Stand in front of a mirror. You want to determine where the bottom of the hem should fall. A good rule of thumb is to have the hem rest on the top of your shoe. For tapered jeans, some prefer them to hit just above the shoe to showcase the taper more prominently.
Use your fabric marker or chalk to make a small marking on the outer seam of one leg where you want the new hem to be.
Step 2: Measure and Mark Both Legs
This is where precision matters. You need to ensure both legs are the exact same length. Take off the jeans. Lay them flat on a clean surface, smoothing out any wrinkles.
Use your measuring tape to measure from the crotch seam down to the mark you made. Note this measurement. Now, measure the same distance down from the crotch seam on the inner seam and the outer seam of the same leg. Connect these marks with your fabric marker or chalk, creating a line. This line is where you will cut.
Repeat this entire measurement process on the other leg, ensuring it matches the first leg exactly. It’s often easier to use the first leg as a guide for the second.
Step 3: Determine the Hem Allowance
You need to decide how much extra fabric you’ll fold up to create the hem. For denim, a standard hem allowance of 1 to 1.5 inches (2.5 to 4 cm) is usually sufficient. This allowance will be turned up twice to create a clean, sturdy hem.
Add this measurement to your marked cutting line. For example, if your initial mark is at 30 inches and you want a 1.5-inch hem allowance, your cutting line will be at 31.5 inches from the crotch seam.
Step 4: Cut the Excess Fabric
Once you’ve double-checked all your measurements, it’s time to cut. Carefully cut along the marked cutting line you created in Step 2 and Step 3. Use your sharp fabric scissors for a clean, straight cut. If you’re unsure, it’s always better to cut a little less than too much. You can always trim more later, but you can’t add fabric back.
Step 5: Prepare the Original Hem (Optional but Recommended)
If your jeans have a factory hem that you want to replicate, you can carefully use a seam ripper to undo the original stitching. This will give you a clean edge to work with and the original hem texture. If you choose not to do this, you can simply fold up the fabric and sew it into place, but the finish might look slightly different from the original.
Tip: Take a picture of the original hem before you start dismantling it. This will be a helpful reference for how it was constructed.
Step 6: Hemming the Jeans (Folding and Pressing)
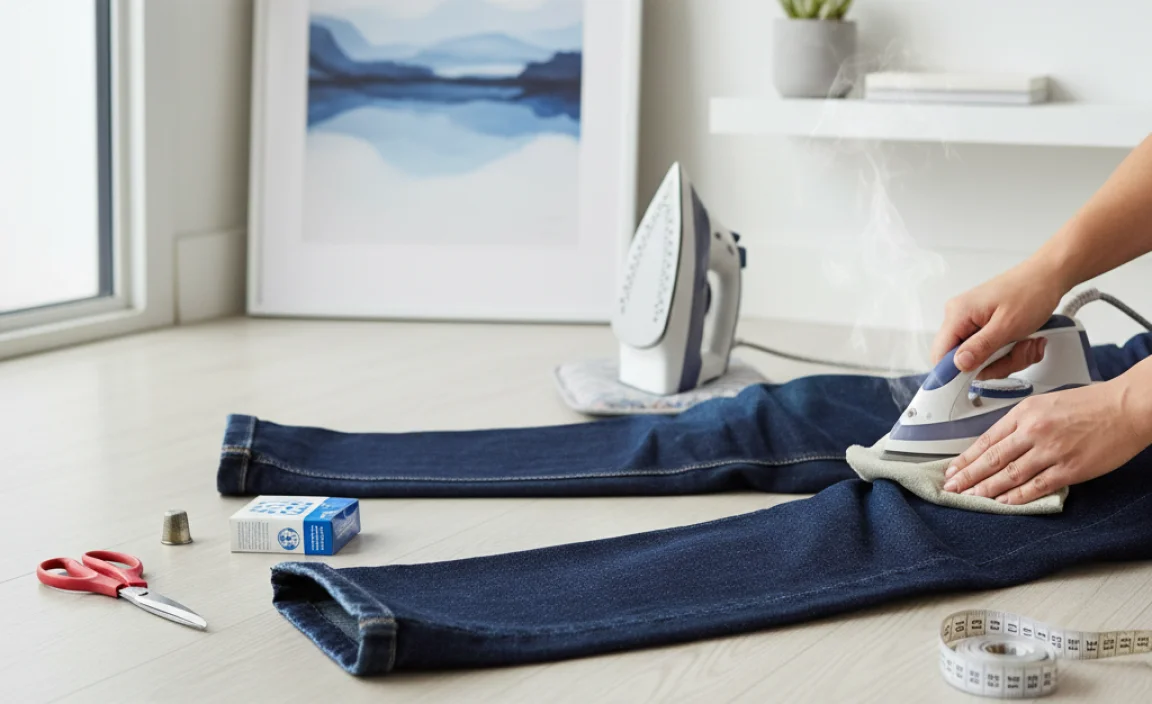
Now it’s time to fold the fabric. Fold the raw edge of the cut fabric up towards the inside of the jeans by about 0.5 to 0.75 inches (1.2 to 2 cm). Press this fold firmly with your iron. This creates a neat initial crease.
Next, fold the fabric up again, this time by the amount of your chosen hem allowance (e.g., 1 to 1.5 inches). Ensure the folded edge is straight and aligns with the original stitch line (if you removed it) or is parallel to the first fold. Press this second fold very firmly with the iron. This pressed crease will hold the hem in place and make it easier to sew.
Step 7: Pin the Hem in Place
With the hem folded and pressed, use your pins to secure it. Place pins about every 1 to 2 inches along the folded edge. Ensure the pins go through all layers of the fabric and are placed perpendicular to the fold. This keeps the hem from shifting while you sew.
Step 8: Hand-Stitch the Hem
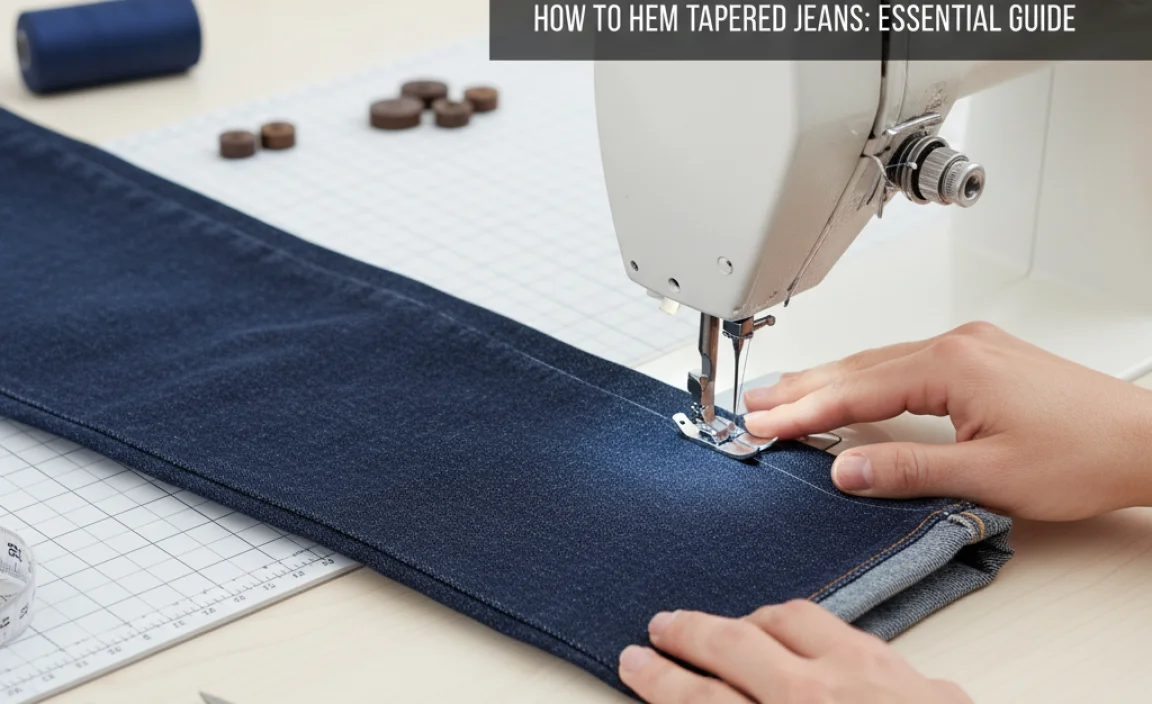
Thread your needle with a sturdy thread that matches your jeans. Knot one end of the thread securely. You can use a simple running stitch or a blind stitch for a neater finish.
Running Stitch: This is the simplest stitch. Make small, even stitches over and under the fabric edge. Pull the thread gently to make the stitches consistent. For a stronger hem, you can make stitches closer together. You can find a great visual guide on basic stitches at the Craftsy sewing stitches guide.
Blind Stitch (or Hemstitch): This stitch is more discreet. Make a small stitch on the folded edge of the hem, then catch just one or two threads of the main jean fabric, and then move back to the folded edge. This creates almost invisible stitches on the outside of the jeans. A good tutorial can be found on sites like Dummies.com.
Start your stitching at the inseam or a less visible point of the hem. Work your way around the entire leg, keeping your stitches as even as possible. Once you complete the circle, tie off your thread securely with a knot and trim any excess.
Step 9: Final Press and Inspection
After stitching, remove all the pins. Press the hem one final time with your iron. This will give it a crisp, finished look. Inspect your work to ensure all stitches are secure and the hem is even all the way around.
Tips for Hemming Tapered Jeans Without a Sewing Machine
Hecho a mano (hand-sewn) hems can look fantastic if done with care. Here are some extra tips to elevate your finished product:
- Use a strong thread: Denim is a thick fabric, so use a good quality, strong thread. Upholstery thread or a denim-specific thread is ideal.
- Double stitch for strength: For extra durability, especially on the inseam where most stress occurs, you can go over your stitching a second time.
- Match thread color perfectly: If you want an invisible hem from the outside, match your thread to the original weft (the horizontal threads) of the denim.
- Consider the original hem: If you removed the original hem, try to re-create a similar look. Some jeans have a double-stitch or a contrasting thread at the original hem.
- Practice on scrap fabric: If you’re new to hand-sewing, practice your stitches on a piece of scrap denim or fabric similar to what your jeans are made of before starting on the actual garment.
Maintaining the Taper: Special Considerations
The ‘taper’ in tapered jeans means the leg gradually narrows from the knee to the ankle. When hemming, it’s crucial not to create a simple straight cut and fold across the entire circumference of the leg if the taper is significant. Instead, the hemline should ideally follow the curve of the tapered leg. This is why taking measurements from the crotch seam and ensuring consistency is vital.
If your jeans have a very aggressive taper, you might notice that a standard hem folded straight across might bunch slightly at the back of the leg or feel a bit tight on the ankle. In such cases, a very slight curve to your hem cut can help. However, for most tapered jeans, a careful straight measurement and fold will naturally accommodate the taper. The key is consistency in your measurements from the longest point of the leg down.
When to Seek Professional Help
While hand-hemming tapered jeans is achievable for most beginners, there are times when professional help might be best:
Expensive or Designer Jeans: If your jeans are a significant investment, you might want a professional tailor to do the job to ensure perfection.
Complex Fabric or Construction: Very unusual denim blends, raw denim with specific properties, or jeans with intricate detailing near the hem might be harder to alter at home.
Uncertainty with the Taper: If you’re struggling to understand how the taper affects the hemline and are worried about distorting the fit, a tailor can offer expert advice and execution.
Need for Machine Finish: If you want the appearance and durability of a machine-sewn hem, especially one that perfectly matches the original industrial stitching, a tailor has the equipment.
You can often find local tailors by searching online. Websites like Tailor Pro or even your local dry cleaner can often recommend or provide tailoring services. Prices for hemming jeans typically range from $15 to $30, depending on the complexity and location.
Common Mistakes to Avoid
Here are some pitfalls to watch out for:
| Mistake | Why It’s a Problem | How to Avoid It |
|---|---|---|
| Uneven Measurements | Results in one leg being shorter than the other or hems looking lopsided. | Measure carefully from the crotch seam down. Use pins to mark consistent points before cutting. |
| Cutting Too Much Fabric | Can’t be undone. Leaves jeans too short and potentially ruins the intended fit. | Always measure twice, cut once. Err on the side of leaving a little extra fabric; you can always trim more. |
| Using Dull Scissors | Creates a jagged, unprofessional edge that can fray easily. | Invest in a sharp pair of fabric scissors dedicated to cutting fabric only. |
| Ignoring the Taper | Can make the jeans look odd or disproportionate, especially at the ankle. | Focus measurements on maintaining the correct length relative to the crotch, allowing the taper to influence the final shape naturally. |
| Skipping the Pressing Step | Makes it hard to get clean folds and can lead to wavy seams when sewing. | Press each fold firmly with an iron. This step is crucial for a neat finish. |
| Using the Wrong Thread | A weak or poorly matched thread will look bad and won’t last. | Use strong, durable thread that matches the color of your jeans as closely as possible. |
FAQ: Hemming Tapered Jeans
Q1: Can I hem tapered jeans without a sewing machine?
A1: Absolutely! Hand-stitching is a perfectly viable and often preferred method for a clean, customized hem, especially for beginners. A good needle and strong thread are all you need.
Q2: How much fabric should I leave for the hem allowance on tapered jeans?
A2: For denim, a hem allowance of 1 to 1.5 inches (2.5 to 4 cm) is standard. This gives you enough fabric to fold twice for a sturdy and neat finish.
Q3: Do tapered jeans need a special hemming technique?
A3: Not necessarily special, but precise. The key is to maintain the taper’s proportions. Measure carefully from the crotch down and ensure both legs are even to avoid distorting the leg shape.
Q4: How do I make sure my hand-stitched hem looks professional?
A4: Use small, even stitches. Press your folds firmly with an iron before sewing, and consider using a blind stitch for a nearly invisible finish on the outside of the jeans.
Q5: What if my jeans have a factory-stitched hem I want to keep?
A5: If you want to preserve the original look, you can carefully use a seam ripper to unpick the existing hem. Then, when you re-hem, you can stitch in the same place to mimic the original appearance.
Q6: How do I prevent denim from fraying after cutting?
A6: The double-fold hem method is the best way to encase the raw edge. Once folded and stitched, the raw edge is protected and won’t fray. You can also serge the edge if you have access to a serger, but it’s not necessary for a standard hand-hem.
Conclusion
Hemming tapered jeans at home is a totally achievable task, even for those new to altering clothes. By following these detailed steps, using the right tools, and paying close attention to your measurements, you can achieve a fit that feels custom-made. Remember to work slowly, press your folds, and use neat, consistent stitches. Whether you’re aiming for a subtle adjustment or a significant shortening, the result will be a pair of tapered jeans that fit you perfectly, boosting your confidence and style. Enjoy your newly tailored denim!
.lwrp.link-whisper-related-posts{
margin-top: 40px;
margin-bottom: 30px;
}
.lwrp .lwrp-title{
}.lwrp .lwrp-description{
}
.lwrp .lwrp-list-container{
}
.lwrp .lwrp-list-multi-container{
display: flex;
}
.lwrp .lwrp-list-double{
width: 48%;
}
.lwrp .lwrp-list-triple{
width: 32%;
}
.lwrp .lwrp-list-row-container{
display: flex;
justify-content: space-between;
}
.lwrp .lwrp-list-row-container .lwrp-list-item{
width: calc(25% – 20px);
}
.lwrp .lwrp-list-item:not(.lwrp-no-posts-message-item){
max-width: 150px;
}
.lwrp .lwrp-list-item img{
max-width: 100%;
height: auto;
object-fit: cover;
aspect-ratio: 1 / 1;
}
.lwrp .lwrp-list-item.lwrp-empty-list-item{
background: initial !important;
}
.lwrp .lwrp-list-item .lwrp-list-link .lwrp-list-link-title-text,
.lwrp .lwrp-list-item .lwrp-list-no-posts-message{
}@media screen and (max-width: 480px) {
.lwrp.link-whisper-related-posts{
}
.lwrp .lwrp-title{
}.lwrp .lwrp-description{
}
.lwrp .lwrp-list-multi-container{
flex-direction: column;
}
.lwrp .lwrp-list-multi-container ul.lwrp-list{
margin-top: 0px;
margin-bottom: 0px;
padding-top: 0px;
padding-bottom: 0px;
}
.lwrp .lwrp-list-double,
.lwrp .lwrp-list-triple{
width: 100%;
}
.lwrp .lwrp-list-row-container{
justify-content: initial;
flex-direction: column;
}
.lwrp .lwrp-list-row-container .lwrp-list-item{
width: 100%;
}
.lwrp .lwrp-list-item:not(.lwrp-no-posts-message-item){
max-width: initial;
}
.lwrp .lwrp-list-item .lwrp-list-link .lwrp-list-link-title-text,
.lwrp .lwrp-list-item .lwrp-list-no-posts-message{
};
}


