Quick Summary
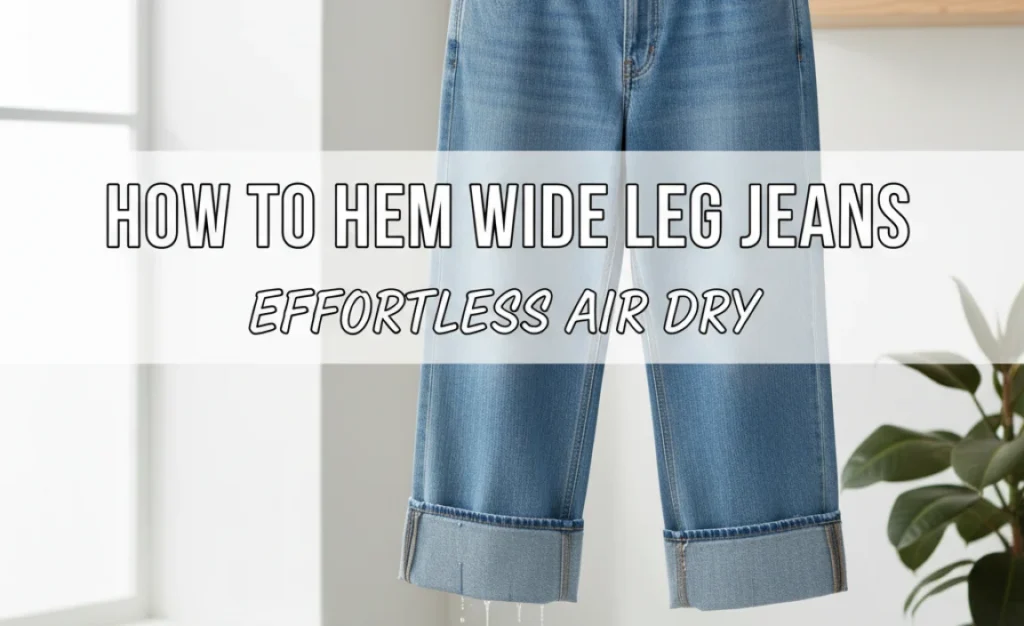
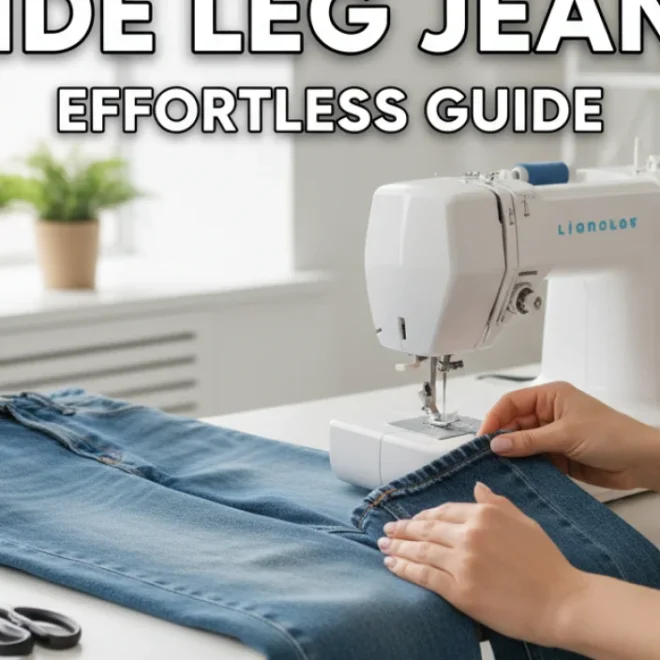
Hemming wide leg jeans for an effortless air dry finish is simple. You can easily adjust the length yourself without needing a sewing machine, ensuring a perfect fit that dries naturally and retains its shape. This guide provides straightforward steps to achieve a clean hem at home.
Finding the perfect pair of wide leg jeans can feel like striking gold. But what happens when they’re just a little too long? Instead of struggling with overly long cuffs that drag or wrestling with a sewing machine you may not have, there’s a much simpler approach: hemming your wide leg jeans for an effortless air dry finish. This method is designed for anyone, regardless of sewing experience, to achieve a smart, well-fitting hem that dries beautifully without shrinking or losing its shape. We’ll walk you through exactly what you need to do, making this common clothing problem a breeze to solve.
Why Hemming Your Wide Leg Jeans Matters
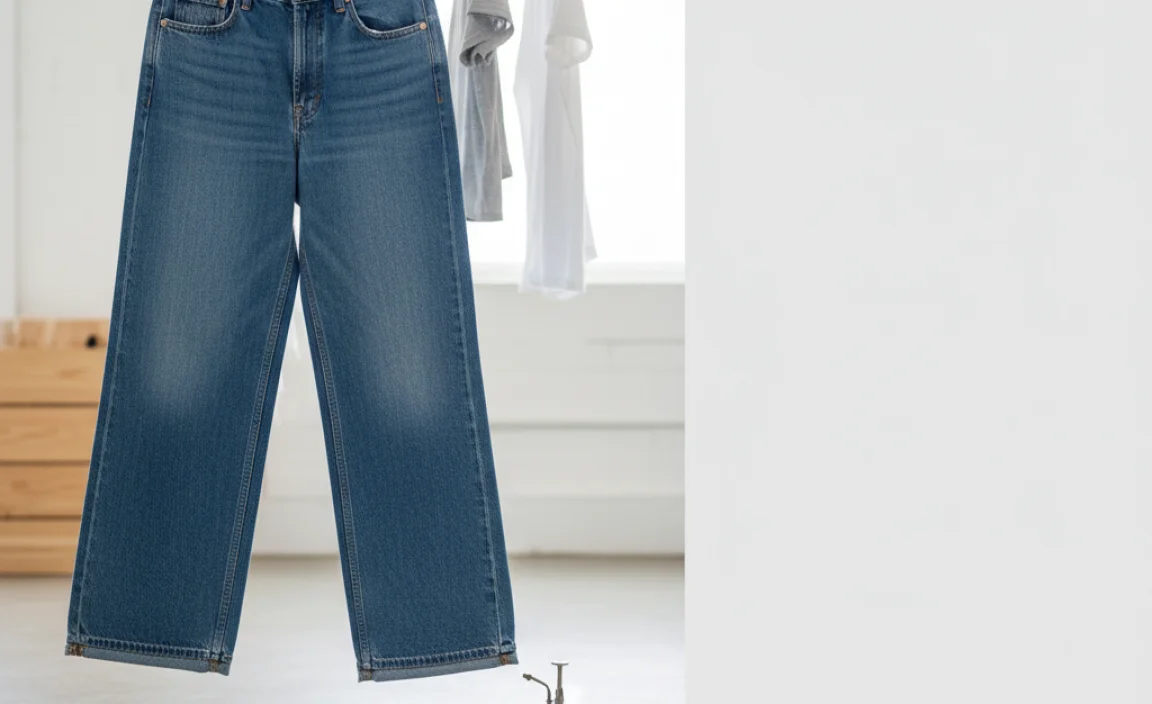
Wide leg jeans are a style staple, offering comfort and a fashionable silhouette. However, their volume can sometimes work against you if the length is off. Jeans that are too long can make you appear shorter, are prone to getting dirty or damaged at the bottom, and can even be a tripping hazard. A well-hemmed pair, on the other hand, will complement your proportions perfectly, look polished whether you’re dressed up or down, and extend the life of your favorite denim. The “air dry” aspect we’re focusing on ensures your efforts won’t be undone by a hot dryer.
Understanding the “Air Dry” Hem
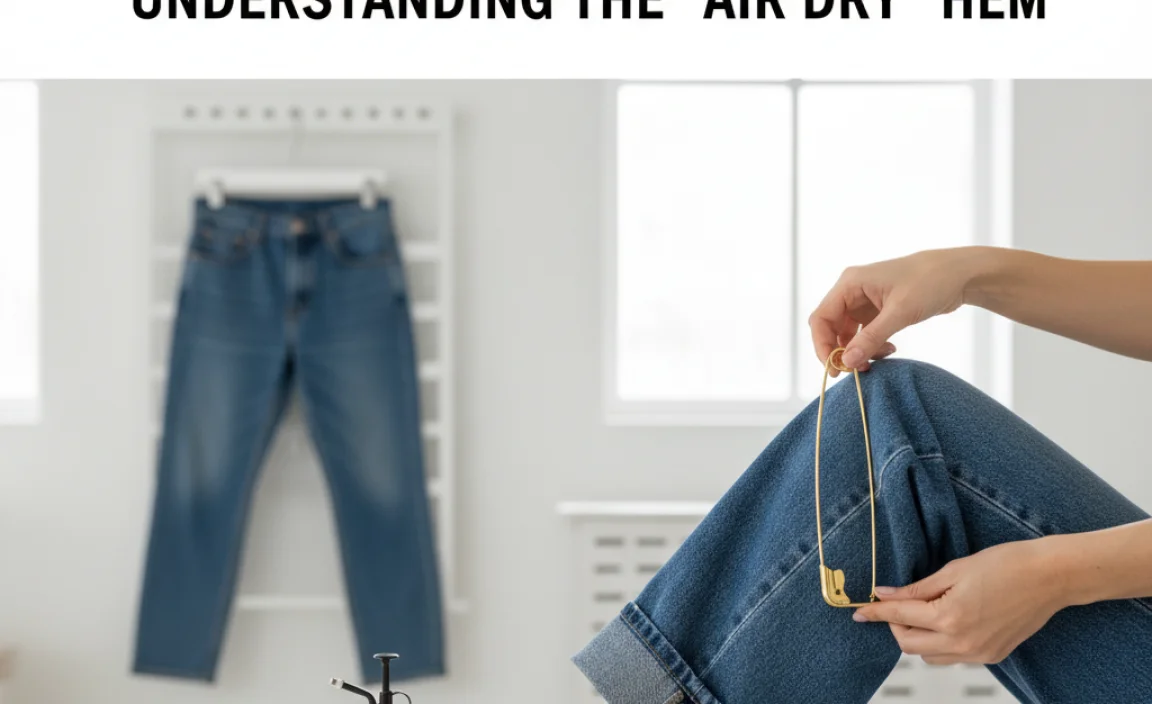
When we refer to an “air dry” hem for jeans, it means the hemming method is designed to be durable and look its best when the jeans are allowed to dry naturally. This is crucial for denim because excessive heat from a dryer can sometimes cause shrinkage, distortion, or affect the fabric’s finish and color. The techniques we’ll cover avoid permanent heat-setting or methods that rely on dryer tumbling to achieve their final look. Instead, they focus on creating a neat, secure hem that will hold up beautifully after air drying, maintaining the intended fit and style of your wide leg jeans.
What You’ll Need: Simple Tools for Success
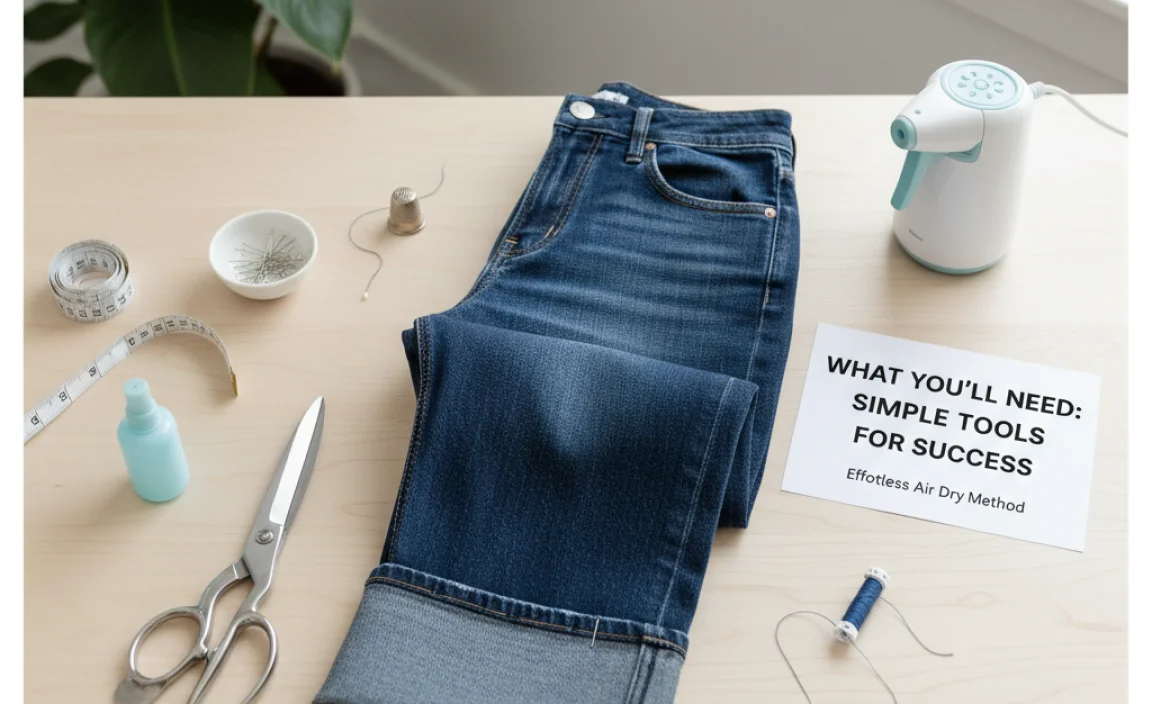
To hem your wide leg jeans without a sewing machine and ensure they air dry perfectly, you won’t need much. Most of these items are likely already in your home or are inexpensive to acquire:
- Fabric Scissors: Sharp scissors specifically for fabric will ensure clean cuts without fraying.
- Measuring Tape or Ruler: Essential for accurate measurements. A flexible tailor’s tape measure is ideal.
- Fabric Chalk or a Removable Fabric Marker: For marking your hemline. Test on an inconspicuous area first to ensure it washes out.
- Pins: Straight pins to hold the hem in place while you work.
- Iron and Ironing Board: To press creases and secure the hem before final fastening.
- Fabric Glue (Optional): A strong, washable fabric glue can be a great alternative for a no-sew finish. Look for one specifically designed for denim or heavy fabrics.
- Hem Tape (Optional): Alternatively, use iron-on hemming tape for a quick, no-sew bond. Ensure it’s suitable for denim.
- Your Wide Leg Jeans: Of course!
- A Flat Surface: For laying out your jeans to measure and mark.
Step-by-Step: Hemming Your Wide Leg Jeans (Air Dry Method)
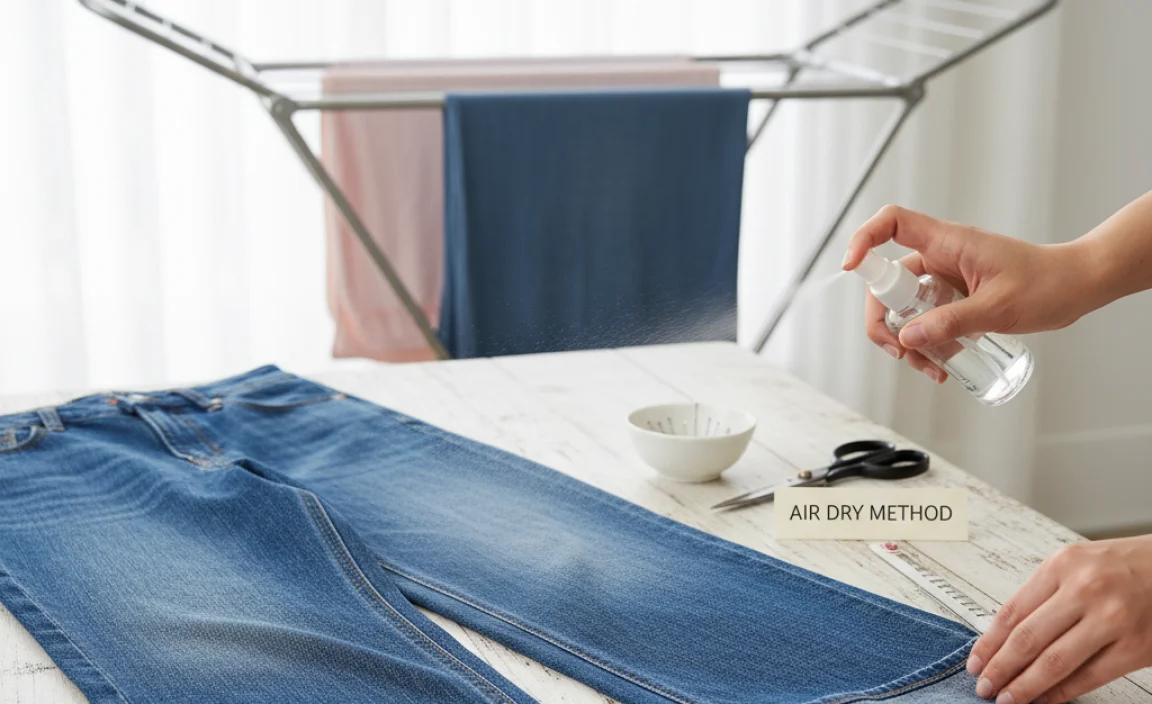
Step 1: Prepare Your Jeans
Start by washing and drying your wide leg jeans as you normally would. This is important because many fabrics, including denim, can shrink slightly after their first wash. You want to hem them after this initial shrinkage has occurred to ensure the final length is accurate and stays that way. Lay your jeans flat on a clean, smooth surface. Smooth out any wrinkles to ensure your measurements are precise.
Step 2: Determine the Correct Length
This is where you decide how long you want your jeans to be. Put on the shoes you typically wear with your wide leg jeans. This is crucial because different shoe heights will drastically change the ideal length of your hem. Stand in front of a mirror and let the jeans fall naturally. You can:
- Option A: Pin them to the desired length. Gently pull the fabric up at the hem until it hits the top of your shoe or the point where you want the hem to sit.
- Option B: Measure the desired length. Measure from the crotch seam down to where you want the hem to fall.
Once you have your target length, mark it on one leg. Remember that wide leg jeans often have a bit of a flare, so you want the hem to look even all the way around. For now, just focus on marking one point. You’ll make it even later.
Step 3: Mark Your Hemline
Using your fabric chalk or marker, gently mark the desired hem length on the inside seam of one jean leg. It’s best to mark along the inner seam first, as this is straighter. If you’re using pins, leave them in place for now. If you’ve measured, make a clear mark. For wide leg jeans, you’ll want to ensure the hem is consistent with the leg’s natural drape, so pay attention to how the fabric falls. Don’t be afraid to adjust if it looks uneven as it hangs.
Step 4: Even Out the Hemline
Now, you need to make sure the hem is even all around the leg. This is especially important for wide leg styles. Lay the jeans flat, aligning the inner and outer seams carefully. Smooth out the fabric so it lies perfectly flat. You’ll notice that when the jeans are laid flat, the hemline might appear slightly curved. Use your fabric chalk or marker to draw a continuous line that connects your initial mark to create a straight or gently curved hem across the bottom of the leg. Aim for the line to be parallel to the floor when the jeans are worn. A table or long counter can help achieve a more accurate, level line.
Pro Tip: If you have a way to hang the jeans perfectly straight, you can use a long ruler or your measuring tape held vertically against the hem to mark a consistent distance from the floor, ensuring a perfectly even hem.
Step 5: Trim the Excess Fabric
Now it’s time to cut. Leave about 1 to 1.5 inches (2.5 to 3.8 cm) of extra fabric below your marked hemline. This extra material will be used to create the folded hem. Use your sharp fabric scissors to cut cleanly along your marked line. Cut through both layers of fabric. For wide leg jeans, ensure you’re cutting straight across the bottom to maintain the intended drape.
Step 6: Fold and Press the Hem
This is where the “air dry” construction really comes into play, emphasizing neatness and minimal heat-setting.
- First Fold: Fold the raw edge of the denim up by about half an inch (1.3 cm) towards the inside of the jeans. Press this fold flat with your iron. This tucks away the raw edge and creates a clean base.
- Second Fold: Now, fold the hem up again. The amount you fold will depend on how much excess fabric you left and the thickness of your denim. You want to fold it so the raw edge is completely enclosed and you have a neat hemline that sits at your previously marked final length. A common fold is to bring the initial fold up to meet your original desired length mark, enclosing the raw edge. Press this second fold firmly with your iron to create a sharp crease. Ensure the folded hem is smooth and lies flat, not bulky.
Make sure the folded hem is perfectly aligned and smooth. The iron helps create a crisp line, but it’s not a permanent set like you’d get from sewing. The structure comes from the folds and how you secure them.
Step 7: Secure the Hem (No-Sew Options)
This is the crucial step for an “air dry only” finish. You need to secure the folded hem so it stays in place without relying on stitching or dryer heat. Here are your best options:
Option A: Fabric Glue
Apply a thin, even bead of strong fabric glue along the inside edge of the second fold (where the raw edge is hidden). Carefully press the folded hem down onto the leg of the jeans. Ensure there’s no glue seeping out onto the visible part of the jeans. You may want to use pins to hold the hem in place while the glue dries completely according to the manufacturer’s instructions. This creates a strong, flexible bond that will hold up to washing and air drying.
Option B: Hem Tape
Insert an iron-on hemming tape strip between the two layers of the folded hem. Follow the tape’s instructions carefully, usually involving a hot iron and pressure. The heat from the iron activates the adhesive, bonding the layers together. While this uses an iron, the primary hold comes from the adhesive, not heat setting the fabric itself. Ensure the tape is fully adhered. This is a quick and durable method.
Option C: Hand Stitching (Minimalist Approach)
If you’re comfortable with a needle and thread, you can do a few simple, discreet stitches. Use a sturdy thread matching your jeans. From the inside, make small, evenly spaced stitches (about every 1-2 inches) that catch just a few threads of the jean fabric and the folded hem. This is less about creating a full seam and more about anchoring the hem in place so it doesn’t unfold. This method offers excellent durability and is very beginner-friendly.
Whichever method you choose, ensure the hem is securely fastened before moving on. The goal is for the hem to look neat and stay put, even with natural movement and air drying.
Step 8: Repeat for the Other Leg
Lay your jeans flat again, and use the first hemmed leg as a guide for the second. Ensure the jeans are laid out identically to avoid creating an uneven look. Measure the length from your original marked point on the second leg to ensure it matches the first. Then, repeat steps 3 through 7 for the second leg, ensuring consistency. Taking your time here is key to a professional-looking result.
Step 9: Final Check and Air Drying
Once both legs are hemmed and secured:
- Turn the jeans right side out.
- Hang them up to air dry, ideally on a padded hanger to avoid creasing the waistband or creating new wrinkles.
- Let them dry completely. Avoid any machine drying, as this guide is for an “air dry only” finish.
Once dry, try them on with your shoes. You should have a perfectly hemmed pair of wide leg jeans that drape beautifully!
Comparing Hemming Methods for Wide Leg Jeans
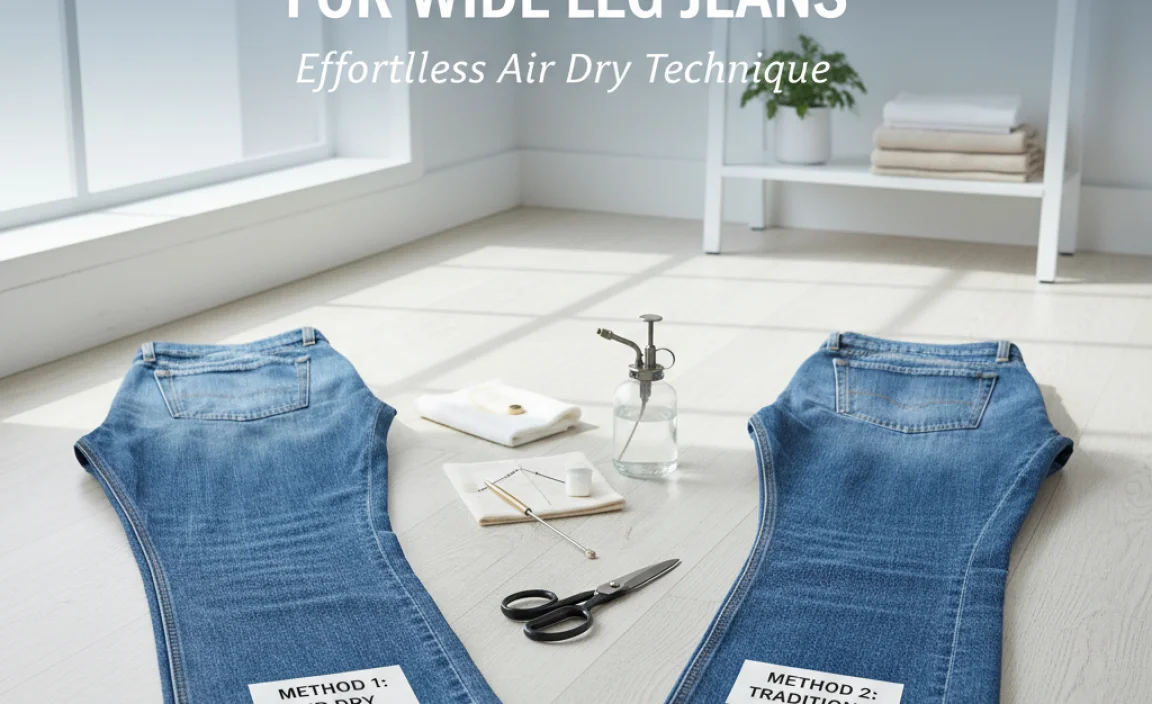
Deciding on the best hemming method for your wide leg jeans depends on your tools, time, and desired outcome. Here’s a quick look at common options:
| Method | Ease of Use | Durability | Air Dry Friendly | Appearance |
|---|---|---|---|---|
| No-Sew Fabric Glue | Very Easy | Good to Very Good (depends on glue quality) | Excellent | Neat, internal fold is invisible |
| Iron-On Hem Tape | Easy | Good | Excellent | Neat, internal fold is invisible |
| Minimal Hand Stitching | Easy to Moderate | Excellent | Excellent | Can be very neat if done well, sometimes visible |
| Sewing Machine (traditional stitch) | Moderate to Difficult for beginners | Excellent | Good (if done correctly, but dryer is better for setting) | Most professional, visible stitch line |
| Cutting & Fraying (no fold) | Very Easy | Varies (can fray significantly) | Excellent | Distressed, intentional fraying look |
Tips for Perfect Wide Leg Jean Hemming
- Consider the Shoe: Always hem with the shoes you’ll wear most often. This is non-negotiable for a great look.
- Fabric Weight Matters: Thicker denim might require a slightly wider hem allowance to avoid bulk. Very lightweight denim might fray more easily if you choose that route.
- Test Markers: Before marking directly on your jeans, test your chalk or marker on an inside seam or scrap piece of denim to ensure it washes out completely without leaving a shadow.
- Pressing is Key: Even with no-sew methods, a good press with your iron creates sharp creases that help the hem sit neatly and flatteringly.
- Work in Good Light: Ensure you have good lighting to see your marks and folds clearly.
- Measure Twice, Cut Once: This old adage is especially true for hemming. Take your time to get the measurements right.
- Watch the Flare: Wide leg jeans have a lot of fabric. As you fold, notice how the hem falls. You want it to fall evenly and not look twisted or pulled.
- Pre-wash if unsure: If your jeans are new and haven’t been washed, do a wash and dry cycle first as the fabric may still change size. The ideal time to hem is after the garment has reached its stable size.
- For a no-sew frayed edge: If you’re going for a distressed look, after cutting to length (Step 5), you can then unravel the bottom edge by a half-inch or so. Use tweezers and patience. Then, simply wash and air dry to enhance the fraying. This is a very popular look and perfect for an air-dry finish.
Understanding Denim Care and Air Drying
Proper care ensures your hemmed jeans look great and last longer. While this guide focuses on hemming for air drying, understanding why is beneficial. The Federal Trade Commission (FTC) provides general guidance on garment care, emphasizing following manufacturer labels. For denim, especially darker washes, air drying helps preserve color and prevent shrinkage that can occur in high heat. It also reduces wear and tear on the fabric fibers. Laying jeans flat or hanging them by the waistband ensures they maintain their shape and avoid stress points. If you ever do need to use a dryer for other garments, ensure you’re aware of the fabric and its needs.
The goal of an “air dry only” hem is to integrate seamlessly with a care routine that respects the denim. Even with a secure no-sew method, the


