


Quick Summary: Easily hem your wide-leg jeans at home with a simple, effective method. This essential guide breaks down the precise measurements and steps to achieve a perfect, professional-looking fit without custom tailoring, ensuring your stylish jeans look just right.
How To Hem Wide Leg Jeans: The Genius, Essential Method
Ever bought a pair of fantastic wide-leg jeans, only to find they pool around your ankles or overwhelm your frame? It’s a common frustration. Even though wide-leg styles are meant to be dramatic, they still need to fit your leg length. Too long, and they can look sloppy. Too short, and they lose their intended flow. But don’t worry, hemming them yourself is far easier than you might think. This guide will walk you through a genius and essential method to get that perfect, custom-fit look, empowering you to wear your favorite denim with confidence!
Understanding the Wide Leg Jean Hem

Hemming wide-leg jeans has a slightly different consideration than slimmer styles. Because of the fabric’s volume and drape, a poorly executed hem can disrupt the intended silhouette. The goal is to create a fold that is neat, discreet, and maintains the jeans’ characteristic flow. We’re aiming for a finish that looks intentionally designed, not like an afterthought. The beauty of hemming your own wide-leg jeans is the ability to control the exact length, which is particularly important when you’re pairing them with different shoes, from sneakers to heels.
Why This Method is Genius
This method focuses on precision and ease, making it accessible even for absolute beginners. We’ll leverage a few simple tools and a straightforward process to ensure a clean, durable hem that mimics a professional finish. The “genius” lies in its simplicity and effectiveness, bypassing complicated sewing techniques while delivering a result that truly elevates your jeans. We’re not just cutting and folding; we’re creating a hem that respects the garment’s structure and intended style.
Gathering Your Essential Tools
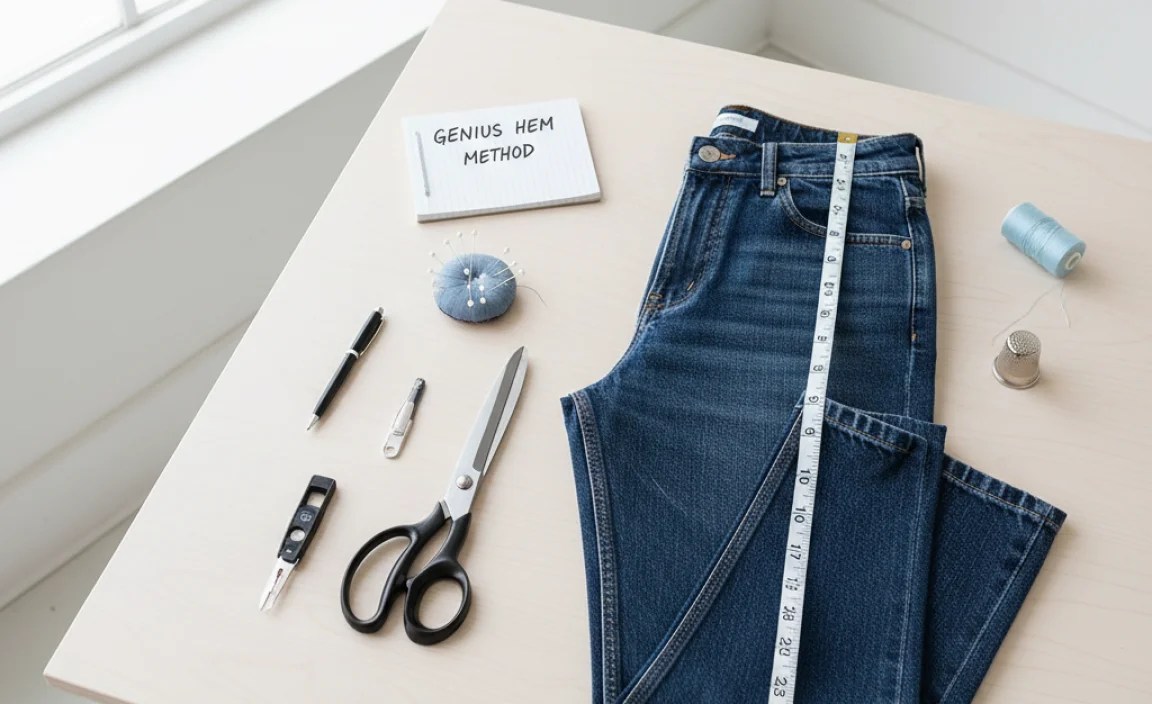
Before you start, having the right tools makes all the difference. You don’t need a professional sewing kit, just a few common household items. This ensures you can tackle the hem without a special trip to the craft store.
- Fabric Scissors: Sharp scissors specifically for fabric will give you the cleanest cut. Dull scissors can snag and create a ragged edge.
- Measuring Tape or Ruler: A flexible fabric measuring tape is ideal, but a stiff ruler or even a piece of string can work in a pinch.
- Fabric Marker or Chalk: This will help you draw a straight line for cutting and folding.
- Iron and Ironing Board: Crucial for pressing creases and ensuring a neat finish.
- Straight Pins: To hold the hem in place before sewing.
- Sewing Machine (Optional but Recommended): While you can hand-sew, a machine will create a stronger, more consistent stitch.
- Thread: Choose a thread that matches your jeans as closely as possible. This helps the hem blend in.
- Seam Ripper: Useful for undoing any existing hem if you need to start fresh or adjust.
- Your Wide Leg Jeans: Of course!
Step-by-Step Guide: How to Hem Wide Leg Jeans

Follow these steps carefully for a flawless hem. We’ll focus on achieving the perfect length, not just for your shoes but for the overall look of the wide-leg silhouette.
Step 1: Determine Your Ideal Length
This is the most critical step. Consider what shoes you’ll wear most often with these jeans. A length that’s perfect for sneakers might be too short for heels, and vice versa. For wide-leg jeans, a common choice is for the hem to just barely skim the top of your shoe or to fall about half an inch to an inch off the ground.
Pro Tip: If you’re unsure, try them on with your favorite pair of shoes. Stand in front of a mirror. If the jeans bunch up too much, they’re too long. If they look like high-waters, they’re too short. You want a smooth line from the knee down.
Step 2: Prepare Your Jeans for Measurement
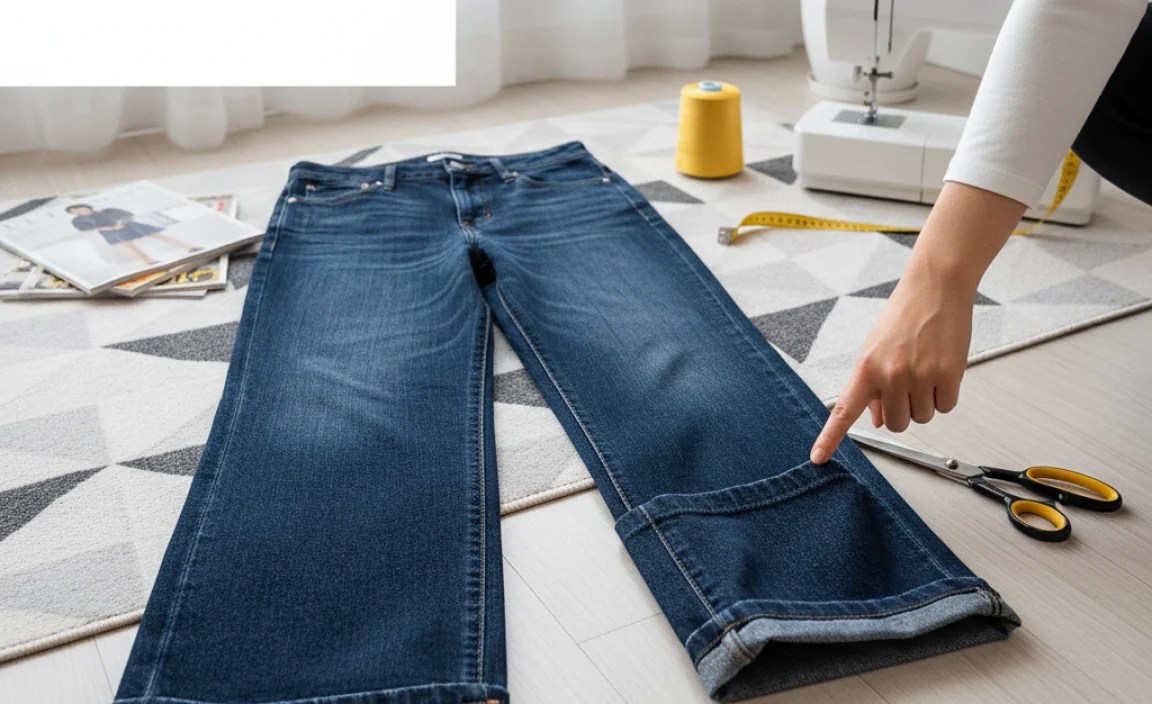
Put on the jeans and the shoes you plan to wear with them. Stand up straight, like you would in a queue or at a restaurant. Have someone else help you pin the hem to the desired length, or carefully step onto a raised surface (like a sturdy stool) and use a mirror to assess the length. You can also use a lighter pair of pants of a similar style to gauge the length you like.
Important Note: Jeans can stretch when worn, so it’s often best to aim for a length that’s just a tiny bit longer than what looks “perfect” when you’re standing still. This accounts for slight stretching and prevents them from becoming too short after a wear.
Step 3: Mark the Hemline
Once you’ve decided on the length, have your helper use a fabric marker or chalk to make small marks on the outside of the jeans at the correct hemline. If you’re alone, gently remove the jeans without disturbing the pinning and use your ruler or measuring tape to transfer these marks around the entire circumference of the leg. You can also use tailors’ chalk or a disappearing ink pen for this. Ensure these new marks are at the bottom edge of where you want the new hem to finish.
Step 4: Remove the Old Hem and Measure for the New Fold
Lay your jeans flat on your ironing board. If your jeans have a thick original hem, you’ll likely want to remove it so your new hem lies flat. Carefully use your seam ripper to undo the stitches holding the original hem. Once the old hem is open, press it flat with your iron. Measure down from your marked hemline to determine how much fabric you’ll need for your new hem allowance. For most jeans, a 1-inch to 1.5-inch allowance is standard. This is the fabric that will fold upwards to create the new hem. Mark this new fold line above your original hemline.
Consideration for Width: For very wide-leg jeans, you might want a slightly wider hem allowance (up to 2 inches) to give the bottom edge a bit more weight and stability, preventing it from flipping up.
Here’s a quick look at common hem allowances:
| Jean Style | Short Length (e.g., for flats) | Standard Length (e.g., for sneakers/boots) | Long Length (e.g., for heels/flares) |
|---|---|---|---|
| Wide Leg | 1 inch | 1.25 – 1.5 inches | 1.5 – 2 inches |
Step 5: Cut Off the Excess Fabric
Now, using your fabric scissors and the original marked hemline (which is the finished hemline you want), carefully cut off the excess fabric below that line. You are cutting at the very bottom edge of the jeans.
Step 6: Press the New Hem
Take the fabric you left as your allowance (the part above your cut line) and fold it upwards, aligning the raw edge with your marked fold line. Press this fold sharply with your iron. This creates the base for your new hem. Then, fold it up again so the raw edge is completely enclosed within the fold. You should now have a double-folded hem. Press this final fold firmly.
Tip for a Clean Finish: Ensure that as you fold, you are keeping your fabric smooth and wrinkle-free. A well-pressed fold is key to a professional look. Try to keep the folded edge as straight as possible all the way around the leg.
Step 7: Pin the Hem in Place
While the hem is still pressed and folded, use your straight pins to secure it. Place pins perpendicular to the folded edge, about every 2-3 inches. This keeps everything neatly in place for sewing.
Step 8: Sew the Hem
Using a Sewing Machine: Place the pinned hem under the sewing machine’s needle. Stitch as close to the top folded edge of the hem as possible, following your pressed fold. Go slowly and carefully, backstitching at the beginning and end to secure the thread. Try to maintain an even stitch length. If your jeans have a contrasting stitch color or style on the original hem, try to match it as best you can with your machine settings or by using a matching thread.
Hand Sewing (if no machine): Use a strong, even stitch like a backstitch or a blind hem stitch for a neater appearance. Again, aim to keep your stitches small and consistent, and backstitch at the beginning and end. For a durable hand-sewn hem, you can use a thread that matches your jeans.
External Resource: For detailed instructions on various sewing stitches, visit the Federal Trade Commission’s consumer guidance on basic sewing stitches. While this resource might cover broader sewing, the principles of stitch types are universally applicable and reliable.
Step 9: Finishing Touches
Once you’ve sewn the hem, remove all the pins. Trim any stray threads. Give the hem a final press with your iron to ensure it lies flat and looks crisp. Try on your jeans again with your shoes to admire your work!
Dealing with Original Hems (The “Jean Stitch”)

Many jeans have a distinct “jean stitch” – often a thicker thread and a visible, slightly imperfect line from the factory. If you want to preserve this look, the process is similar but includes an extra step to re-create that original aesthetic. First, follow steps 1-4. After removing the original hem (Step 4), instead of cutting off excess fabric, you’ll be folding it up twice as described in Step 6. The goal is to have the raw edge of your allowance folded inside the new hem. Then, on your sewing machine, you’ll want to stitch as close to the original bottom edge of the jeans/the fabric that was the original hem as possible using a thread that matches the original.
This can be a bit trickier, requiring you to guide the machine very precisely. Some people even use the seam ripper to carefully unpick the original hem stitching at the very bottom, exposing the raw edge of the jeans, then fold the allowance up and stitch just above where the original hem was, essentially recreating the look without perfectly matching the original stitch line. If you’re aiming for a truly invisible hem, then skipping this “original hem look” and opting for a clean, simple double-fold hem is best.
Troubleshooting Common Hemming Issues
Even with the best intentions, you might run into a snag. Here are some common problems and their solutions:
- Uneven Hem: If your hem looks a little wobbly, it’s usually because the fabric bunched during cutting or sewing. A good press with steam can sometimes help even it out. If it’s significantly uneven, you might need to unpick a section and re-press and re-sew.
- Hem Flipping Up: This is common with lighter-weight denim or when the hem allowance is too narrow. Ensure you’ve pressed the folds firmly and considered a slightly wider allowance for your next hemming project. A wider hem also provides more structure for wide-leg styles.
- Stitches Not Holding: Make sure your thread is strong enough and that you’ve backstitched at the beginning and end of your sewing seam. For very thick denim, using jeans/denim needles in your machine is essential.
- Jeans Too Short After Washing: Denim can shrink, especially if it’s 100% cotton and not pre-shrunk. Always account for potential shrinkage by hemming slightly longer than you think you need.
Frequently Asked Questions About Hemming Wide Leg Jeans
Q1: How much fabric should I leave for the hem?
A1: For most jeans, a 1-inch to 1.5-inch allowance is standard. For wider styles or if you prefer a heavier hem, you can go up to 2 inches to provide more structure and a professional finish.
Q2: Can I hem wide leg jeans without a sewing machine?
A2: Yes, absolutely! While a machine makes it faster and often sturdier, a strong hand stitch like a backstitch or even a neat slip stitch can create a durable and attractive hem. Use matching thread for the best appearance.
Q3: Do I need to pre-wash my jeans before hemming?
A3: If your jeans are new and made of 100% cotton, it’s wise to pre-wash and dry them according to the care label. This accounts for any shrinkage, ensuring your hem length stays consistent after washing.
Q4: What’s the best way to measure the length of wide leg jeans?
A4: Wear the jeans with the shoes you intend to wear them with. Stand in front of a mirror and mark the desired hem length on the outer seam. For wide legs, ensure you’re considering the overall drape and not just the measurement at the very bottom.
Q5: How can I make my hem match the original factory look?
A5: This is more advanced. It involves carefully unpicking the original hem, folding up a new allowance, and then stitching as close as possible to where the original hem sat, using matching thread and potentially a denim needle on your machine. Many opt for a clean, double-folded hem for simplicity.
Q6: What if my jeans are made of a stretchy material?
A6: Stretch denim requires a bit more care. Avoid stretching the fabric as you hem, as this can lead to a wavy hem. Ensure you press the folds firmly and use pins liberally. A sewing machine with a stretch stitch or a universal needle is usually sufficient.
Conclusion
Hemming your wide-leg jeans is a rewarding DIY project that can dramatically improve the way your favorite denim fits and looks. By following this straightforward, genius method, you’ve learned how to measure precisely, prepare the fabric, and create a clean, durable hem that respects the garment’s silhouette. You now have the knowledge to tackle any pair of wide-leg jeans, ensuring they hang perfectly from your waist to your shoes. Embrace the confidence that comes with a perfectly tailored fit, achieved right in your own home!


