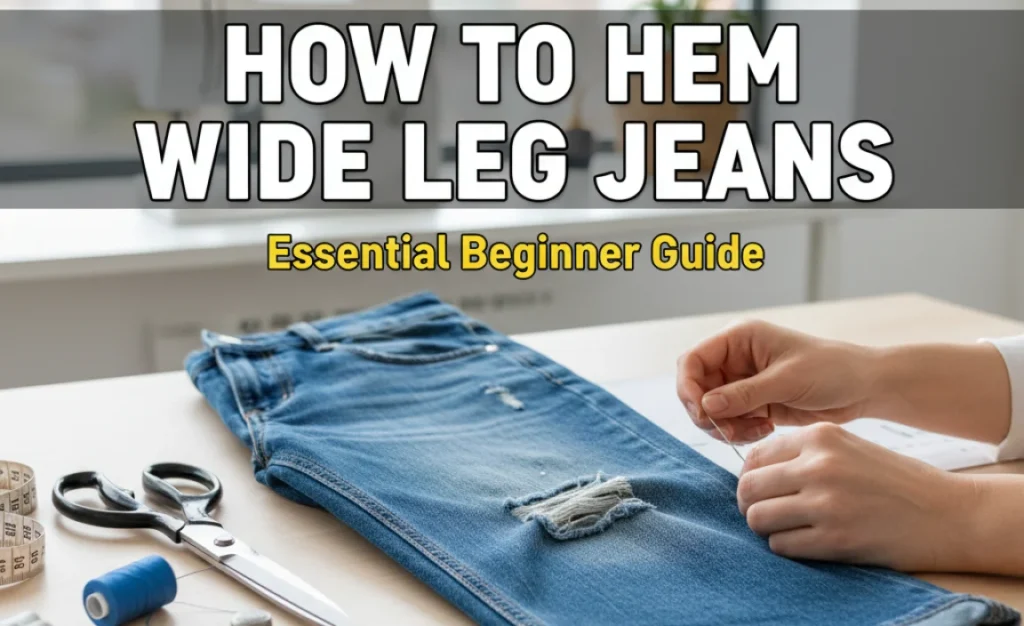
Quick Summary: Learn how to hem wide leg jeans easily with this beginner-friendly guide. Get the perfect length at home without special skills, transforming your favorite jeans for a polished look. Follow these simple steps for a flawless finish.
How to Hem Wide Leg Jeans: An Essential Beginner Guide
Wide leg jeans are a stylish staple, but they can be a pain if they’re too long. Tripping over them or constantly feeling a bit sloppy can take away from their cool factor. You might think hemming is a job for a tailor, but it’s actually a straightforward DIY project. With just a few basic tools and a little patience, you can easily adjust your favorite wide leg jeans to the perfect length. This guide will walk you through everything you need to know to get a professional-looking hem right at home.
We’ll cover what you’ll need, how to measure accurately, different hemming techniques suitable for beginners, and how to get a clean finish. Get ready to give your denim a new lease on life!
Why Hem Your Wide Leg Jeans?
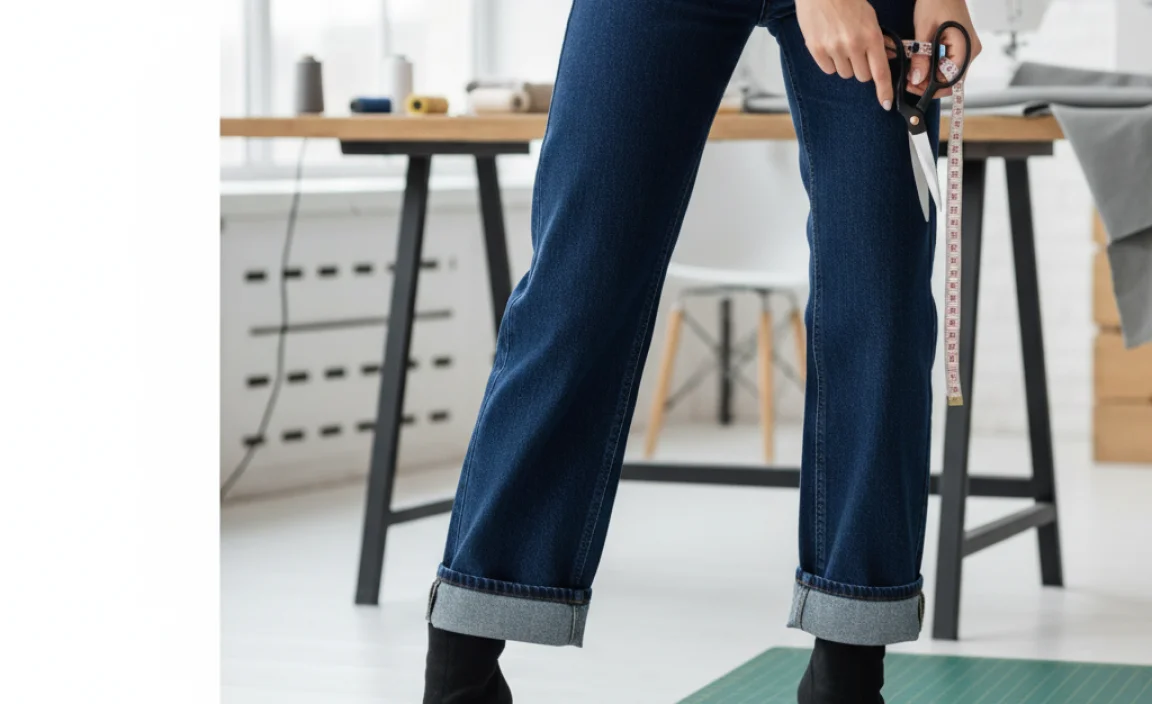
The right length can make a huge difference in how your jeans look and feel. For wide leg styles, a hem that’s too long can:
- Cause uneven wear and fraying at the bottom.
- Make your silhouette look less streamlined and heavier.
- Potentially create a tripping hazard.
- Make your shoes hard to see, diminishing your overall outfit.
On the other hand, jeans hemmed to the correct length will:
- Complement your footwear perfectly, whether you’re wearing heels, sneakers, or boots.
- Create a cleaner, more flattering line from hip to ankle.
- Give you a polished, put-together appearance.
- Extend the life of your jeans by preventing excessive wear at the hem.
Gather Your Supplies: What You’ll Need
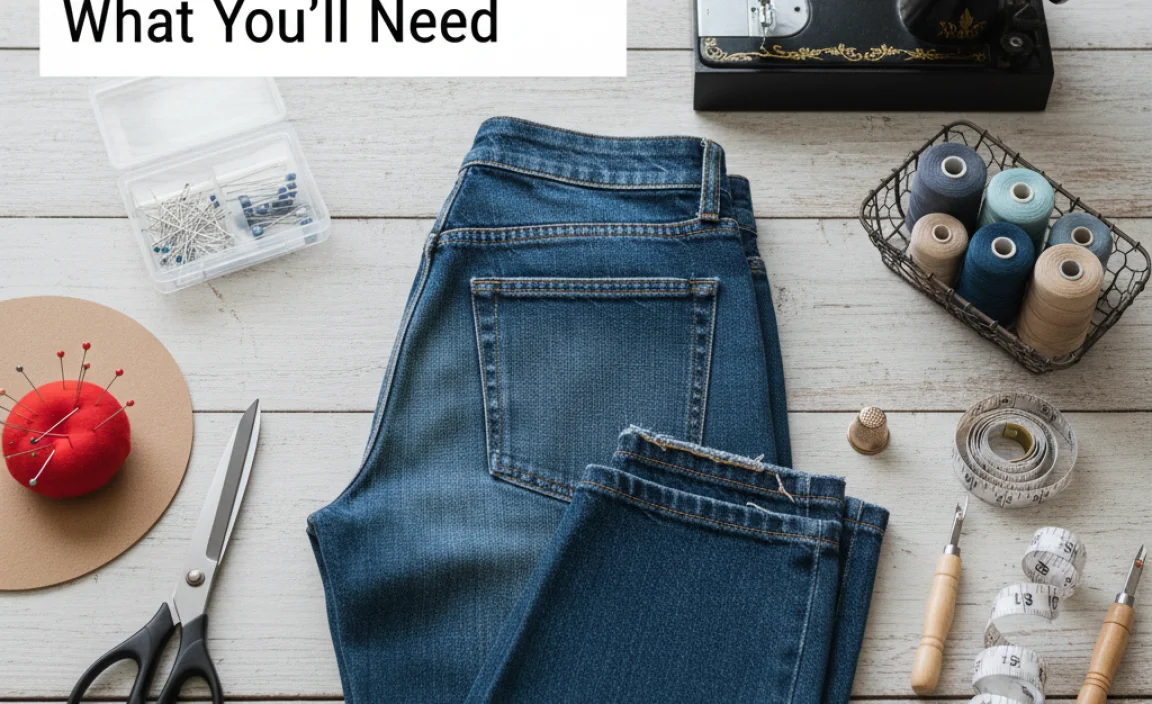
You don’t need a sewing machine or advanced skills to hem your jeans. Here’s a simple list of what you’ll likely need:
- Your Wide Leg Jeans: Make sure they are clean and have been washed and dried as you normally would, as denim can shrink.
- Sharp Fabric Scissors: Even if you’re cutting, a good pair of scissors makes a clean cut.
- Measuring Tape or Ruler: Essential for accurate measurements.
- Fabric Marker or Chalk: To mark your cut line. A disappearing fabric pen is great for this.
- Pins: To hold the hem in place while you work.
- Iron and Ironing Board: For pressing the hem.
- Thread: Choose a color that matches your jeans’ original hem thread, or a neutral color like grey or black.
- Needle: A standard sewing needle will do.
- Optional: Seam Ripper (if you want to preserve the original hem)
- Optional: Sewing Machine (if you have one and want a faster, stronger stitch)
Step-by-Step Guide to Hemming Your Wide Leg Jeans
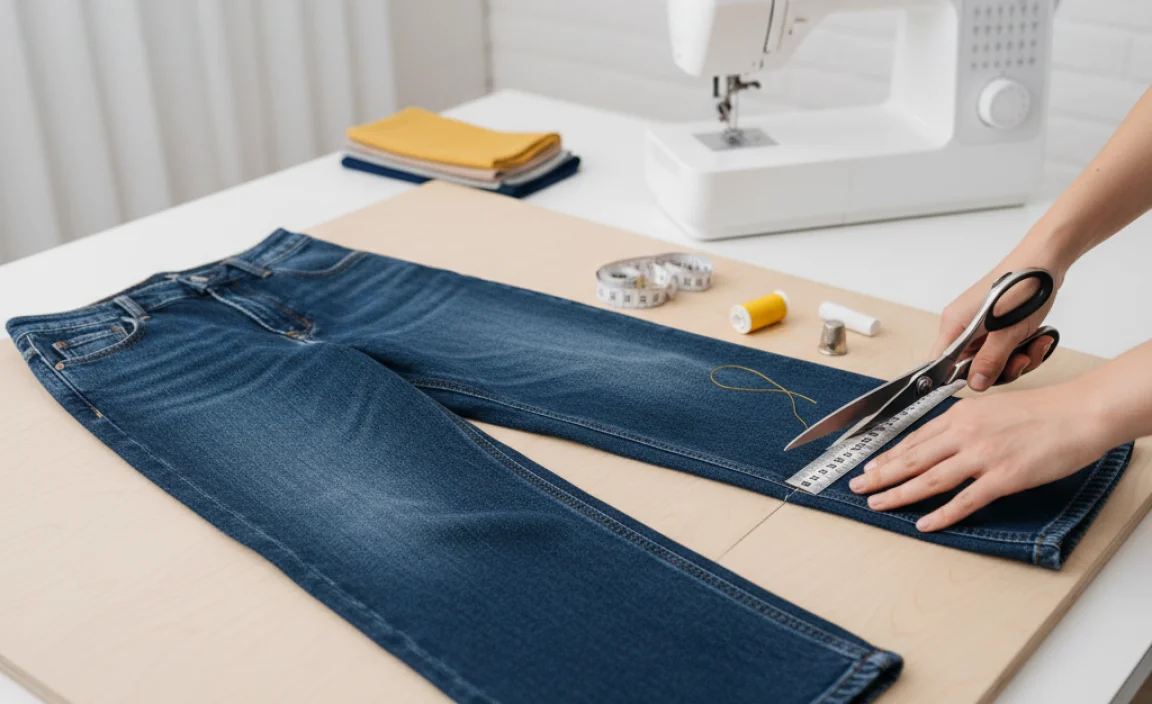
Hemming your jeans can seem daunting, but breaking it down into simple steps makes it manageable. We’ll focus on two beginner-friendly methods: the no-sew option and a simple sewn hem.
Method 1: The No-Sew Hem (Quick & Easy)
This method uses fabric glue or hemming tape and is perfect if you don’t want to sew or need a quick fix.
Step 1: Try Them On and Mark
Put on the shoes you’ll most likely wear with your wide leg jeans. Stand in front of a mirror. Have a friend or use a ruler to mark where you want the hem to fall. You can use pins, chalk, or a fabric marker. Aim for the hem to just graze the top of your shoe or be about ½ inch off the floor. Make sure the marking is even all the way around the leg.
Step 2: Remove Excess Fabric
Take off the jeans. Lay them flat. If you’re aiming for a standard hem look, you’ll want to leave about 1 to 1.5 inches of extra fabric below your marked line for the fold. Carefully cut off the excess fabric with your sharp fabric scissors. Be sure to cut in a straight line.
Step 3: Prepare the Hem
Fold the bottom edge up by about ½ inch towards the inside of the jean leg and press it flat with your iron. This creates a crisp base for your hemming tape or glue.
Step 4: Apply Hemming Tape or Glue
For Hemming Tape: Cut a piece of double-sided fabric hemming tape to the length needed. Place it inside the folded edge, sticking it to the raw edge of the fabric. Peel off the backing paper.
For Fabric Glue: Apply a thin, even layer of fabric glue along the raw edge of the folded fabric. Make sure not to use too much, as it can seep through.
Step 5: Fold and Press
Fold the raw edge of the jeans up again, this time to meet the first fold you pressed. If using hemming tape, press the folded edge firmly onto the tape. If using glue, press the folded edge onto the glued edge. Ensure the hem is smooth and even. Use your iron to press down firmly over the hemmed area. Follow the instructions on your fabric glue or tape for optimal bonding. Let it cool completely before moving.
Step 6: Reinforce (Optional)
For extra security, you can add a few small stitches by hand along the edge of the fold, especially if you used fabric glue. This helps ensure the hem stays put through wear and washing.
Method 2: Simple Sewn Hem (Durable & Classic)
This method creates a more traditional hem that will last longer and look very professional. Don’t worry if you’re not a sewing expert; this is designed for beginners.
Step 1: Measure and Mark
Wear your jeans with the shoes you intend to pair them with. Stand in front of a mirror. Mark your desired hem length. A common length for wide leg jeans is to just skim the top of your shoe, or about ¼ to ½ inch from the floor. Use a fabric marker or tailor’s chalk to make a clear line all the way around each pant leg. Ensure it’s perfectly level.
Step 2: Remove Original Hem (Optional but Recommended)
To recreate a factory-like hem, it’s best to remove the original hem. Lay the jeans flat. Carefully use a seam ripper to unpick the stitches of the existing hem on both legs. Gently pull off the old hem. Keep the original hem thread if you want to match the look perfectly.
Tip: If you don’t have time or want to keep the original frayed edge, you can skip this step and hem over it, but the result will be thicker and may not look as polished.
Step 3: Trim Excess Fabric
Turn the jeans inside out. Measure from your marked hem line down to the raw edge. You’ll want to leave about 1 to 1.5 inches of fabric for the hem allowance. Cut off any excess fabric below this allowance using sharp fabric scissors. Ensure the cut is straight and even around the leg.
Step 4: Create the Fold
Fold the raw edge of the fabric up towards the inside of the pant leg by about ½ inch. Press this fold firmly with your iron. This creates a clean edge to work with.
Step 5: Fold Again and Pin
Fold the fabric up a second time, securing the raw edge inside. This second fold should align with your original marked hem line. Aim for a double fold of about ½ to 1 inch in total. Pin the hem in place securely, making sure the fabric is flat and the hem is even all around the leg.
Step 6: Start Sewing
You have two main options here: hand sewing or machine sewing.
Hand Sewing: Thread your needle with a matching or neutral-colored thread. Tie a knot at the end. Using a blind hem stitch (also known as a slip stitch) is ideal for an invisible hem. To do this, catch only a few threads of the jean fabric on the leg with your needle, then catch the folded hem itself. Keep your stitches small and consistent. Work your way around the entire hem. Make sure your stitches don’t show on the outside of the jeans. For a stronger hem, you can also use a running stitch on the inside of the fold, catching the fabric of the leg with every few stitches.
Machine Sewing: If you’re using a sewing machine, set it to a straight stitch. It’s best to use a denim needle, which is designed for thicker fabrics. Match your thread color to the original jeans or use a complementary color. Sew along the bottom edge of your folded hem, close to the folded edge. Go slowly and steadily. You can also sew on the outside of the hem, catching the main part of the jean and folding the hem up underneath it for a very sturdy hem, though this will be visible. A topstitch that matches the original jean stitching will look the most authentic.
Pro Tip: To mimic the original look of many jeans, use a doubled thread and a stitch length of about 2.5mm. Consider a zig-zag stitch on the inner raw edge before folding to prevent fraying, especially if you’re concerned about durability.
Step 7: Finish and Press
Once you’ve sewn all the way around, tie off your thread securely. Trim any loose threads. Press the hem with your iron to give it a crisp, finished look. Do this from the inside of the jeans for the cleanest finish.
Preserving the Original Hem (The “Cuff” Look)
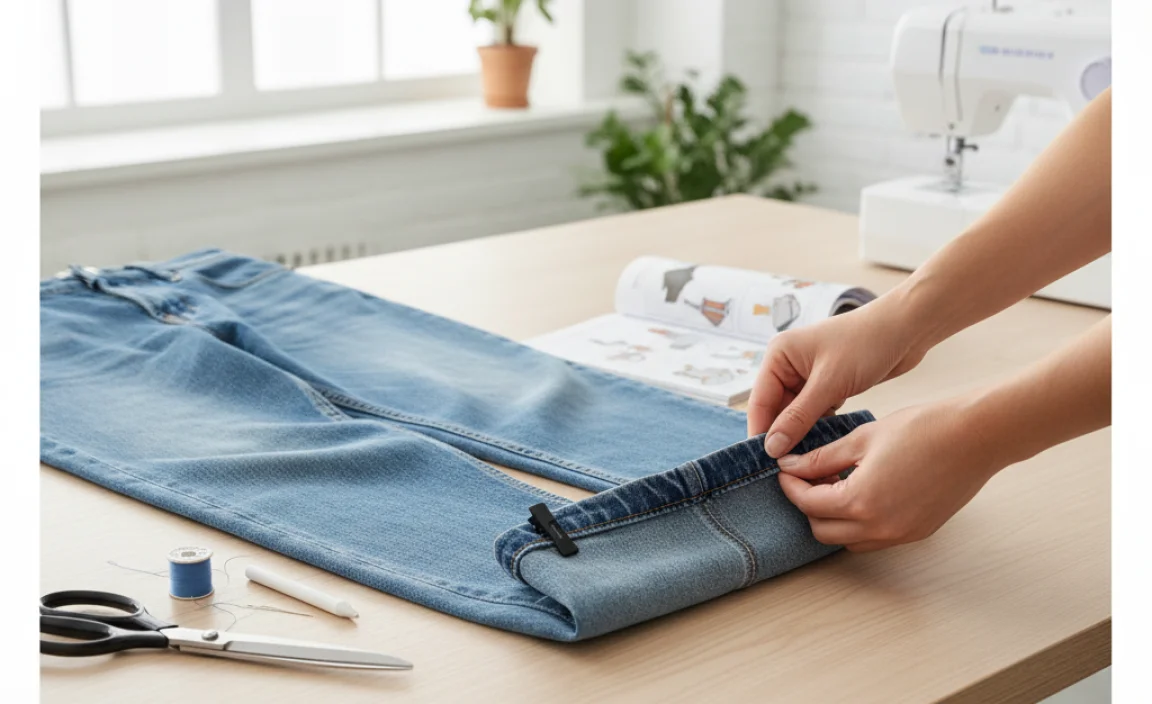
Are you a fan of the distressed, slightly frayed hem seen on many popular wide leg jeans? You can achieve this look without completely re-doing the hem. This is a great way to shorten your jeans while maintaining that lived-in vibe.
Steps to Preserve Original Hem:
- Mark Your Length: Try on your jeans with your chosen shoes and mark your desired length.
- Cut Off Excess: Cut off the excess fabric well below your marked line. Leave about 2 inches of fabric below the original hem.
- Unpick the Hem: Carefully use a seam ripper to unpick the stitching of the original hem. Gently pull the old hem away.
- Fold and Pin: Fold the fabric up to your marked line. You’ll now have the raw edge of the fabric sitting just below your desired finished length. Pin the original hem itself back onto the pant leg, right over where the new hemline would be. You’re essentially reattaching the original hem.
- Sew in Place: Using a sewing machine or by hand, stitch the original hem back onto the pant leg. Sew as close to the top edge of the original hem as possible to secure it. You can often use a thick thread and a visible stitch for a more authentic look that matches many ready-to-wear jeans.
- Distress (Optional): Gently pull and fray the edge of the fabric that now sits below the reattached hem. You can also use sandpaper or a pair of tweezers for more controlled distressing.
Choosing the Right Hemming Method for Your Style
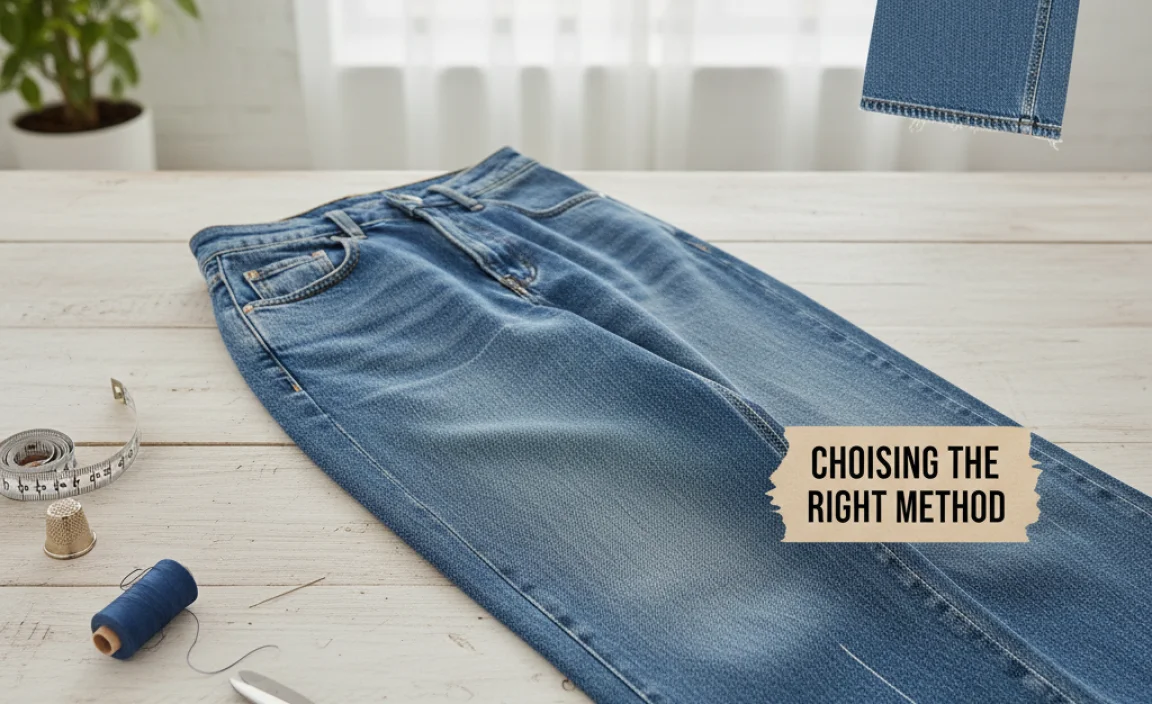
The best hemming method depends on the look you’re going for and how much time you want to invest.
Here’s a quick comparison:
| Method | Pros | Cons | Best For |
|---|---|---|---|
| No-Sew (Fabric Glue/Tape) | Super fast, no sewing skills needed. | May not be as durable, can sometimes look less polished if not perfectly applied. | Quick fixes, occasional wear, beginners who dislike sewing. |
| Simple Sewn Hem (Blind Stitch) | Durable, creates a clean, almost invisible finish. | Requires basic hand-sewing skills, takes a bit more time. | Classic look, ensuring durability, everyday wear jeans. |
| Sewn Hem (Visible Stitch/Matching Original) | Very durable, can perfectly mimic factory-made jeans. | Requires sewing machine or consistent hand-stitching, can be time-consuming. | Achieving an authentic denim look, jeans you want to last forever. |
| Preserving Original Hem | Maintains original frayed, stylish look; saves an old hem. | Can be tricky to reattach neatly, might be bulkier than a clean hem. | Keeping the trendy distressed hem look, shortening jeans without losing character. |
For wide leg jeans, a sewn hem is generally recommended for the best drape and most polished appearance, as the fabric’s weight and width can sometimes emphasize a less-than-perfect no-sew hem. However, if you’re in a pinch or prefer speed, the no-sew options are perfectly usable.
Tips for Success
Here are some extra tips to ensure your hemming project goes smoothly:
- Wash and Dry First: Always wash and dry your jeans before hemming. Denim can shrink, and you don’t want to hem them only to find they’re too short after washing.
- Use Sharp Tools: Dull scissors can snag denim, and a dull needle won’t penetrate thick seams easily.
- Measure Twice, Cut Once: Accuracy is key. Double-check your measurements before cutting.
- Iron is Your Friend: Pressing each fold as you go makes a huge difference in creating clean, straight hems.
- Consider Your Shoes: The type of shoe you wear most often with your jeans should dictate the final hem length.
- Work in Good Light: Make sure you can see your markings and stitches clearly.
- Practice Makes Perfect: Don’t get discouraged if your first attempt isn’t flawless. Each time you hem, you’ll get better!
Troubleshooting Common Issues
Even with the best intentions, things can go sideways. Here are a few common problems and how to fix them:
- Uneven Hem: If you notice your hem isn’t straight after sewing, you might be able to unpick the stitches and re-fold. If it’s slightly uneven, you can sometimes trim a tiny bit off the bottom.
- Stitches Showing: If using a blind hem stitch and your stitches are visible on the outside, try picking up fewer threads of the jean fabric with each stitch.
- Hem Falling Down: This is more common with no-sew methods. Ensure you used enough tape or glue and that it was pressed firmly and allowed to cure. For sewn hems, check if your stitches are too far apart or not secure.
- Jeans Too Short: Unfortunately, denim cannot be lengthened easily without adding a fabric strip. This is why precise measuring is so important.
Frequently Asked Questions (FAQ)
Q1: How much fabric should I leave for hemming wide leg jeans?
For a standard hem, leave about 1 to 1.5 inches of fabric below your desired final length to create a clean fold. If you’re replicating an original hem, you might need a bit more to accommodate the thickness.
Q2: Can I hem jeans without a sewing machine?
Absolutely! You can use fabric glue, hemming tape, or a simple hand-sewing stitch like a blind hem stitch. These methods are effective for beginners.
Q3: What kind of needle and thread should I use for hemming jeans?
For hand sewing, use a sturdy all-purpose thread and a sharp, medium-sized needle. For machine sewing, a denim needle (size 90/14 or 100/16) and strong polyester thread are recommended. Match your thread color to the jeans for a nearly invisible finish, or use a contrasting color (like gold or tan) for a classic denim look.
Q4: How do I ensure my wide leg jeans hem is perfectly straight?
The key is even measurement and marking. Try them on with the shoes you’ll wear, mark the length, then use a ruler or measuring tape to ensure the mark is consistent all the way around. Pressing each fold flat before sewing also helps maintain straightness.
Q5: What is the “best” length for wide leg jeans?
The ideal length depends on your personal style and the shoes you wear. Generally, wide leg jeans should just graze the top of your shoe, or sit about ¼ to ½ inch from the floor. This prevents them from dragging and creates a clean silhouette.
Q6: How do I hem jeans with a raw, fraying edge?
To keep the raw edge, cut your jeans to the desired length, leaving a small amount of extra fabric (about ½ inch). Unpick the original hem, then fold the fabric up to your desired length and reattach the original hem over the raw edge. You
.lwrp.link-whisper-related-posts{
margin-top: 40px;
margin-bottom: 30px;
}
.lwrp .lwrp-title{
}.lwrp .lwrp-description{
}
.lwrp .lwrp-list-container{
}
.lwrp .lwrp-list-multi-container{
display: flex;
}
.lwrp .lwrp-list-double{
width: 48%;
}
.lwrp .lwrp-list-triple{
width: 32%;
}
.lwrp .lwrp-list-row-container{
display: flex;
justify-content: space-between;
}
.lwrp .lwrp-list-row-container .lwrp-list-item{
width: calc(25% – 20px);
}
.lwrp .lwrp-list-item:not(.lwrp-no-posts-message-item){
max-width: 150px;
}
.lwrp .lwrp-list-item img{
max-width: 100%;
height: auto;
object-fit: cover;
aspect-ratio: 1 / 1;
}
.lwrp .lwrp-list-item.lwrp-empty-list-item{
background: initial !important;
}
.lwrp .lwrp-list-item .lwrp-list-link .lwrp-list-link-title-text,
.lwrp .lwrp-list-item .lwrp-list-no-posts-message{
}@media screen and (max-width: 480px) {
.lwrp.link-whisper-related-posts{
}
.lwrp .lwrp-title{
}.lwrp .lwrp-description{
}
.lwrp .lwrp-list-multi-container{
flex-direction: column;
}
.lwrp .lwrp-list-multi-container ul.lwrp-list{
margin-top: 0px;
margin-bottom: 0px;
padding-top: 0px;
padding-bottom: 0px;
}
.lwrp .lwrp-list-double,
.lwrp .lwrp-list-triple{
width: 100%;
}
.lwrp .lwrp-list-row-container{
justify-content: initial;
flex-direction: column;
}
.lwrp .lwrp-list-row-container .lwrp-list-item{
width: 100%;
}
.lwrp .lwrp-list-item:not(.lwrp-no-posts-message-item){
max-width: initial;
}
.lwrp .lwrp-list-item .lwrp-list-link .lwrp-list-link-title-text,
.lwrp .lwrp-list-item .lwrp-list-no-posts-message{
};
}


