Quick Summary: Learn how to hem wide leg jeans by hand with this easy guide. Get the perfect length without a sewing machine, ensuring a professional look and comfortable fit. This step-by-step process is achievable for any beginner.
Wide leg jeans are a fantastic fashion staple, offering comfort and style. But what happens when they’re just a little too long? A common frustration is finding your favorite pair dragging on the floor, getting scuffed, or looking awkwardly baggy simply because of their length. You might think a sewing machine is the only way to fix this, but that’s not true! This guide will show you precisely how to achieve a neat, custom hem on your wide leg jeans entirely by hand. We’ll walk you through every step, from measuring to the final stitch, ensuring you can confidently alter your denim for a perfect fit. Get ready to say goodbye to tripping over your jeans and hello to a perfectly tailored look!
Why Hemming Wide Leg Jeans By Hand is a Smart Choice

Hemming your wide leg jeans by hand is more accessible than you might think. It’s a practical skill that saves you money on alterations and allows you to customize your clothing perfectly. For beginners, hand-hemming offers a less intimidating entry point into clothing alteration than wrestling with a sewing machine. It requires minimal tools that you likely already have at home, making it a convenient solution for quick fixes or thoughtful adjustments. Plus, carefully stitched hand hems can look surprisingly professional, especially on casual items like denim. It’s a rewarding process that gives you control over your style and the fit of your favorite jeans.
Essential Tools for Hand-Hemming Your Jeans

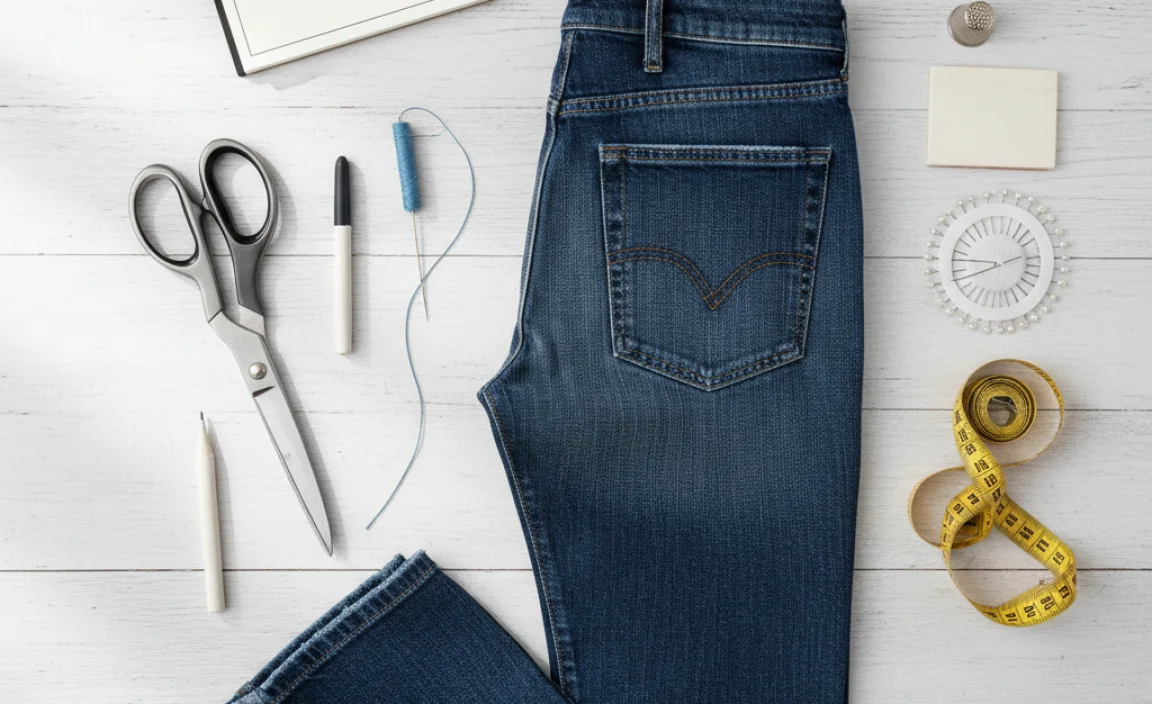
Before you start, gather these simple items. Having everything ready will make the process smooth and stress-free. You don’t need a fancy sewing kit; most of these can be found around the house.
- Fabric Scissors: Sharp scissors are crucial for a clean cut. If you use them for fabric only, they’ll last longer and cut better.
- Measuring Tape or Ruler: For accurate measurements, ensuring your jeans are the perfect length.
- Fabric Chalk, Pencil, or a Light-Colored Pen: To mark your hemline clearly on the fabric.
- Pins: To hold the fabric in place while you sew. Straight pins work best.
- Needle: A standard sewing needle suitable for denim or thicker fabrics. Look for one with a medium to large eye for easier threading, especially if you have trouble with small stitches.
- Thread: Choose a strong thread that matches your jeans as closely as possible. Typically, a cotton or polyester blend works well for denim. Consider a thicker thread for a more traditional denim look.
- Iron and Ironing Board (Optional but Recommended): To press creases and ensure your hem lies flat.
- Seam Ripper (Optional): If you need to remove an existing hem to get a fresh start.
Step-by-Step Guide: How to Hem Wide Leg Jeans By Hand

Follow these simple steps to get your wide leg jeans to the perfect length. Take your time with each step for the best results.
Step 1: Prepare Your Jeans and Workspace
First, ensure your jeans are clean and dry. Lay them flat on a clean, well-lit surface, like a table or the floor. Smooth out any wrinkles. This is the foundation for accurate measuring and sewing. If your jeans already have a hem that you want to remove and redo, use a seam ripper to carefully cut the existing stitches. Be gentle to avoid damaging the fabric. Once the old hem is undone, lay the jeans flat and smooth out the fabric where the hem was.
Step 2: Determine the Desired Length
Put on the jeans and the shoes you plan to wear with them most frequently. This is critical because different shoe heights will change how your jeans fall. Stand in front of a mirror and let the jeans fall naturally. Pin them to your desired length, ensuring they fall evenly on both sides and don’t look lopsided. A good starting point for wide leg jeans is for the hem to just skim the top of your shoes or the floor, depending on the look you’re going for. Avoid hemming them too short unless that’s a specific style choice, as it can make them look unbalanced. For a classic look, aim for them to barely touch the ground.
Tip: It’s often easier to have someone else help you pin the hem while you’re wearing the jeans. They can tell you if the length looks even from all sides.
Step 3: Measure and Mark Your Cut Line
Once you’re happy with the length while wearing the jeans, carefully take them off. Lay them flat again. Measure from the pinned hemline down to the inseam (the seam that runs up the inner leg). Decide how much you want to alter. For a simple hem, this is the measurement you’ll work with. However, you need to account for the hem allowance – the extra fabric you’ll fold up. A typical hem allowance for jeans is about 1 to 1.5 inches (2.5 to 3.8 cm). Use your measuring tape and chalk or pencil to mark a new cutting line, typically 1.5 inches below your pinned hemline. Measure this distance consistently all the way around the leg. Ensure the line is parallel to the original hem or consistent with the leg’s natural drape.
Step 4: Cut the Excess Fabric
With your marked cutting line in place, use your sharp fabric scissors to cut off the excess fabric below your chalk line. Cut slowly and steadily, following the line precisely. If you’re unsure about cutting, you can fold the fabric up to the desired hem length and then make your cutline 1.5 inches below that fold. This ensures you have enough fabric for the hem allowance. After cutting, lay the jeans flat again. You should now have a single layer of fabric at the bottom of each leg, with the amount you’ll use for the hem allowance (around 1.5 inches) remaining.
Step 5: Prepare the Hem Allowance
Take the bottom edge of the fabric (the cut edge) and fold it upwards towards the inside of the jean leg, aligning it with your marked cutting line. Press this fold with an iron if you have one; this creates a crisp crease and makes sewing much easier. This folded edge is your first fold. Now, fold this edge up again by another 1.5 inches (the same amount as your first fold), so the raw edge is completely enclosed within the fold. This is your second fold, creating a double-folded hem. Press this second fold firmly with the iron. This double fold creates a clean, durable hem that won’t fray easily and gives your alteration a professional finish. Ensure the folded fabric is smooth and lies flat against the leg.
Step 6: Pin the Hem in Place
With the hem folded twice and pressed, use your pins to secure it. Place pins perpendicular to the folded edge, about every 1 to 2 inches. These pins will hold the hem in place while you sew, preventing the fabric from shifting. Make sure the pins go through all layers of fabric, holding the folded hem securely against the main body of the jean. Double-check that the hem looks even all the way around the leg and that the length is still as you intended before you started sewing.
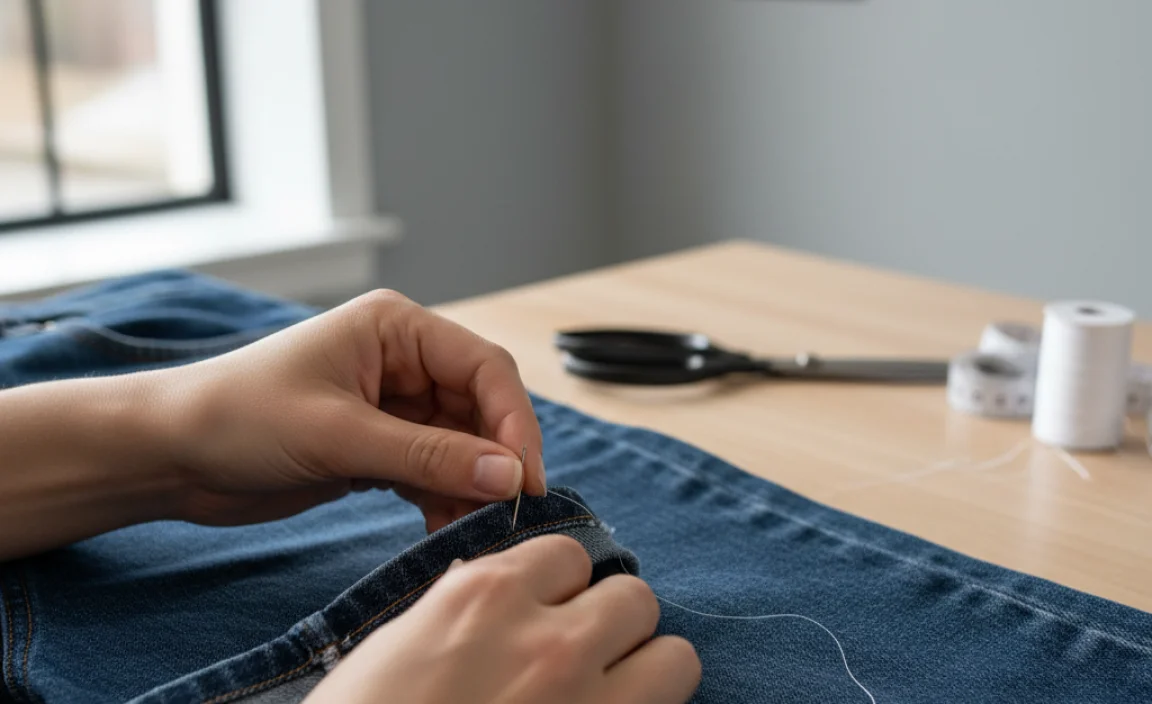
Step 7: Hand Stitch the Hem
Thread your needle with about 18-24 inches of matching thread. Knot the end of the thread securely. You can do this by looping the thread around the needle several times and pulling the knot tight against the fabric. There are several hand stitches you can use, but for hemming jeans, a common and sturdy option is the blind stitch (also known as a slip stitch or ladder stitch) if you want an almost invisible hem. Alternatively, a running stitch or a whip stitch can be used if you don’t mind the stitch being visible, or if you want to mimic a factory hem look.
Blind Stitch (for an Invisible Hem):
This stitch is designed so the thread is nearly invisible from the outside.
- Start by making your first stitch on the inside of the fold, anchoring your thread.
- Take a tiny stitch (just a few threads) of the main jean fabric on the outside leg, then pass the needle through the folded hem.
- Pull the thread through gently.
- Repeat, taking very small stitches on the main fabric and then passing the needle through the folded hem.
- Keep your stitches small and consistent.
- This stitch creates a “ladder” effect when pulled, hence the name.
Running Stitch or Whip Stitch (for a Visible Hem):
These stitches are more straightforward and can provide a durable finish, especially if you use a slightly thicker thread to match denim.
- For a Running Stitch: Make even stitches going in and out of the fabric, moving along the hem. You can do a few stitches on the needle before pulling the thread through.
- For a Whip Stitch: Bring the needle up from behind the folded hem, then over and down through the main jean fabric, creating a slightly angled stitch that wraps around the edge of the fold.
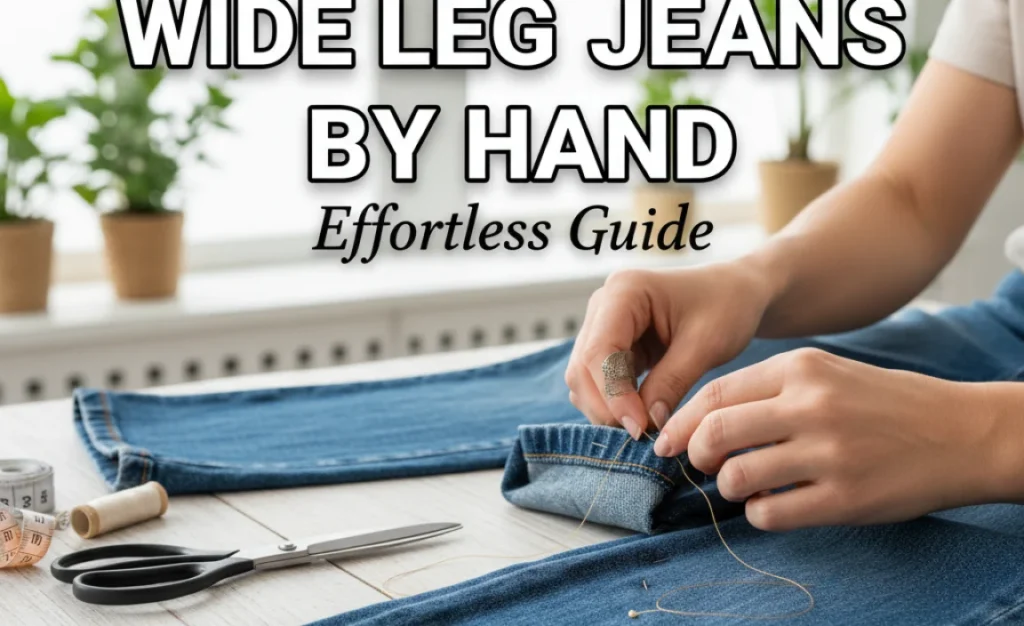
Work your way around the entire hem, keeping your stitches small and even. As you sew, periodically pull the thread taut to create a neat, secure seam, but avoid pulling so tight that it puckers the fabric. If your thread runs out, tie a knot and start a new thread close to where you finished.
Step 8: Finishing Touches
Once you’ve sewn all the way around the leg, tie off your thread securely with a knot on the inside of the hem. Trim any excess thread. Repeat this entire stitching process for the other leg of the jeans, ensuring it matches the first leg’s length and finish. Once both legs are hemmed, try on your jeans to check the length and overall look. Make any minor adjustments needed. For a crisp, finished look, you can iron the hem one last time, pressing the folds and the seams flat.
Alternatives for Hemming Wide Leg Jeans

While hand-hemming is excellent, other methods exist if you prefer a different outcome or have access to more tools. Understanding these can help you choose the best approach for your needs.
| Hemming Method | Description | Pros | Cons | Best For |
|---|---|---|---|---|
| Hand-Hemming (Covered Above) | Using a needle and thread to sew the hem by hand. | No special equipment needed, portable, quiet, satisfying DIY. | Can be time-consuming, may be less durable than machine stitches if not done well, stitches can be visible. | Beginners, quick fixes, when no sewing machine is available, achieving a subtle look. |
| Sewing Machine Hemming | Using a standard sewing machine to create a hem. | Fast, strong and durable stitches, consistent results, can mimic factory hems. | Requires a sewing machine and knowledge of its operation, can be noisy, less portable. Machines can be expensive. | Frequent alterations, thicker denim, achieving a professional, durable finish quickly. |
| Hem Tape (Iron-On) | Using fusible hem tape to bond fabric edges together with an iron. | Very quick, no sewing required, creates a clean edge, good for temporary adjustments. | Can be stiff, may not hold up to frequent washing and drying, can peel over time, visible line on the fabric. Can be difficult to get perfectly straight on curved or wide hems. | Quick fixes, temporary hemming, when you don’t want to sew at all. A good option for lighter fabrics where the stiffness is less noticeable. For jeans, it might not provide the most durable or aesthetically pleasing long-term solution. |
| No-Sew Cut Hem | Simply cutting the jeans to your desired length and leaving the edge raw. | Extremely fast, casual and trendy distressed look. | Prone to fraying significantly over time, can look unfinished if not intentionally styled as distressed. Requires careful initial cutting. | Achieving a very casual, distressed, “cut-off” style. Best for specific fashion trends. Not suitable for a clean or traditional hem. |
Tips for a Flawless Finish

Achieving a professional-looking hem by hand is about attention to detail. Here are some extra tips to make your hand-hemmed jeans look fantastic:
- Match Thread Color Perfectly: If you want an invisible hem, meticulous thread matching is key. If you’re doing a visible hem to mimic a factory look, using a slightly thicker, contrasting thread (like gold or orange for denim) can look authentic, but ensure it’s a color that complements your jeans.
- Use a Thimble: A thimble protects your finger and allows you to push the needle through thicker denim with more force and control, especially helpful for repetitive stitches.
- Keep Stitches Small and Even: Smaller, consistent stitches lead to a stronger and neater hem. Irregular stitches can look haphazard and weaken the seam.
- Iron, Iron, Iron: Pressing each fold before sewing and pressing the finished hem is crucial. It lays the fabric flat, makes sewing easier, and gives a crisp, professional appearance. According to the National Agricultural Library, proper pressing is a key component of garment care and maintenance.
- Practice on Scrap Fabric: If you’re new to a particular stitch, try it out on a piece of scrap fabric first to get the feel for it.
- Work in Good Light: Proper lighting helps you see your stitches and fabric more clearly, reducing errors and improving accuracy.
- Consider the Original Hem: For the most authentic look on jeans, you can sometimes carefully detach the original hem, measure its width, and re-create that width with your new double fold.
Frequently Asked Questions (FAQ)
Q1: How much fabric should I leave for the hem allowance on wide leg jeans?
A1: For most jeans, including wide leg styles, a hem allowance of 1 to 1.5 inches (2.5 to 3.8 cm) is standard. This allows for a double fold, which creates a durable and neat finish. Always ensure you have enough to fold twice without the raw edge showing.
Q2: Can I hem wide leg jeans without cutting the fabric first?
A2: Yes. You can fold the fabric up twice to your desired length and then pin and sew. However, cutting off the excess fabric beforehand can make the folding and sewing process neater and less bulky, especially with thick denim. If you don’t cut, ensure your folds are very clean and pressed.
Q3: What is the best stitch for hemming jeans by hand?
A3: For an invisible hem, the blind stitch (slip stitch or ladder stitch) is best. For a more visible, durable stitch that can mimic a factory hem, a tight running stitch or a whip stitch with a matching or slightly contrasting thread works well. Missouri Artisans notes that various stitches offer different strengths and aesthetic qualities.
Q4: My hand-sewn hem looks uneven. What can I do?
A4: Unevenness often happens if the fabric shifts during sewing or if the initial marking was off. Try to unpick the uneven stitches carefully and re-pin the hem, ensuring it’s perfectly aligned and even all around. Pressing the hem folds well before pinning and sewing can help maintain an even line. If the unevenness is slight, sometimes a well-placed iron can help disguise it.
Q5: How do I make sure the hem on both legs matches?
A5: The key is consistent measuring. Measure from the inseam down to your desired hem length on both legs, ensuring you add the same hem allowance. Pinning them side-by-side on a flat surface and comparing the finished length from the crotch seam down can also help ensure they are identical. Always try them on with the shoes you’ll wear to check the final length.
Q6: Will hand-hemming be as strong as machine hemming?
A6: A well-executed hand-hem with strong thread and small, tight stitches can be very durable. For everyday wear and care, it often holds up just as well as machine-hemming. Using a backstitch within your running stitch can add extra strength. However, for extremely heavy-duty use or very thick denim, machine stitching is generally considered stronger and faster.
Conclusion
Hemming your wide leg jeans by hand is a straightforward and achievable project that can significantly improve the fit and look of your favorite denim. By following these steps, gathering the right tools, and paying attention to detail, you can confidently tackle this common alteration. Remember to measure carefully, prepare your hem allowance properly, and use a secure stitch. Whether you opt for an invisible blind stitch for a seamless finish or a visible running stitch for a more casual vibe, the satisfaction of a perfectly tailored garment you altered yourself is immense. No longer will too-long jeans hinder your style


