Quick Summary: Hemming wide leg jeans at home is simple! Get the perfect fit by measuring carefully, gathering basic sewing supplies, and following these easy steps to achieve a professional-looking finish without a tailor.
Wide leg jeans are a fantastic fashion statement, offering comfort and a chic silhouette. But when they’re a little too long, they can end up looking sloppy instead of stylish. Don’t let an inconvenient hemline trip you up! Many people shy away from hemming their own jeans, thinking it’s a complicated sewing project. The truth is, with a few basic tools and a bit of patience, you can easily adjust the length of your favorite wide leg denim yourself. This guide will walk you through everything you need to know, ensuring your jeans have that perfect, floor-grazing look you love.
Why Hemming Your Wide Leg Jeans is Worth It
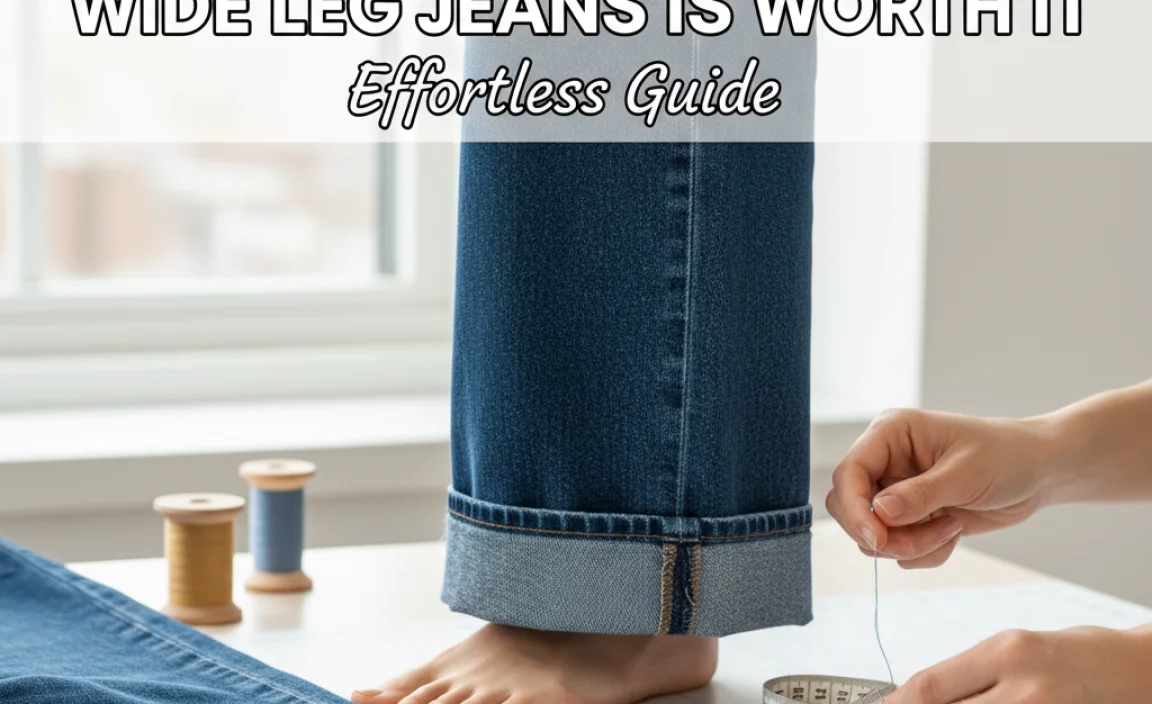
Getting the length of your wide leg jeans just right makes a significant difference in how they look and feel. Jeans that are too long can drag on the ground, getting dirty, snagged, or even creating a tripping hazard. They can also make your legs appear shorter than they are. On the flip side, jeans that are perfectly hemmed elongate your legs, create a cleaner line, and allow your shoes to shine. Hemming them yourself saves money on tailor fees, allows for custom length adjustments (especially useful for different shoe heights!), and gives you the satisfaction of a perfectly fitting garment.
Gathering Your Essential Hemming Supplies
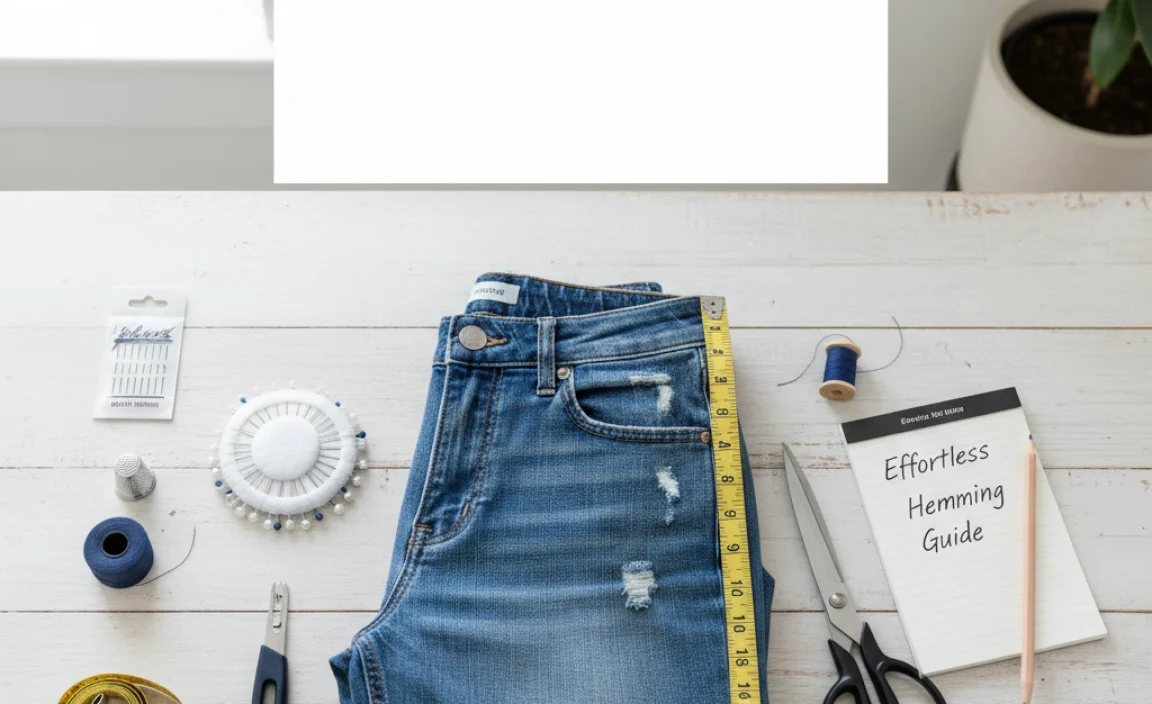
Before you start cutting and stitching, gather your tools. Having everything ready will make the process smooth and efficient. You don’t need a professional sewing machine for a great result, though it can speed things up. Many hand-sewing methods look just as good with a little care.
What You’ll Need:
- Your Wide Leg Jeans: Of course! Make sure they are clean and dry.
- Fabric Scissors: Sharp scissors are crucial for a clean cut. Don’t use dull scissors, as they can fray the denim.
- Measuring Tape or Ruler: A flexible measuring tape is ideal for curves, but a ruler works too.
- Fabric Chalk or a Pen/Pencil: For marking your cut line. Test it on an inconspicuous area of the jeans first to ensure it washes out.
- Straight Pins: To hold the hem in place while you work.
- Iron and Ironing Board: Essential for pressing seams and getting crisp folds.
- Needle and Thread: Choose a thread color that closely matches your jeans. You might need a thicker, denim-specific needle for hand sewing.
- Sewing Machine (Optional): If you have one and are comfortable using it, it can make the stitching faster and stronger.
- Seam Ripper (Optional): Useful for carefully removing the original hem if you want to preserve its look.
- Ruler or Straight Edge: For drawing a very straight cut line, especially helpful if you’re not confident with freehand marking.
The “Try On and Mark” Method: Getting the Perfect Length
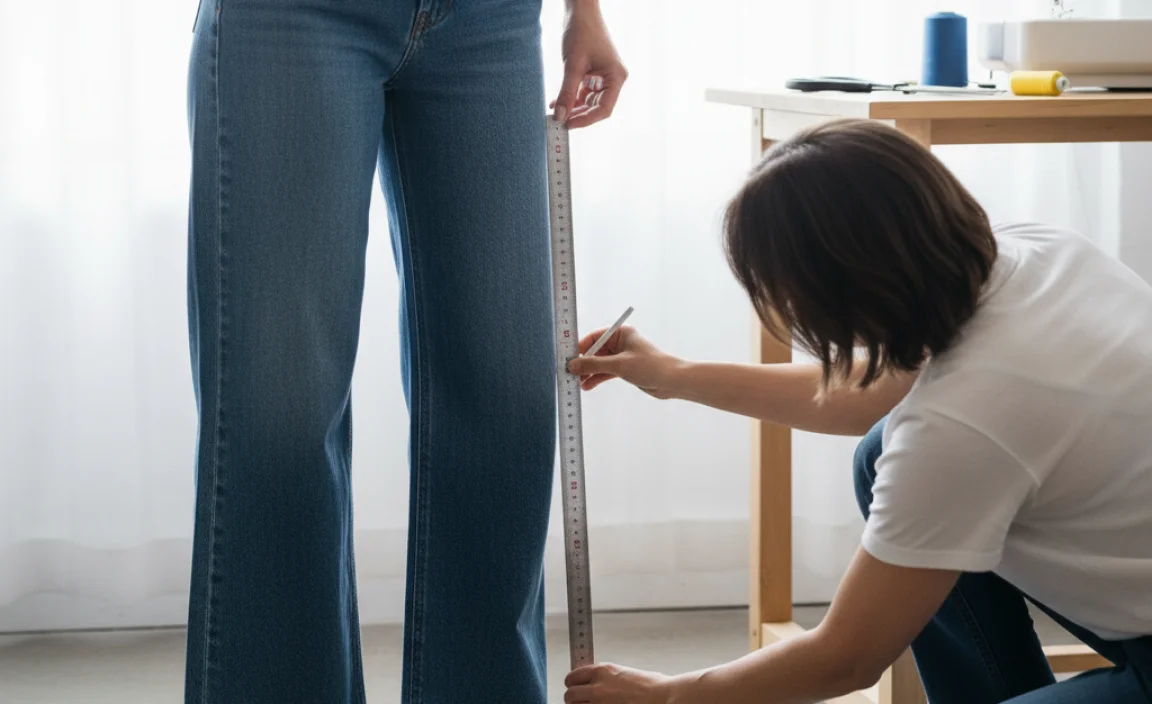
This is the most critical step. Getting the measurement right ensures your jeans will fit perfectly after hemming. Take your time here!
- Wear the Shoes You’ll Typically Wear: Put on the shoes that you plan to wear most often with your wide leg jeans. This is vital because different shoe heights dramatically affect how long your jeans should be.
- Put On Your Jeans: Wear the jeans over your chosen shoes.
- Stand in Front of a Mirror: Now, look at where you want the hem to fall. For wide leg jeans, you usually want them to just skim the top of your shoes, or sit slightly above the sole. Avoid them being SO long they pool on the floor, as this can look messy and wear down the fabric.
- Mark the Desired Length:
- Option A (Easiest): Using your fabric chalk or marker, gently mark where you want the new hem to sit. You can do this by making small dots along the inside or outside of the leg.
- Option B (More Precise): Have a friend help you. While you’re standing, have them hold a ruler or measuring tape vertically against the side seam of your jeans, from the waistband down. Mark the desired length on the jeans.
- Check the Other Leg: Once you’ve marked one leg, carefully take off the jeans and lay them flat. Use your measuring tape to ensure the mark on the first leg is consistent and then transfer that mark to the second leg, making sure it’s at the exact same point from the waistband.
Step-by-Step Guide: How to Hem Your Wide Leg Jeans

With your supplies ready and your length marked, it’s time to get hemming. We’ll cover a few options, from a simple no-frills hem to one that mimics the original look.
Method 1: The Simple Fold-Over Hem (Best for a Clean, Modern Look)
This method is straightforward and offers a clean finish, perfect for casual and modern styles.
- Prepare the Jeans: Lay your jeans flat on a clean surface, with the legs spread out.
- Mark Your Cut Line: Based on your test marks, use your ruler and fabric chalk to draw a straight line around the leg where you want to cut. Remember to factor in the amount of fabric you’ll need to fold. A good rule of thumb is to add about 1.5 to 2 inches (3.8 to 5 cm) below your desired finished hemline for your fold. This gives you enough room to create a neat double fold.
- Cut the Excess Fabric: Using your sharp fabric scissors, carefully cut along the marked line. Try to make your cut as straight and even as possible.
- Create the First Fold: Take the edge of the newly cut leg and fold it inwards towards the inside of the jeans, matching it up to your desired finished hemline. Press this fold firmly with your iron. This creates your first hem to hide the raw edge.
- Create the Second Fold: Now, fold the denim over again, covering the raw edge from the first fold. You want to fold it inward so that the raw edge is completely enclosed. This second fold should line up with your original desired hem length. Press this second fold firmly with your iron. This is your finished hem.
- Secure the Hem:
- By Hand: Use a needle and thread that matches your jeans. The best stitch for this is an “inside stitch” or a “hemming stitch” (also known as a blind stitch). This stitch goes through only a few threads of the outer pant leg and then catches the folded-up hem on the inside. This creates a nearly invisible stitch from the outside. Sew all the way around the leg, keeping your stitches small and even.
- With a Sewing Machine: You can use a straight stitch. Sew close to the top edge of your folded hem, about 1/8 inch (0.3 cm) from the folded edge. Make sure to backstitch at the beginning and end to secure the stitching. For a more durable finish, you can use a double needle if your machine has one, which mimics the look of original jean stitching.
- Press and Finish: Once stitched, give the entire hem a good press with your iron. This will set the stitch and give it a crisp, professional look.
Method 2: Preserving the Original Hem (For an Authentic Look)
Want to keep that characteristic worn hemline of your favorite jeans? This method is for you. It requires a bit more care and a seam ripper.
- Prepare the Jeans: Lay the jeans flat. You’ll be working on the original hem.
- Carefully Remove the Original Hem Stitching: Lay one leg flat and identify the stitching that holds the original hem in place. Using your seam ripper, very carefully pick out the stitches. Do this slowly and methodically to avoid damaging the fabric. You’re aiming to detach the folded-up hem from the main pant leg.
- Measure and Mark Your Cut: Once the original hem is detached, you’ll have the original folded hem hanging free. Decide how much length you want to remove. Measure from the bottom edge of the original hem upwards to your desired new finished length. Mark this line on the pants. You’ll need to add about 1 inch (2.5 cm) below this mark as “hem allowance” for reattaching.
- Cut the Excess Fabric: Cut along the line you just marked, removing the excess fabric.
- Reattach the Original Hem:
- Unfold the Fabric: Lay the original hem flat. Lay the pant leg flat, right side up, onto the original hem. Align the bottom edge of the pant leg with your new desired finished length mark.
- Fold and Pin: Fold the raw edge of the pant leg up once by about 1/2 inch (1.2 cm) towards the inside of the pant leg. Press this fold. Now, fold it up again, this time by about 1/2 inch (1.2 cm) or enough to align its raw edge with the fold of the original hem you removed and re-folded. You are essentially trying to recreate the original folded hem structure. Pin the pant leg securely to the original hem strip.
- Stitch: This is where it gets tricky for an invisible look. Ideally, you want to stitch in the original holes. With a needle and matching thread, use a “blind stitch” or “hemming stitch.” Try to catch just a few threads of the pant leg on the outside and then catch the bulk of the original hem. This will mimic the original look. Work your way around the entire leg.
- Press: Once stitched all the way around, give the hem a good press with your iron.
Writer’s Note: For Method 2, if you’re struggling to reattach the original hem perfectly, don’t worry too much. A slightly imperfect attachment is better than overly long jeans! Many DIY hems look great with a few visible stitches, especially on casual denim. For a guaranteed factory-like finish on the original hem, you can consult a tailor. Or, consider simply using Method 1 and purchasing some inexpensive “distressed” denim patches to apply near the hem for a similar worn-in aesthetic.
Understanding Hemming Terminology
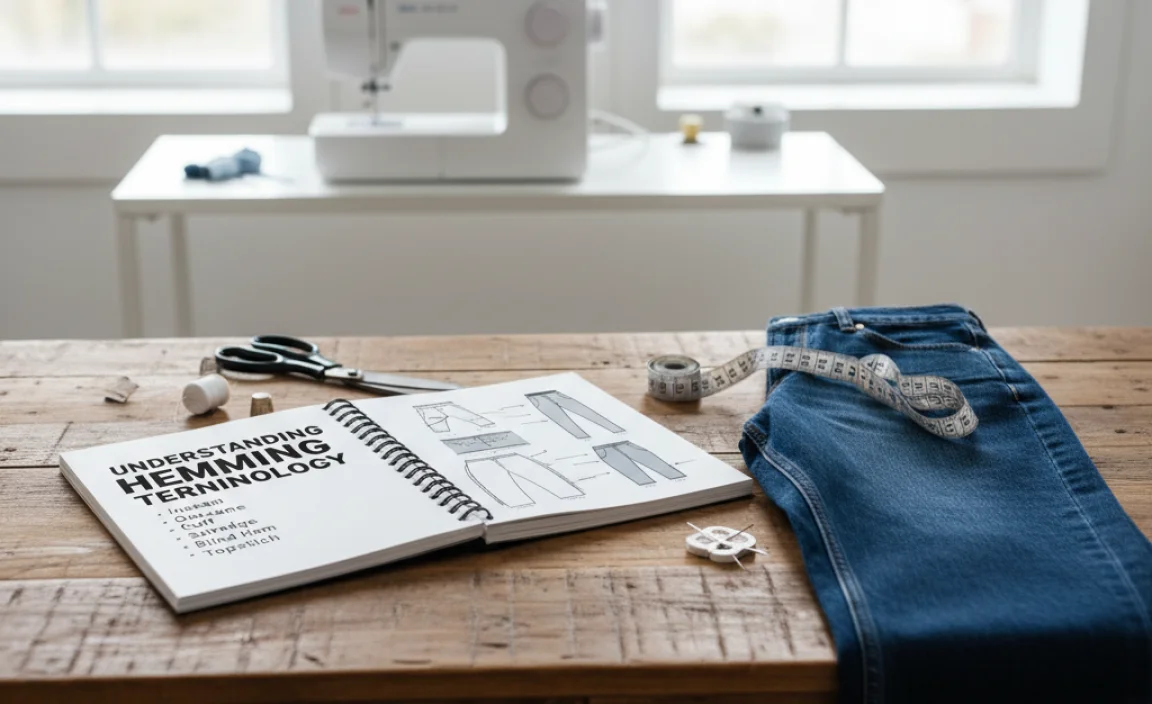
Knowing a few terms can make the process easier:
| Term | Description |
|---|---|
| Hem Allowance | The extra fabric folded up at the bottom of a garment to create a finished edge. |
| Raw Edge | The cut edge of fabric that has not been finished or hemmed. |
| Blind Stitch (Hemming Stitch) | A stitch that is almost invisible from the outside of the garment, used for hemming. |
| Selvage | The tightly woven, finished edge of fabric that prevents fraying. Original jean hems often use a selvage edge for durability and a distinct look. |
| Inseam | The seam on the inside of a garment’s leg, from the crotch to the hem. |
| Outseam | The seam on the outside of a garment’s leg, from the waistband to the hem. |
Tips for Perfect Wide Leg Jean Hems
A little extra attention can elevate your hemming project:
- Measure Twice, Cut Once: This old adage is especially true for hemming! An inaccurate measurement means you’ll have to re-hem or deal with ill-fitting jeans.
- Consider Shoe Height: If you wear different types of shoes, you might need to hem your jeans to different lengths. Some people have a dedicated pair hemmed for flats and another for heels.
- Pressing is Key: Don’t skip the ironing! Pressing each fold before you sew and pressing the finished hem afterward makes a huge difference in achieving a professional look. You can find great tips on fabric care and pressing at FabricLink.com.
- Wash Before Hemming (Sometimes): If your jeans are brand new and still have their rigid, starched feel, consider washing and drying them once before hemming. This allows the fabric to settle into its natural state, giving you a more accurate length from the start.
- Matching Thread: While black or white thread might seem practical, taking a moment to find a thread color that closely matches your denim will make your stitches much less noticeable for a cleaner finish.
- Practice on Scrap Fabric: If you’re new to sewing or using a specific stitch, practice on a scrap piece of denim (or even an old pillowcase) first.
Dealing with Different Denim Washes and Styles
The weight and fabric composition of your jeans can slightly affect the hemming process:
- Heavyweight Denim: Thicker denim might be harder to fold neatly and can be tougher to hand-stitch. A sewing machine is highly recommended here for stronger stitches and easier handling.
- Stretch Denim: Jeans with a percentage of elastane or spandex can have a bit of “give.” When measuring and hemming, be mindful that the fabric might stretch as you work, potentially altering your final length slightly. Gently pull to smooth, but don’t stretch excessively.
- Dark Wash vs. Light Wash: The main consideration is matching your thread color. For dark washes, a dark navy or black thread works. For lighter washes, opt for greys, blues, or even a light tan. Also, be aware of any decorative stitching on the original hem that you may want to replicate or work around.
- Distressed or Embellished Hems: If your jeans have a heavily distressed hem or special embellishments, you’ll likely want to use Method 2 (preserving the original hem) or consider having them professionally altered. Cutting off an embellished hem can be irreversible.
Frequently Asked Questions (FAQ) About Hemming Wide Leg Jeans
Q1: Do I really need a sewing machine to hem my jeans?
A1: No, you don’t! While a sewing machine makes the job faster and can create a very strong stitch, a neat hand stitch can look just as good, especially with a blind hem stitch. It just takes a bit more time and patience.
Q2: How much fabric should I leave for the hem?
A2: For a simple double-fold hem, plan for about 1.5 to 2 inches (3.8 to 5 cm) of fabric below your desired finished length. This allows for a 1/2 to 1-inch fold inside, then another fold to cover that raw edge.
Q3: How do I get the hem to look like the original jean hem?
A3: The best way is to carefully remove the original hem using a seam ripper and then reattach it. This preserves the original stitching and worn edge. If that’s too complex, using a double needle on a sewing machine can mimic factory-made stitching.
Q4: My jeans are stretching when I try to hem them. What should I do?
A4: This is common with stretch denim. Try to smooth the fabric gently rather than pulling hard when measuring and pinning. Also, ensure you’re ironing your folds flat, which helps set the shape and prevents unexpected stretching during sewing.
Q5: What if I cut too much fabric off?
A5: If you’ve cut too much and wanted the original length, you can sometimes reattach the fabric if you have enough to work with, but it’s challenging to make it look seamless. A simpler solution might be to add a cuff or a decorative band of fabric to the bottom for added length.
Q6: How do I choose the right thread color?
A6: For the most professional look, select a thread color that is as close a match as possible to the main color of your jeans. If you’re going for a more casual, visible stitch, a contrasting thread can be a stylistic choice.
Conclusion
Hemming your wide leg jeans at home is a completely achievable DIY project that can significantly improve the look and wearability of your favorite denim. By carefully measuring, choosing the right method for your desired finish, and taking your time with each step, you can achieve results that look professionally done. No more tripping over excess fabric or settling for “almost right” lengths. With these straightforward instructions, you’re well-equipped to give your wide leg jeans that perfect, polished drape. So grab your scissors and needle, and get ready to enjoy jeans that fit you flawlessly!
.lwrp.link-whisper-related-posts{
margin-top: 40px;
margin-bottom: 30px;
}
.lwrp .lwrp-title{
}.lwrp .lwrp-description{
}
.lwrp .lwrp-list-container{
}
.lwrp .lwrp-list-multi-container{
display: flex;
}
.lwrp .lwrp-list-double{
width: 48%;
}
.lwrp .lwrp-list-triple{
width: 32%;
}
.lwrp .lwrp-list-row-container{
display: flex;
justify-content: space-between;
}
.lwrp .lwrp-list-row-container .lwrp-list-item{
width: calc(25% – 20px);
}
.lwrp .lwrp-list-item:not(.lwrp-no-posts-message-item){
max-width: 150px;
}
.lwrp .lwrp-list-item img{
max-width: 100%;
height: auto;
object-fit: cover;
aspect-ratio: 1 / 1;
}
.lwrp .lwrp-list-item.lwrp-empty-list-item{
background: initial !important;
}
.lwrp .lwrp-list-item .lwrp-list-link .lwrp-list-link-title-text,
.lwrp .lwrp-list-item .lwrp-list-no-posts-message{
}@media screen and (max-width: 480px) {
.lwrp.link-whisper-related-posts{
}
.lwrp .lwrp-title{
}.lwrp .lwrp-description{
}
.lwrp .lwrp-list-multi-container{
flex-direction: column;
}
.lwrp .lwrp-list-multi-container ul.lwrp-list{
margin-top: 0px;
margin-bottom: 0px;
padding-top: 0px;
padding-bottom: 0px;
}
.lwrp .lwrp-list-double,
.lwrp .lwrp-list-triple{
width: 100%;
}
.lwrp .lwrp-list-row-container{
justify-content: initial;
flex-direction: column;
}
.lwrp .lwrp-list-row-container .lwrp-list-item{
width: 100%;
}
.lwrp .lwrp-list-item:not(.lwrp-no-posts-message-item){
max-width: initial;
}
.lwrp .lwrp-list-item .lwrp-list-link .lwrp-list-link-title-text,
.lwrp .lwrp-list-item .lwrp-list-no-posts-message{
};
}


