


Quick Summary: Learn how to hem wide leg jeans easily at home! This guide provides simple, step-by-step instructions for beginners, covering measuring, cutting, and sewing for a perfect fit without a trip to the tailor.
How to Hem Wide Leg Jeans: Your Essential Guide
Do your favorite wide leg jeans feel a little too long, dragging on the floor and making you feel a bit… unkempt? It’s a common problem, but fixing it is simpler than you might think. You don’t need to be a sewing expert or spend money at a tailor to get that perfect hemline. With a few basic tools and this straightforward guide, you’ll be enjoying your perfectly shortened jeans in no time. Let’s get started on giving your denim the fit it deserves!
Why Hemming Your Wide Leg Jeans Matters

Properly hemmed jeans aren’t just about looking good; they’re about comfort and practicality. Jeans that are too long can:
- Cause tripping hazards.
- Wear out unevenly at the bottom, leading to fraying.
- Look messy and unpolished.
- Make your shoes disappear.
Wide leg jeans, in particular, have a lot of fabric to manage, so getting the length right is crucial to maintaining their stylish silhouette. A good hem ensures they fall gracefully over your footwear without pooling on the ground.
Gathering Your Tools
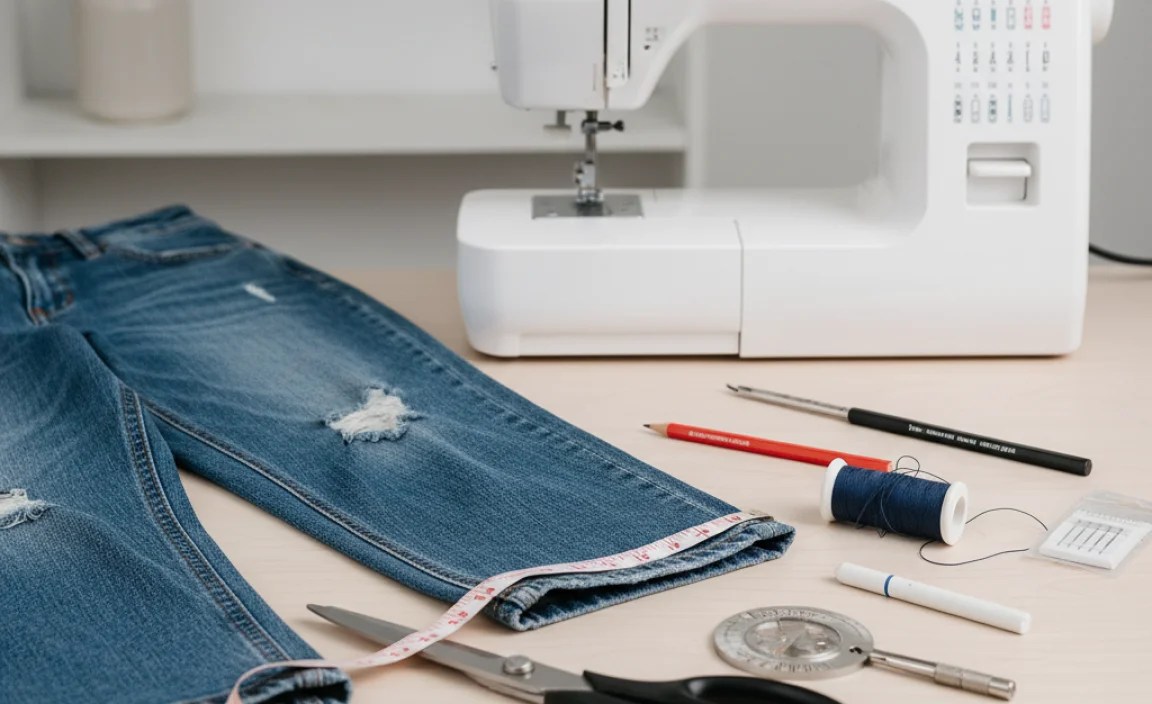
Before you start, make sure you have everything you need. Having all your supplies ready will make the process smoother.
- Your Wide Leg Jeans: The star of the show!
- Fabric Scissors: Sharp scissors specifically for fabric are essential for a clean cut.
- Fabric Measuring Tape: A flexible tape measure is ideal for getting accurate lengths.
- Fabric Chalk or a Disappearing Ink Pen: For marking your cut line.
- Straight Pins: To hold the hem in place while you work.
- Iron and Ironing Board: For pressing seams and creating crisp folds.
- Sewing Machine (Optional, but recommended): For a faster, more durable stitch.
- Matching Thread: Choose a color that closely matches your jeans.
- Seam Ripper: If you need to remove factory stitching or correct a mistake.
- A Helper (Optional): An extra pair of hands can be very useful for measuring, especially with wider leg styles.
Step-by-Step Guide to Hemming
Let’s walk through the process. Don’t worry if you’re new to sewing; we’ll take it one step at a time.
Step 1: Try On Your Jeans and Determine the New Length
This is the most important step. Wear the shoes you plan to wear most often with your wide leg jeans. This ensures the hem will be the correct length for your intended look.
- Stand Naturally: Put on your jeans and the chosen shoes.
- Check the Length: Look at how the jeans fall. Are they pooling on the floor? Do they cover too much of your shoe?
- Mark the Desired Hem: With your helper (if you have one), or carefully yourself, use fabric chalk or a pen to mark where you want the new hem to fall. A good rule of thumb is to aim for the hem to just kiss the top of your shoe. For a slightly more casual look, you can let them fall a little lower.
- Consider the Fold: Remember you’ll need to fold the fabric up. Usually, a 1/2-inch to 1-inch fold is standard for the initial fold, and then another 1-inch to 1.5-inch fold for the final hem.
Step 2: Prepare Your Jeans for Cutting
Once you have your ideal length marked, it’s time to get ready for the cut.
- Take Off Your Jeans: Carefully lay them flat on a clean, hard surface, like a table or the floor.
- Smooth Out the Fabric: Make sure there are no wrinkles or creases near your marked hemline on both the front and back of the leg.
- Align the Legs: Stack the legs of the jeans directly on top of each other, ensuring the inseams and outseams are perfectly aligned. This is crucial for an even hem on both legs. If you have a helper, this is where they can be invaluable.
- Transfer Your Marks: If you only marked one side of the hem, transfer the mark to the other side by poking your pin through the fabric at the mark and then aligning it with the bottom layer.
Step 3: Measure and Mark the Cut Line
Now we add the extra length for the hem fold.
- Decide on Hem Allowance: A common allowance for hemming wide leg jeans is between 2 and 3 inches. This accounts for a double fold to create a clean, sturdy hem, especially on heavier denim. A wider hem often looks best on wider legs.
- Measure and Mark: Using your measuring tape and fabric chalk, measure UP from your desired finished hemline mark by your chosen hem allowance (e.g., 2.5 inches). Draw a straight line parallel to the bottom edge of the jeans. Do this all the way around the circumference of the leg.
- Mark Again for the Fold: For a clean finish, you’ll typically fold the fabric up twice. Mark the halfway point between your cut line and the finished hemline. For example, if your finished hemline is at 0 inches and your cut line is at 2.5 inches, mark at 1.25 inches. This guides your first fold.
Step 4: Cut the Excess Fabric
Time to make the cut! Be confident and precise.
- Use Sharp Scissors: With your marked cut line as your guide, carefully cut along the line using your fabric scissors.
- Cut Through Both Layers: Ensure you cut through both layers of the stacked denim leg for a consistent result.
- Repeat for the Other Leg: Once the first leg is cut, neatly separate the layers and repeat the cutting process for the second leg, ensuring it matches the first.
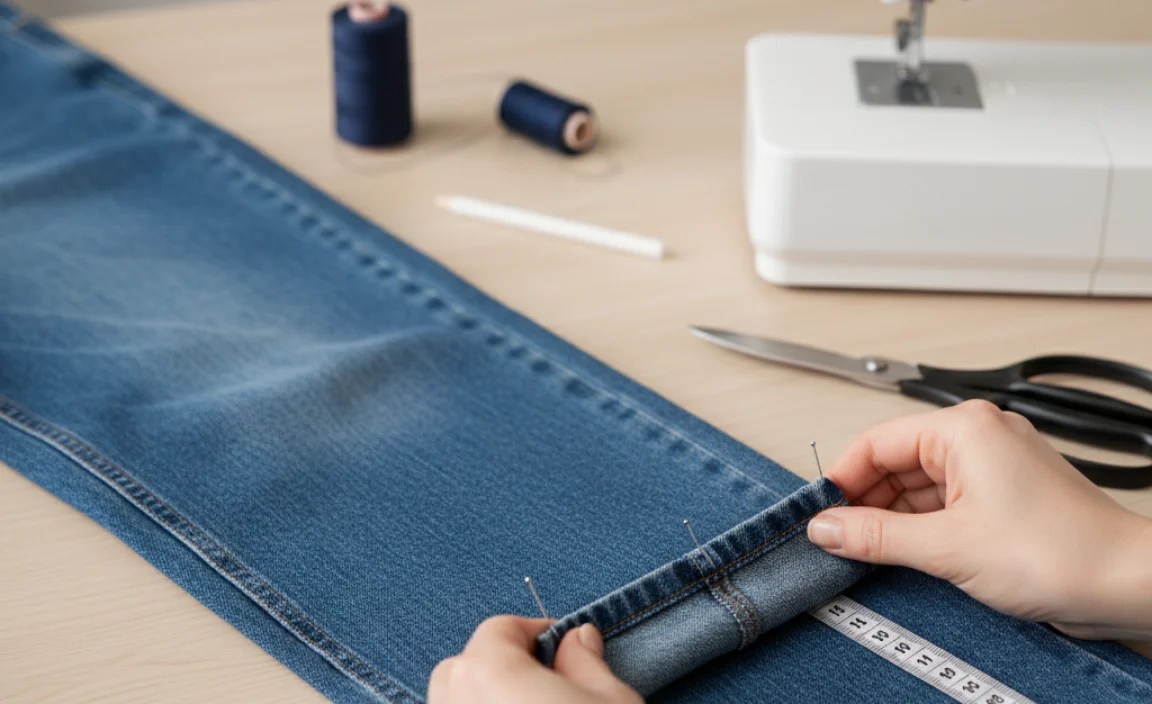
Step 5: Prepare for Sewing – Creating the Hem Fold
This step prepares the fabric for your stitch.
- The First Fold: Take the raw edge of the cut fabric and fold it UP towards the inside of the jeans to meet your halfway mark (the point you marked in Step 3 that was between the cut line and the finished hemline). Press this fold flat with your iron. This creates a neat edge.
- The Second Fold: Now, fold that folded edge UP again, so the raw edge is completely enclosed. This new fold should align with or slightly overlap the original desired finished hemline you marked in Step 1.
- Pin in Place: Use your straight pins to secure the folded hem. Place pins perpendicular to the edge of the fabric, about every 2-3 inches, ensuring they go through both folded layers. Make sure the pins don’t poke into where your sewing machine needle will go.
- Press Again: Once pinned, give the entire hem a good press with your iron. This helps the fabric lie flat and makes it easier to sew.
Step 6: Sewing the Hem
This is where your jeans start to look finished!
Sewing with a Machine:
- Thread Your Machine: Use a strong needle suitable for denim and thread that matches your jeans.
- Set Up Your Machine: Set your stitch length to a medium-to-long stitch (around 2.5-3.0).
- Position the Jeans: Place the pinned hem under the presser foot. Start sewing just to the left of a side seam for a less visible starting point.
- Sew Around: Carefully sew along the folded edge, about 1/8 to 1/4 inch from the top folded edge. Guide the fabric with your hands, keeping the seam straight.
- Achieve a Professional Finish: For maximum durability and a look similar to the original hem, you’ll want to sew two lines of stitching. The first line will be close to the very edge of the folded fabric (this is what you just did). The second line of stitching should be about 1/4 to 1/2 inch higher, securing the doubled-up fabric.
- Backstitch: At the beginning and end of your sewing, backstitch a few stitches to secure the thread.
- Remove Pins: As you sew, remember to remove the pins before the needle reaches them.
Sewing by Hand (if you don’t have a machine):
- Thread Your Needle: Use a strong thread, doubled up, and knot the end.
- Use a Hemming Stitch: A blind hem stitch (also called a blind stitch or invisible stitch) is ideal for a clean finish. This stitch catches only a few threads of the jean fabric on the outside and secures the double fold underneath without the stitches being very visible.
- Work Methodically: Take small stitches, ensuring you catch a little bit of the jean fabric and then a bit of the folded-up hem. Keep your stitches even and don’t pull too tightly, as this can cause the fabric to pucker.
- Regularly Check the Outside: Periodically check the outside of the jeans to ensure your stitches are as invisible as possible.
- Secure the End: Once you’ve sewn all the way around, make a few small knots to secure the thread.
Check out resources like Spoonflower’s guide on sewing straight lines for practice, which can be very helpful for beginners ensuring consistent stitch placement.
Step 7: Final Touches
You’re almost done!
- Trim Loose Threads: Snip away any stray threads for a neat appearance.
- Press Again: Give the hem a final press with your iron. This crisp finish makes a huge difference.
- Try Them On: Put on your perfectly hemmed wide leg jeans and admire your handiwork!
Understanding Hem Finishes for Wide Leg Jeans

The way you finish the hem on wide leg jeans can significantly impact the overall look and style. Here are a few common options:
| Hem Finish Type | Description | Best For | Pros | Cons |
|---|---|---|---|---|
| Double Fold Hem | The fabric is folded up twice, enclosing the raw edge. This is the most common and durable method. | Most wide leg jeans, especially denim. Offers a clean, structured look. | Durable, neat, prevents fraying, professional appearance. | Can add a bit of bulk; requires precise folding and pressing. |
| Rolled Hem | The edge is rolled and stitched, often seen on softer fabrics or for a more casual, unfinished look. | Lighter weight fabrics, flowy wide leg pants, casual styles. | Lightweight, casual aesthetic, quick to do if done simply. | Can fray over time if not secured well; less structured. |
| Raw Hem | The bottom edge is left unfinished, allowing it to fray naturally. | Edgy, distressed, or very casual styles. | Trendy, easy, minimal effort. | Frays significantly over time; can look messy if not intentionally styled; requires a very clean initial cut. |
| Original Hem Preservation | Carefully removing the original hem, cutting the jeans shorter, and reattaching the original hem. | Jeans with special wash details or a specific weathered look on the original hem. | Maintains the original look and feel of the jean’s bottom edge. | Most complex and time-consuming; requires skill to reattach seamlessly. |
For most beginners and for a classic look on wide leg jeans, the double fold hem is highly recommended. It provides a clean, durable finish that complements the structure of wide leg denim.
Troubleshooting Common Hemming Issues
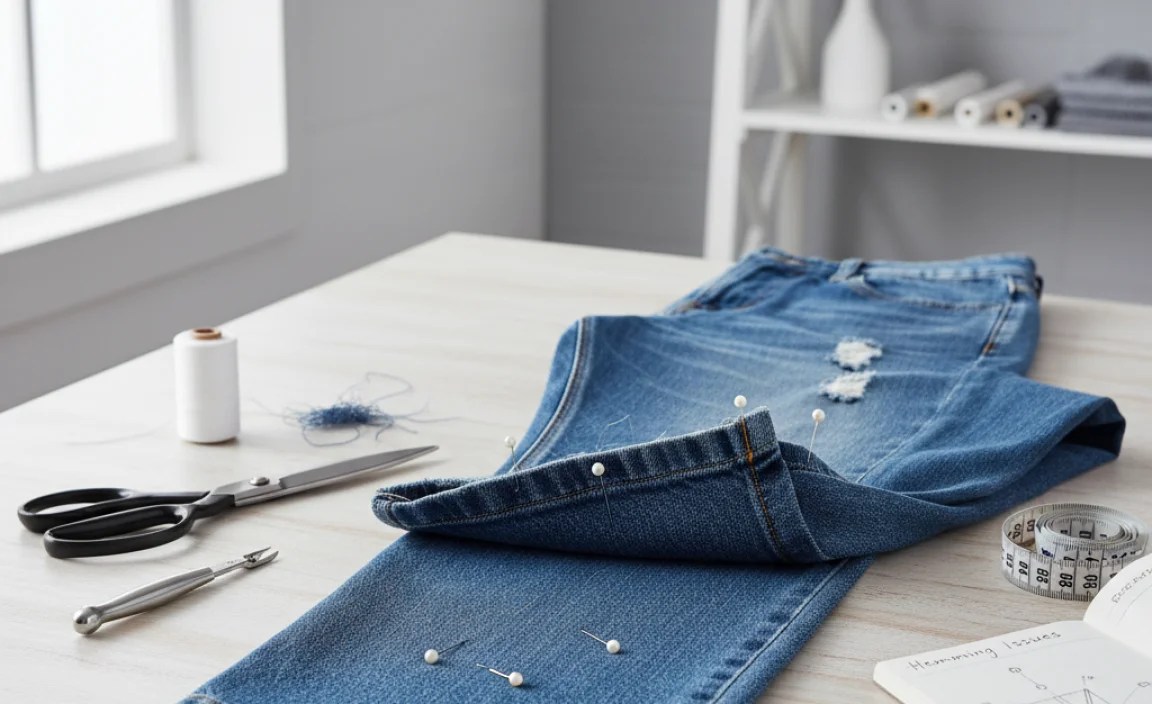
Even with the best intentions, you might run into a few snags. Here’s how to fix them:
- Uneven Hem: If you notice your hem isn’t straight after sewing, you might have cut unevenly or the fabric shifted. For minor wobbles, you might be able to press them out. For significant issues, you may need to unpick the stitching and re-do the hem, ensuring the fabric layers are perfectly aligned before cutting and sewing.
- Puckering Stitches: This often happens when the thread tension is too high or the stitch length is too short. Refer to your sewing machine’s manual on how to adjust thread tension and try a slightly longer stitch length. Hand sewers might be pulling the fabric too tight.
- Thread Breaking: Ensure you are using a needle appropriate for denim. A dull or thin needle can break when going through thick layers of fabric. Also, check that your thread isn’t old or of poor quality.
- Difficulty Sewing Through Thick Seams: Wide leg jeans often have thick seams at the side or inseam. You can try to sew over these areas by hand-cranking the sewing machine’s handwheel to get the needle through, or use a hump jumper (a small tool that levels the presser foot over thick areas).
- Hem Too Gaping or Stiff: This can happen if the hem allowance is too wide, or if it’s not pressed well. Ensure your folds are crisp and consider reducing the hem allowance slightly for the next pair if you found it too bulky.
Frequently Asked Questions (FAQ)
Q1: How much fabric do I need to leave for hemming wide leg jeans?
A: For wide leg jeans, it’s best to leave at least 2 to 3 inches of fabric below your desired finished hemline. This allows for a double fold, which creates a clean, strong, and professional-looking hem that won’t fray easily and adds a bit of structure.
Q2: What’s the easiest way to get a straight cut?
A: The easiest way is to stack the jeans legs perfectly on top of each other, aligning the seams. Mark your desired cut line on one leg, and then carefully transfer that mark all the way around. Using a rotary cutter and a long ruler on a cutting mat can also help if you have them, but sharp fabric scissors and careful marking work well.
Q3: Can I hem wide leg jeans without a sewing machine?
A: Yes, absolutely! You can hem by hand using a blind hem stitch, which is designed to be nearly invisible from the outside. It takes a bit more time and patience, but the result can be just as neat and professional.
Q4: Should I hem my wide leg jeans before or after washing them?
A: It’s best to hem your jeans after you’ve washed and dried them at least once. Denim can shrink, especially in length, when washed for the first time. Hemming pre-shrunk jeans ensures the finished length will remain consistent after future washes.
Q5: How do I keep the original hem look on my wide leg jeans?
A: To preserve the original hem, you’ll need to carefully unpick the existing hem stitching, cut the jeans to the desired length (below the original hem), and then reattach the original hem. This is a more advanced technique called “h Tarking.” For beginners, using matching thread in a similar stitch creates a great, professional-looking finish.
Q6: What if my wide leg jeans are made of a different material, like linen or a blend?
A: The general principles are the same, but you may need to adjust your tools and techniques slightly. For lighter fabrics, use a finer needle and thread, and be extra careful with pressing to avoid ‘scorching’ or overly crisp creases. Always check the fabric care label for specific recommendations. A single fold hem might be sufficient for very lightweight, drapey fabrics.
Conclusion
Hemming your wide leg jeans is a rewarding DIY project that can significantly improve the fit, look, and feel of your favorite denim. By following these steps, you can achieve a professional, tailor-made finish right in your own home, without needing fancy equipment or extensive sewing experience. Remember to measure carefully, press your folds crisply, and take your time with the sewing. Soon, you’ll be confidently rocking your perfectly hemmed wide leg jeans, enjoying both their style and perfect length. Happy hemming!


