Don’t let ill-fitting wide-leg jeans ruin your style. This guide offers a simple, step-by-step method to perfectly hem your wide-leg jeans at home, ensuring a polished look without a trip to the tailor. You’ll learn the easy way to achieve a flawless finish, saving you time and money.
How to Hem Wide Leg Jeans: A Proven Effortless Guide
Wide-leg jeans are a fantastic fashion staple, offering comfort and a stylish silhouette. But their generous fabric can sometimes overpower your frame if the length isn’t quite right. A hem that’s too long can make you look shorter, cause tripping hazards, or simply look messy. Don’t worry, hemming them yourself is much easier than you might think! This guide will walk you through every step, from gathering your supplies to achieving a professional-looking finish.
Getting your jeans hemmed can seem daunting, especially with wider legs where precision is key to maintaining the garment’s intended drape. Many people avoid DIY hemming out of fear of making a mistake, leading to expensive tailor visits or wearing jeans that are just a little bit “off.” But with a few simple tools and this clear, step-by-step method, you can confidently alter your wide-leg jeans to your perfect length. We’ll cover everything you need, from measuring accurately to sewing a secure and neat hem. Let’s get your favorite jeans fitting like they were made just for you!
Why Proper Hemming Matters for Wide Leg Jeans
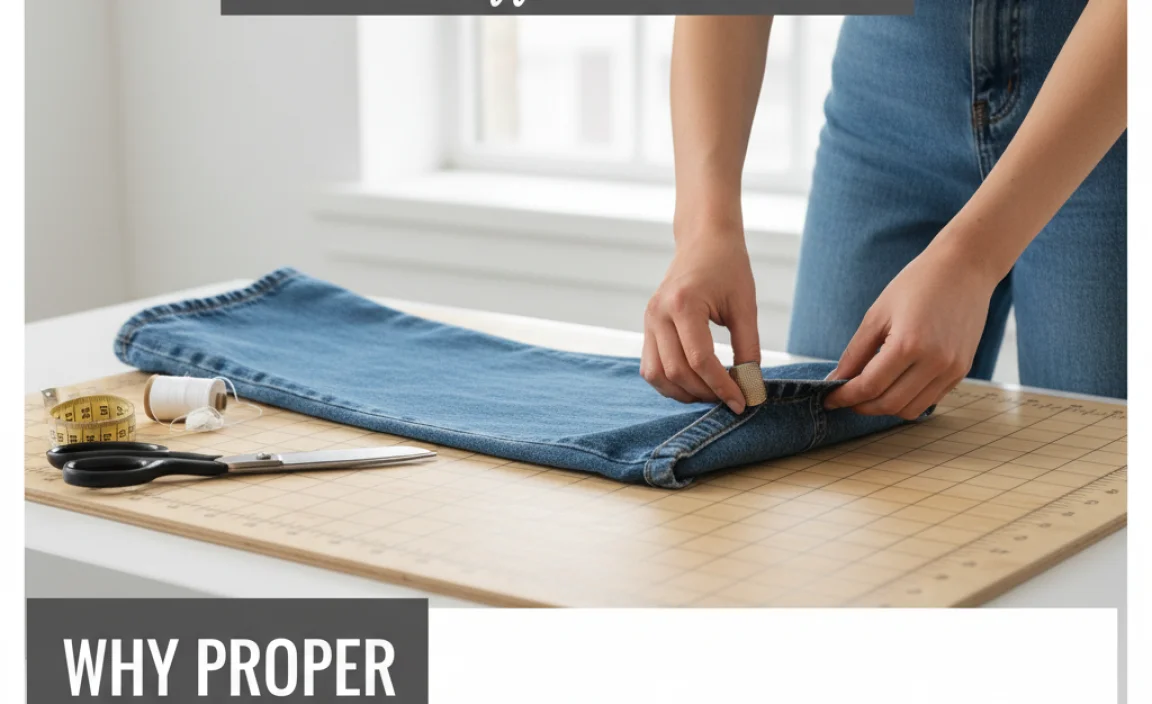
The silhouette of wide-leg jeans is their defining feature. When they’re too long, they can drag on the floor, accumulate dirt, and lose their intended shape by bunching up around your ankles. This can make your legs appear shorter and the overall look less intentional. A correctly hemmed pair, on the other hand, will skim the top of your shoes or reach your desired length, enhancing your outfit and elongating your legs. It’s about achieving that clean, polished finish that elevates your entire look and ensures your jeans work with your style, not against it.
What You’ll Need: Your Hemming Toolkit
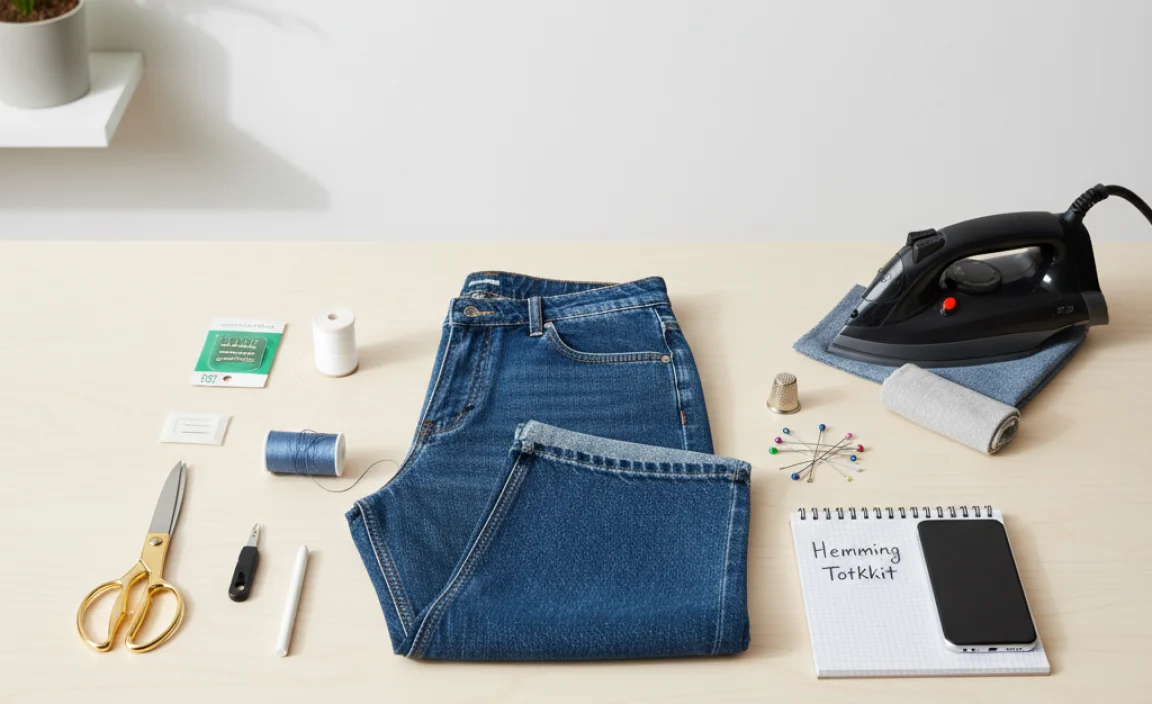
Before you begin, gather these essential tools. Having everything ready will make the process smooth and straightforward.
- Your Wide Leg Jeans: Make sure they are clean and dry.
- Fabric Scissors: Sharp scissors are crucial for a clean cut.
- Measuring Tape or Ruler: For accurate length measurement.
- Fabric Marker or Chalk: To mark your cutting line.
- Straight Pins: To hold the hem in place while you sew.
- Iron and Ironing Board: To press seams and create a crisp fold.
- Sewing Machine (Recommended) or Needle and Thread: For stitching the hem. If using a machine, ensure you have a denim or heavy-duty needle.
- Thread: Choose a color that matches your jeans as closely as possible, or opt for a contrasting color for a deliberate design element.
- Seam Ripper (Optional but helpful): If you need to adjust an existing hem or remove a previous stitch.
Step-by-Step Guide: How to Hem Wide Leg Jeans Effortlessly
Follow these simple steps to achieve a perfect hem on your wide-leg jeans. We’ll break it down so you can follow along with confidence.
Step 1: Try On Your Jeans and Determine the Ideal Length
This is the most critical step for a perfect fit. Wear the shoes you intend to wear most often with these jeans. This ensures the hem length is appropriate for the footwear’s height. Stand naturally and have someone else mark the length for you if possible, or use a mirror.
How to Mark the Length:
- Put on your jeans and shoes.
- Look in a full-length mirror.
- Gently pull the excess fabric at the bottom of each leg upwards. You want the jeans to just skim the top of your shoes, or reach your desired length without dragging.
- While holding the fabric in place, use your fabric marker or chalk to make a small dot on the outside of the jean leg where you want the new hem to fall. Do this on both the front and back of each leg, and on both legs.
A good tip for wide-leg jeans is to ensure the marker dots create a visually straight line all around the leg when viewed from the front and back. You can also gather a slight amount of excess fabric at the side seam to help guide your marking for a clean finish.
Step 2: Measure and Mark the Cutting Line
Once you have your length marked, it’s time to establish your cutting line. You need to account for the amount of fabric you’ll fold up to create the new hem. A standard hem allowance for jeans is typically 1 to 1.5 inches. For wide-leg jeans, a slightly wider hem can sometimes complement the fabric’s volume.
Action:
- Take off the jeans.
- Lay one jean leg flat.
- Using your measuring tape or ruler, measure from the dot you marked in Step 1 DOWN to the original bottom edge of the jean leg. This is your desired finished length. Note this measurement.
- Now, measure UP from that original bottom edge to create your hem allowance. A common and effective allowance for wide-leg jeans is 1.5 inches. Make a new line parallel to the current bottom edge, 1.5 inches UP from it. This is your CUTTING line.
- Repeat this for the other jean leg, ensuring both cutting lines are identical.
It’s important that the cutting lines are parallel to the original hem and consistent on both legs to ensure evenness. If your jeans have a finished seam at the bottom that you want to remove, you can carefully use a seam ripper to take out those stitches first.
Step 3: Cut Off the Excess Fabric
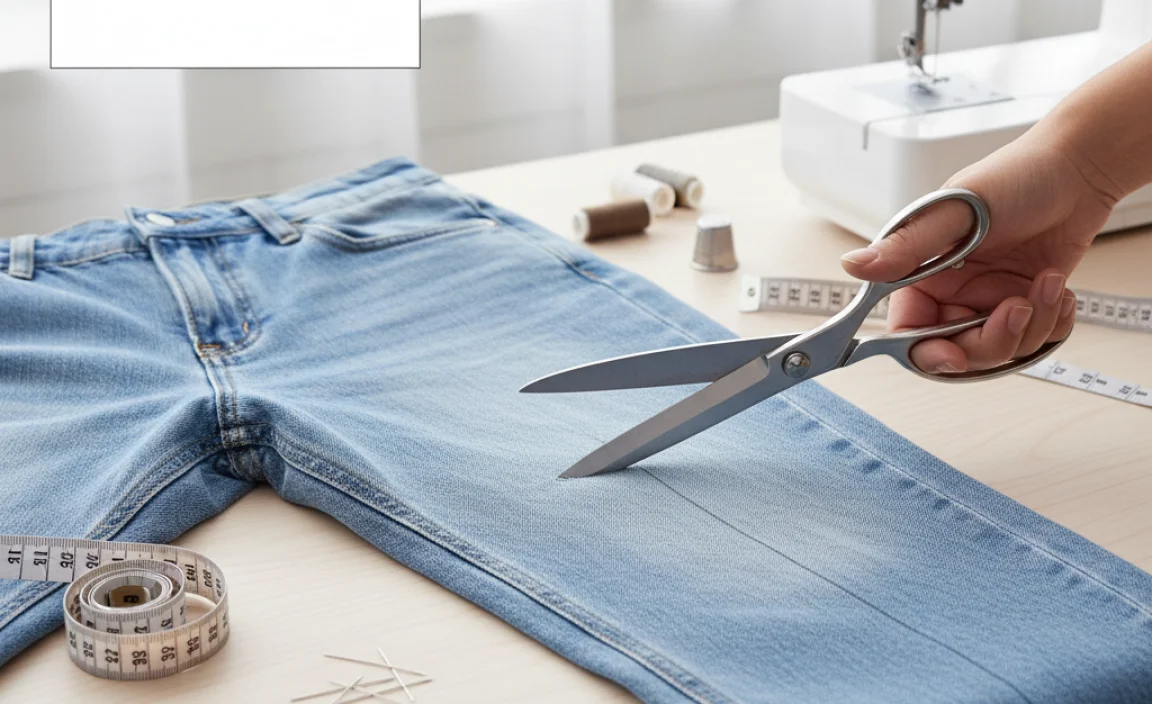
With your cutting line clearly marked, it’s time to trim the excess fabric. Ensure your scissors are sharp for a clean, precise cut.
Action:
- Lay the jean leg flat on a stable surface, smoothing out any wrinkles.
- Carefully cut along the marked cutting line using your fabric scissors.
- Cut through both layers of the jean leg.
- Repeat for the other leg, ensuring the cut is straight and at the same height as the first.
If you are unsure about cutting, you can always start by cutting a little higher than your marked line and adjust later if needed. It’s better to cut less than too much.
Step 4: Prepare the Fold for Hemming
Now, you’ll create the fold that will become your new hem. This involves folding the fabric twice for a clean, durable finish.
Action:
- Take the cut edge of one jean leg and fold it UPWARDS towards the inside of the leg. Align this fold with your original length mark (the mark where you wanted the jeans to end after hemming). This first fold should be about half the width of your hem allowance (e.g., about 0.75 inches if your allowance was 1.5 inches).
- Press this fold firmly with your iron to create a crisp crease.
- Now, fold the fabric UPWARDS again, covering the first fold. This second fold should bring the raw cut edge neatly tucked inside. The total width of these two folds should equal your hem allowance (e.g., 1.5 inches).
- Press this second fold very well. This creates a double-folded hem, which is sturdy and prevents fraying.
Ensure the folded hem lies flat and evenly all the way around the leg. Pin it securely in place. Use plenty of pins, about every 1-2 inches, to keep the hem from shifting while you sew.
Step 5: Sew The Hem
This is where your sewing machine or needle and thread comes in. The goal is to stitch the folded hem securely and neatly.
Using a Sewing Machine:
- Set up your sewing machine with a denim or heavy-duty needle and matching or contrasting thread.
- Place the pinned hem under the presser foot. Position it so you are sewing along the top edge of the folded hem (the edge still visible from the outside of the leg), about a 1/16th of an inch from the folded edge.
- Start sewing, backstitching at the beginning to secure the thread.
- Sew all the way around the leg, keeping your stitch line straight and consistent.
- Backstitch again at the end to secure the seam.
- Trim any excess thread.
Removing bulky seams from the original hem (if you had to rip them) can make sewing easier. If you are sewing over a thick seam, you might need to lift the presser foot slightly and guide the fabric carefully, or use a “hump jumper” or seam leveler tool.
Using a Needle and Thread:
- Thread your needle with a double strand of thread, and tie a knot at the end.
- Insert your needle from the inside of the jean leg, so the knot is hidden within the fold.
- Make small, even stitches along the top edge of the folded hem, about 1/16th of an inch from the folded edge. Aim for a “hem stitch” or “blind stitch” if you want the stitches to be nearly invisible from the outside. A simple running stitch or backstitch will also work for durability.
- Continue sewing around the leg, keeping your stitches consistent in size and spacing.
- When you reach your starting point, tie off the thread securely from the inside of the hem.
A few tips for hand-sewing: keep your stitches small and taut for a neat finish. If you want the appearance of a machine-sewn hem, try to keep your stitch length as uniform as possible.
Step 6: Final Press and Inspection
After sewing, give your new hem a final press with the iron. This sharpens the crease and ensures everything lies flat and looks professional.
Action:
- Turn the jeans right-side out.
- Place the hemmed area on your ironing board.
- Press the folded hem firmly with your iron, ensuring both layers are flat and the top edge of the fold is sharp.
- Try on your jeans one last time with your chosen shoes to admire your work and confirm the length is perfect.
Congratulations! You’ve successfully hemmed your wide-leg jeans.
Hacks and Tips for Perfect Denim Hemming
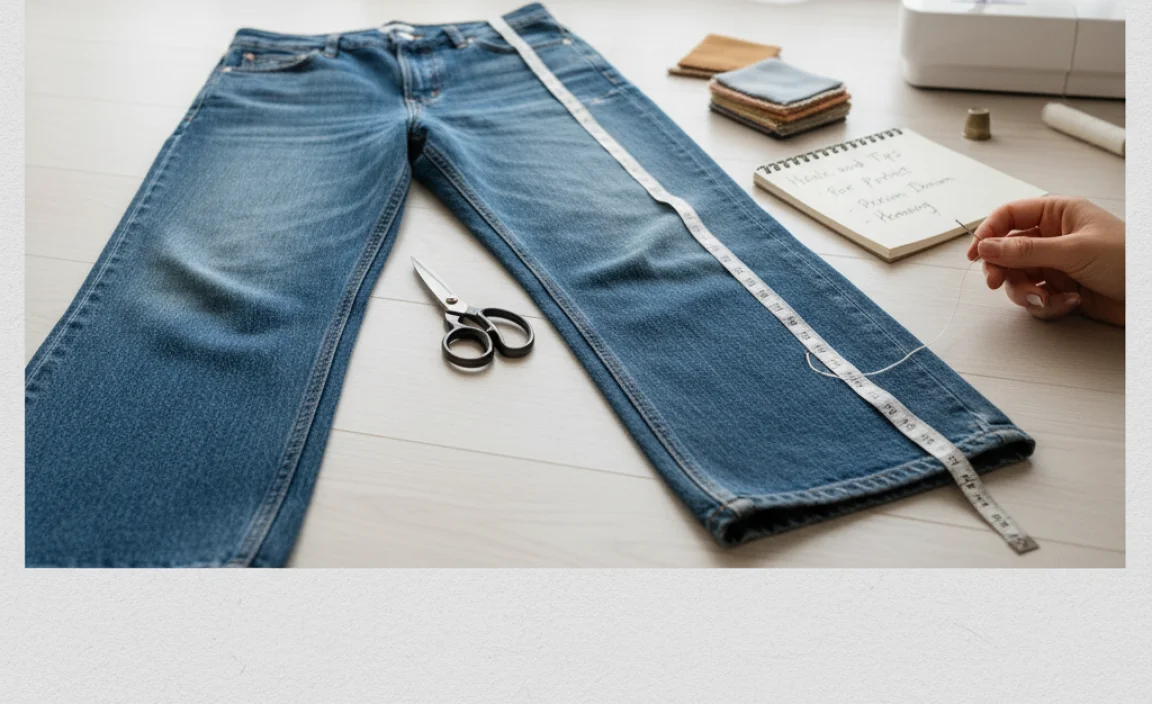
Here are some insider tips that can make your hemming project even more successful, especially for denim:
- Match the Original Hem (Optional): For a truly authentic look, you can carefully use a seam ripper to remove the original hem from your jeans, then reattach it to your newly cut length. This is more advanced but maintains the factory-finished look.
- Test Your Stitch: Before sewing on the actual jeans, practice stitching on a scrap piece of denim to ensure your machine tension is correct and your stitch length is suitable.
- Fabric Type Matters: While this guide is for denim, other wide-leg pants might require different hemming techniques or seam allowances based on their fabric weight and drape—like linen or silk blends.
- Consider the Shoe: Always hem with the shoes you’ll be wearing. A quick guide on shoe styles and their typical hem lengths can be found on fashion resources like CollegeFashion.com, which offers insights into how different shoe styles dictate hem lengths.
- Use a Walking Foot: If your sewing machine struggles with thick layers of denim, a walking foot can help feed the fabric evenly and prevent puckering.
- Protect Your Machine: Always use a denim needle. A standard needle can break or damage your machine when sewing through multiple layers of heavy denim.
Troubleshooting Common Hemming Issues
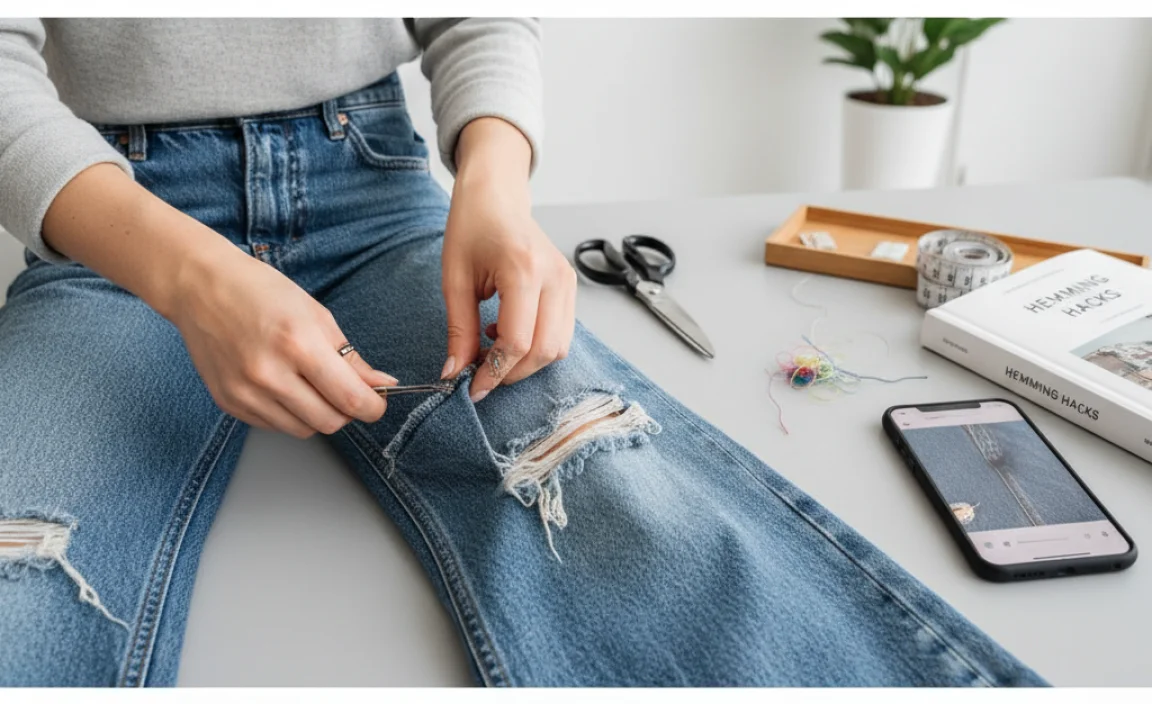
Even with the best intentions, you might run into a few snags. Here’s how to fix them.
| Problem | Solution |
|---|---|
| Uneven Hemline | If the hem is slightly uneven after sewing, try carefully pressing it to even out the folds. For significant unevenness, you may need to unpick the stitches and re-mark and re-cut. Always check the length with your shoes on before cutting. |
| Puckered Stitches | This usually indicates an issue with tension on your sewing machine or using the wrong needle/thread combination. Re-thread your machine, adjust tension settings, and ensure you’re using a denim needle. Practice on a scrap piece. |
| Fraying Raw Edge (if not double-folded) | If you only folded once, the raw edge might fray. You can fix this by turning the leg inside out and zigzag stitching along the raw edge to prevent further fraying, then pressing the hem again. A double fold is always best for durability. |
| My Jeans Are Too Short Now! | Mistakes happen! If you cut too much off, you essentially need to add fabric back. This is difficult to do seamlessly unless you have the original hemmed fabric. For a quick fix, you might consider adding a decorative cuff using a contrasting fabric, or accepting it as a learning experience and finding a new pair to hem. |
FAQs: Your Hemming Questions Answered
Q1: How much fabric should I leave for hemming wide leg jeans?
For wide leg jeans, a hem allowance of 1 to 1.5 inches is generally recommended. This allows for a substantial double fold, which creates a durable and neat finish that can complement the volume of the fabric.
Q2: Should I wash my jeans before hemming them?
Yes, always wash and dry your jeans before hemming. This ensures they are at their final size. Denim can shrink, and hemming preshrunk jeans is essential for an accurate final length.
Q3: Can I hem wide leg jeans without a sewing machine?
Absolutely! You can hem wide leg jeans neatly by hand using a needle and thread. A strong stitch like a backstitch or a carefully executed blind stitch works well. Ensure your stitches are small and even for a clean look.
Q4: What kind of needle should I use for hemming jeans?
For denim, it’s crucial to use a denim needle or a heavy-duty needle (size 100/16 or larger) for your sewing machine. If hand-sewing, a sturdy, sharp needle will suffice.
Q5: How do I keep the hem even on wide leg jeans?
Wear the shoes you intend to wear with the jeans when marking the length. Stand in front of a mirror and have someone mark the desired length, or carefully mark it yourself. Ensure your cutting line is parallel to the floor and measure carefully when creating your folds. Pinning generously before sewing also helps maintain evenness.
Q6: What if my jeans have a thick seam at the bottom?
If your jeans have a thick factory hem, you can either remove it carefully with a seam ripper before proceeding, or sew over it. To sew over a thick seam, you might need to use a seam jumper tool to help the presser foot move smoothly over the bulk. You can also try sewing a few stitches before the seam, then carefully lifting the presser foot to move past the seam and lowering it again to continue sewing.
Conclusion
Hemming wide-leg jeans doesn’t require a trip to the tailor or advanced sewing skills. With the right tools and this straightforward, step-by-step guide, you can achieve a professional and flattering fit at home. Remember to measure carefully with your intended footwear, make precise cuts, and use a secure double fold for a durable and neat finish. Whether you’re a seasoned sewer or a complete beginner, you now have the knowledge to confidently alter your wide-leg jeans, ensuring they always look their best. Enjoy the confidence that comes with perfectly fitted denim!


