Your prompt edits following the Wear Guide and your specifications:
Author: Paul Fiore
Audience: Everyday people seeking clear, practical guides for clothing care and styling, especially beginners who appreciate straightforward, jargon-free instructions and actionable advice.
Tone: Factual, supportive, approachable, professional, reassuring, and focused on clarity and achievable results.
—
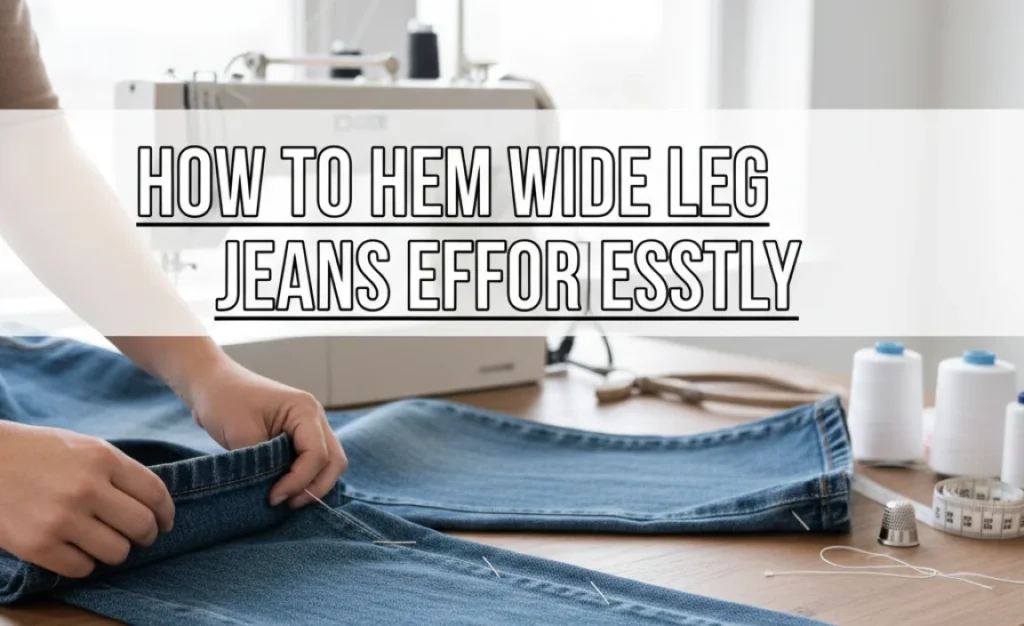
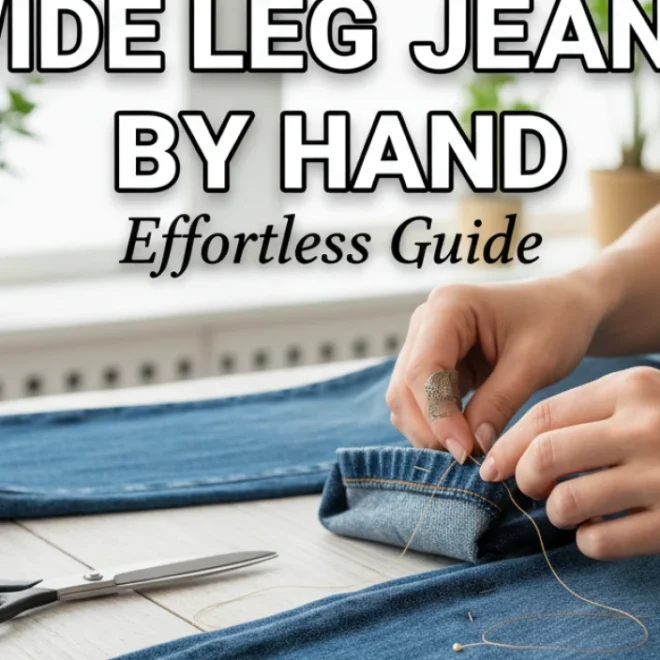
How to Hem Wide Leg Jeans Effortlessly
Are your favorite wide-leg jeans pooling at the ankles or feeling a little too long? You can easily shorten them to the perfect length yourself, even without a sewing machine. This guide will show you simple, no-sew methods that give a neat finish, ensuring your jeans always look just right.
There’s nothing quite like finding the perfect pair of wide-leg jeans – they’re stylish, comfortable, and undeniably chic. However, their generous cut can sometimes mean they’re a bit too long, especially after a wash or if you change your footwear. Dealing with bunched-up denim can make your outfit look sloppy, and trips to the tailor can add up. But don’t worry, achieving that flawless hemline is simpler than you might think. This guide will walk you through easy, no-sew techniques to get your wide-leg jeans to fit just right, giving you confidence and a polished look every time. Ready to get started? Let’s make those jeans perfect.
Why Hemming Your Wide Leg Jeans Matters

Properly hemmed jeans are a game-changer for your style. For wide-leg styles, an incorrect hem length can disrupt the intended silhouette, making them look unintentionally baggy or overwhelming your frame. An ideal hem should just kiss the top of your shoes or hover slightly above the ground, depending on the look you’re going for. This ensures the wide leg drapes beautifully without dragging, maintaining the intended fashion-forward appearance.
Understanding Jean Hemming: Key Considerations
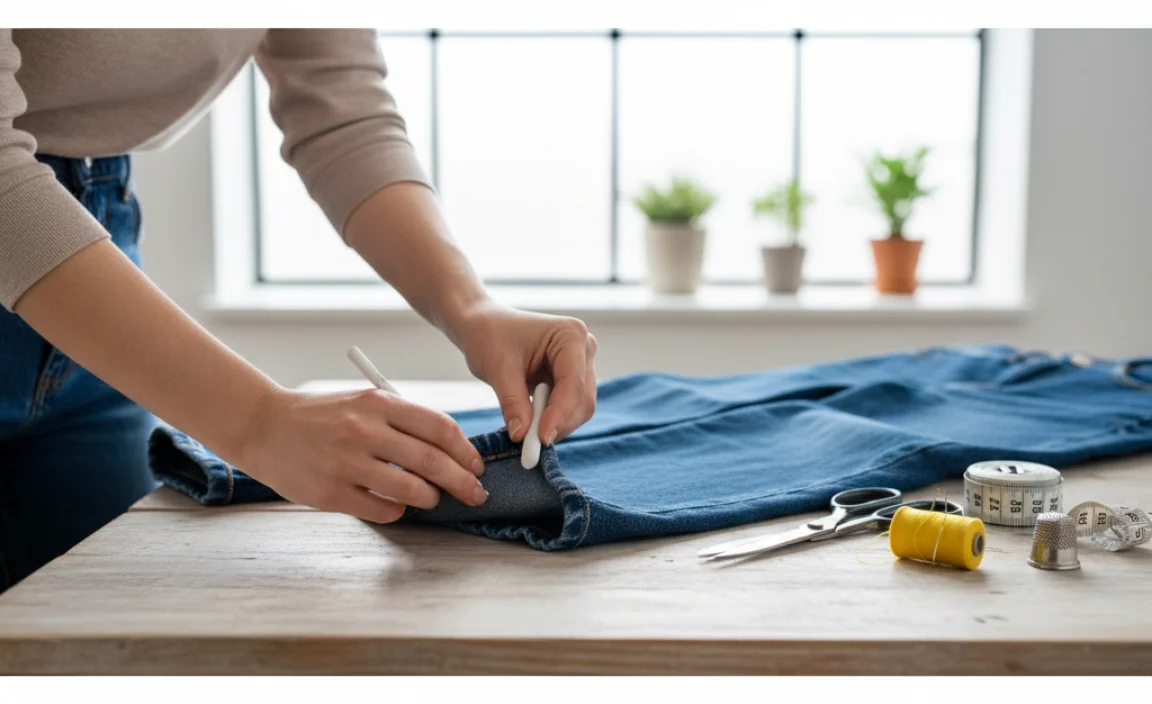
Before we dive into the “how-to,” let’s touch on a few crucial points that will make your hemming project a success.
Fabric Weight and Type
The fabric of your jeans plays a role. Thicker denim might require a bit more effort, while lighter fabrics are more forgiving. Wide-leg jeans are often made from heavier denim, which is good because it holds a crease well.
Original Hem vs. Creating a New One
Do you want to keep the original distressed or frayed hem of your jeans, or are you okay with creating a clean, new hem? This will influence the method you choose. Keeping the original hem often involves cutting and then strategically finishing the edge. A clean hem involves folding and securing the fabric.
Your Preferred Shoe Height
Always hem your jeans while wearing the shoes you intend to pair them with most often. The height of your footwear can significantly change how long your jeans appear. Hemding for flats will look very different on heels.
Tools You’ll Need for No-Sew Hemming
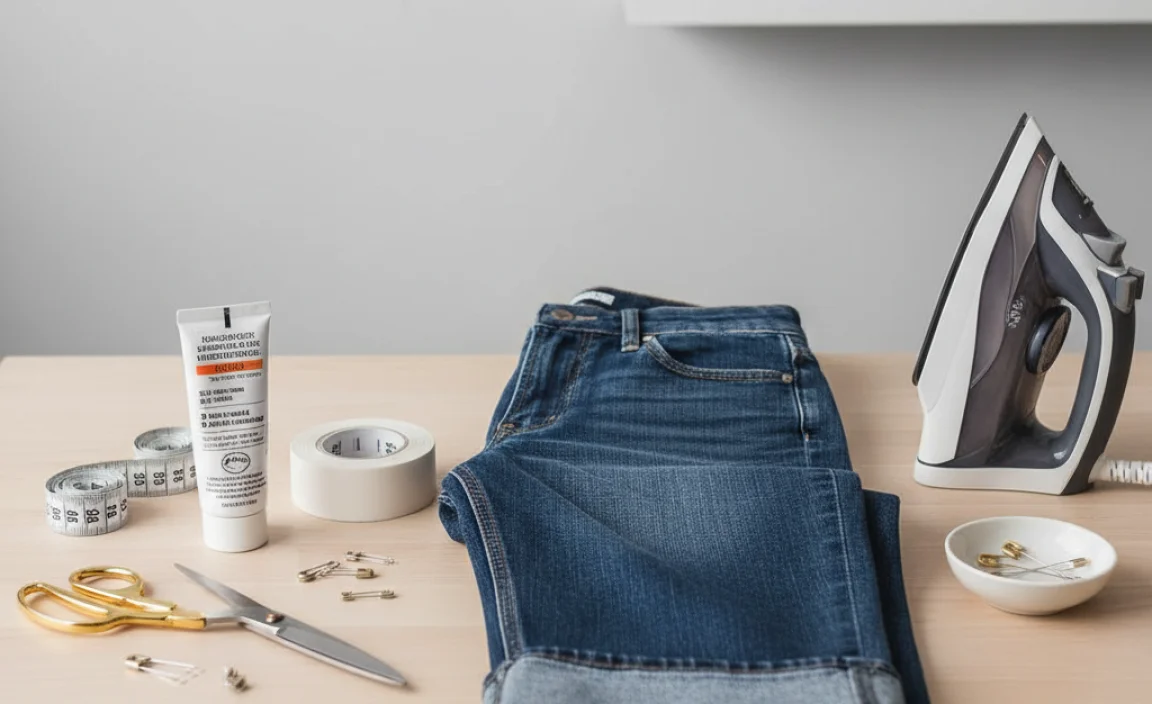
The beauty of no-sew hemming is that you don’t need a complex toolkit. Here’s what’s generally useful. The exact items might vary slightly depending on the method you choose.
Fabric Scissors or Rotary Cutter: For a clean cut. A rotary cutter with a cutting mat offers precision.
Fabric Measuring Tape: Essential for accurate measurements.
Fabric Chalk or a Removable Fabric Marker: To mark your cut or fold lines.
Iron and Ironing Board: Crucial for creating crisp folds and setting adhesives.
Hemming Clips or Straight Pins: To hold fabric in place before applying a permanent solution.
Fabric Glue or Hemming Tape (Iron-On or No-Sew): Your primary tools for securing the hem. We’ll discuss options below.
Your Shoes: The ones you’ll most likely wear with the jeans.
Comparing No-Sew Hemming Products
| Product Type | How it Works | Best For | Pros | Cons |
| :——————- | :——————————————————————————- | :————————————————————————————————— | :———————————————————————————————————- | :——————————————————————————————————————————— |
| Fabric Glue | A liquid adhesive that dries clear and flexible to bond fabric. | Permanent hems, quick fixes on thicker fabrics. | Strong bond, often permanent, good for very little adjustments. | Can be messy if overused, might stiffen fabric, can seep through thin fabrics, removal is difficult. |
| Iron-On Hemming Tape | A double-sided adhesive tape activated by heat from an iron. | Creating a clean, professional-looking hem that needs to withstand washing. | Creates a strong, durable, and often invisible hem; easy to apply with an iron; widely available. | Requires an iron, can sometimes peel if not applied correctly or heat isn’t sufficient, not ideal for very thick denim. |
| No-Sew Hemming Webbing | A flexible fabric strip coated with adhesive, usually applied by ironing. | Similar to hemming tape, good for a clean, new hem. | Strong bond, designed specifically for hemming, relatively easy to use. | Requires ironing, can add slight bulk if not placed carefully, can also peel with improper application. |
| Fabric Adhesive Strips (No Iron) | Adhesive strips that stick directly to fabric without heat. | Temporary hemming, quick adjustments on the go, or for very delicate fabrics sensitive to heat. | No iron needed, quick and easy to apply, good for emergency fixes. | Often not permanent, may not hold up well to frequent washing or heavy wear, can sometimes leave residue or peel unexpectedly. |
| Hem-Chains/Stitch Witchery | Very fine, flexible strips of fusible thread that melt with heat to join fabric. | Creating an almost invisible hem, good for fine control and keeping bulk to a minimum. | Very minimal bulk, can create a nearly invisible hem, flexible. | Requires precise ironing, might not be strong enough for the weight of thick denim, melts if iron is too hot. |
A great resource for understanding fabric types and their properties is the Textile School.
Method 1: The Clean Hem with Iron-On Hemming Tape
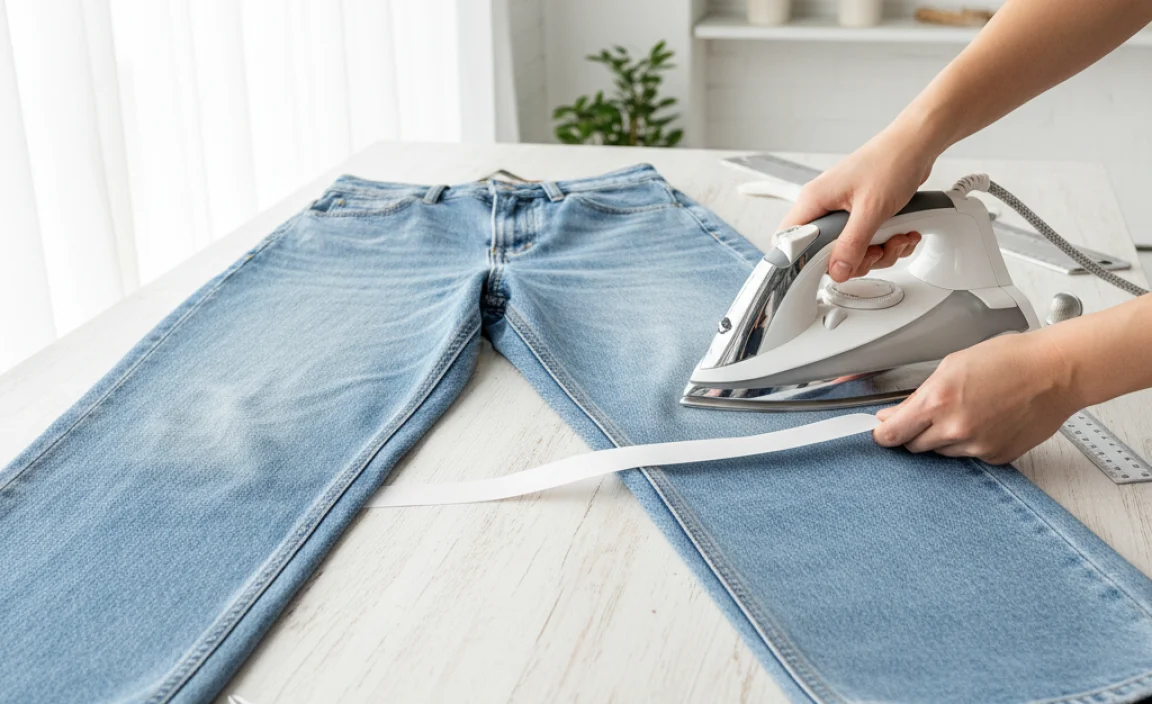
This is the most common and often preferred method for a neat, durable, no-sew hem. It looks professional and holds up well in the wash.
Step-by-Step:
1. Prepare Your Workspace: Ensure you have a clean, flat surface like an ironing board. Have all your tools ready.
2. Try On Your Jeans: Put on the shoes you’ll wear with the jeans. Stand in front of a mirror.
3. Mark the Desired Length:
Decide where you want the hem to fall. For wide-leg jeans, aiming for the hem to just skim the top of your shoe is a good starting point.
Use fabric chalk or a marker to make a small mark on the inside of the jean leg where you want the new hem to sit. Look at the jeans from the front and back to ensure the mark is even.
Take off the jeans and lay them flat on your work surface, seam side up.
4. Measure and Mark the Cut Line:
From your initial mark, measure down about 1.5 to 2 inches. This extra fabric will be folded up to create the hem. The amount depends on how thick your jeans are and how substantial you want the hem to look. For wide-leg jeans, 1.5 inches is usually sufficient.
Use your measuring tape and chalk to draw a straight line across the inside of the leg at this second mark. This is your cutting line.
Repeat on the other leg, measuring carefully to ensure symmetry.
5. Cut the Excess Fabric:
Using sharp fabric scissors or a rotary cutter, carefully cut along the line you just marked. Discard the excess fabric.
6. Prepare the Fold:
On the inside of the leg, fold the raw edge up to meet the first line you marked (the one indicating where the new hem should be). This creates your first fold.
Press this fold firmly with your iron.
Now, fold this entire section up again, tucking the raw edge underneath. This second fold should align with your cutting line from step 4. Your raw edge should now be neatly tucked inside this second fold.
Press this second fold very firmly with your iron. This creates the clean hem edge. You should now have a folded hem of about 0.5 to 0.75 inches on the inside of your jeans.
7. Apply the Hemming Tape:
Unfold the second fold of the hem you just pressed, but keep the first fold in place if possible.
Cut a piece of iron-on hemming tape to the length of the hem.
Slide the hemming tape into the fold so it sits between the two layers of fabric. Ensure it’s positioned correctly to secure the folded edge.
Refer to the hemming tape’s package instructions for the correct heat setting and pressing time. Generally, you’ll place a damp cloth (or follow tape instructions) over the hem and press firmly with the iron for about 10-15 seconds.
Let it cool naturally without disturbing it.
8. Final Press and Check:
Once the tape has cooled, turn the jeans right-side out.
Gently press the hem from the outside for a crisp finish.
Try on your perfectly hemmed jeans with your shoes. Check the length and drape.
Method 2: The Cut and Fold (for Original Hem Look)
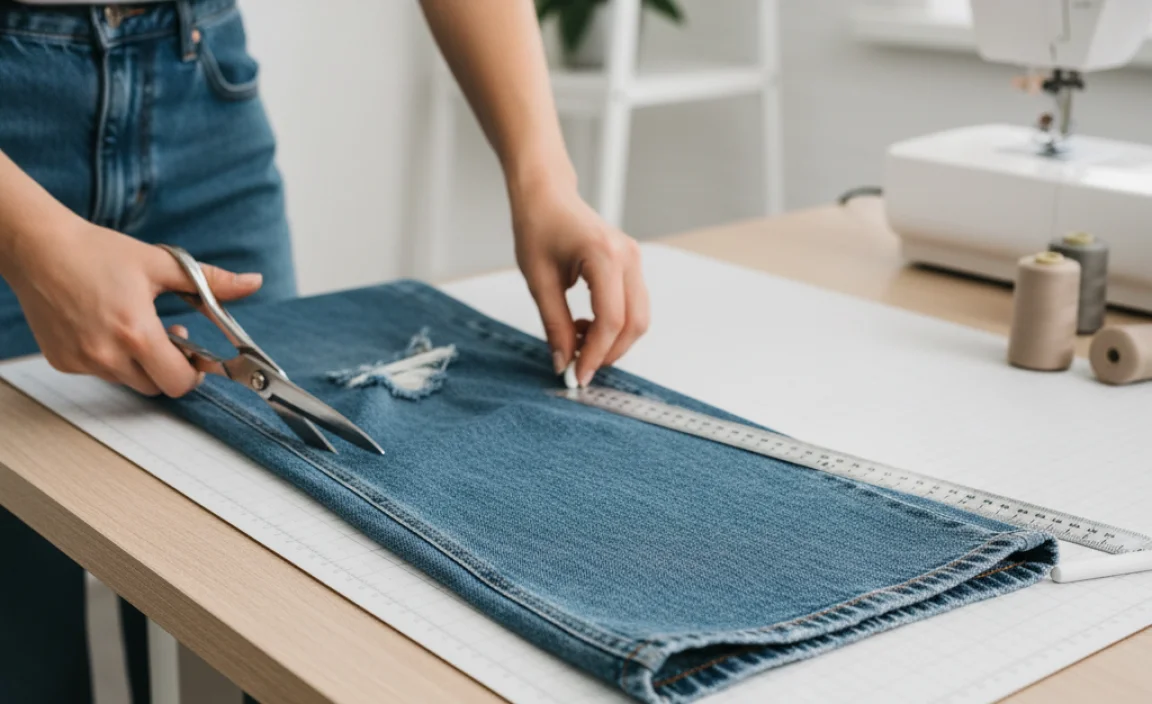
If you love the worn-in look of the original hem on your wide-leg jeans, this method lets you keep it while shortening the length.
Step-by-Step:
1. Prepare and Try On: As before, have your shoes ready and try on the jeans to determine the desired length.
2. Mark the Hemline: Put on your shoes. Decide where you want the new hem to end. Use fabric chalk to mark this point on the outside of the jean leg. Mark both the front and back, and then connect these with a line.
3. Measure for Cutting:
Take off the jeans and lay them flat.
Measure from your marked line down about 3-4 inches. This extra length allows you to detach the original hem and reattach it. A more generous amount is better here to work with.
Use your chalk to draw a cutting line on the outside of the jean leg.
Repeat on the other leg, ensuring symmetry.
4. Carefully Cut:
Cut along the marked line using sharp fabric scissors or a rotary cutter. You are removing the bulk of the excess fabric from the bottom.
5. Separate the Original Hem:
Now, you need to carefully detach the original hem from the fabric you just cut. The original hem is usually double-stitched. You’ll need to snip and carefully pull out the inner stitching threads that attach the original hem to the leg fabric, working your way around. Be cautious not to cut the threads holding the original hem together.
You should be left with the original hem piece and the shortened jean leg with a raw edge.
6. Prepare the Jean Leg:
Fold the raw edge of the jean leg upwards towards the inside, leaving about 0.5 inches of raw edge exposed at the top of the fold. Press this fold firmly with an iron. This creates a clean edge for the original hem to attach to.
7. Reattach the Original Hem:
Slide the original hem piece (which should now be slightly larger than the folded edge of the leg) over the folded raw edge of the jean leg. The original stitched hem should align with where the original hem used to be.
Secure the original hem in place using hemming clips or straight pins, ensuring it’s evenly positioned and the raw edge of the leg is tucked inside.
8. Apply Fabric Glue:
Using a fabric glue suitable for denim, apply a thin bead along the folded edge of the jean leg. Push the glue into the fabric using the applicator tip.
Carefully press the original hem piece onto the glued edge. Make sure the original stitching on the hem aligns correctly.
Wipe away any excess glue immediately.
If using a fabric glue that requires it, follow the product’s instructions for drying or curing time. Some glues are permanent once dry, others might need heat setting.
9. Final Touches:
Once the glue is completely dry and set, you can do a final press from the outside to help set the bond and give a neat appearance.
Try on your jeans to admire your work!
Method 3: The Quick Fix with Fabric Glue
For minor adjustments or when you need a fast solution, fabric glue can be your best friend. It’s best for situations where the jeans aren’t significantly too long or if you don’t need a heavy-duty hem.
Step-by-Step:
1. Mark and Measure: Try on your jeans with shoes. Mark your desired hem length on the inside of the leg.
2. Fold and Press: Fold the excess fabric up once, so the raw edge is tucked up. Decide on the width of your folded hem—about 0.5 to 1 inch is usually good. Press this fold firmly with your iron to create a crease.
3. Apply Glue: Unfold the hem slightly so you can access the inside. Apply a thin, even line of permanent fabric glue along the creased fold line, close to the raw edge.
4. Re-fold and Secure: Carefully re-fold the hem, ensuring the raw edge is fully enclosed. Press the folded hem firmly together. If your glue allows, you can place a heavy book on top of the hem while it dries to keep it flat.
5. Dry and Test: Let the glue dry completely according to the product’s instructions—this can sometimes take several hours or overnight. Once dry, gently test the hem’s strength.
Pro Tip: For stronger bonds with fabric glue, some people recommend applying a thin layer to both surfaces being joined and letting them become tacky before pressing them together. Always test on an inconspicuous area first.
Important: Working with Denim
Denim is a sturdy fabric, and working with it requires a bit of patience.
Sharp Tools: Always use sharp scissors or a rotary cutter. Dull blades will fray the denim unevenly and make cutting difficult.
Pressing is Key: For any method involving folding, pressing with an iron is crucial. It creates a sharp crease that makes the next step easier, whether it’s adding tape, glue, or just securing a fold. For stubborn denim, higher heat settings can help, but always check your fabric’s care label.
Be Patient: Don’t rush the drying or cooling process for adhesives or iron-on tapes. Allowing them to set properly ensures a long-lasting hem.
Troubleshooting Common Hemming Issues
Even with the best intentions, you might run into a snag. Here’s how to fix common problems.
My hem looks uneven.
Fix: If it’s a no-sew hem, you might be able to carefully peel back the tape or glue, re-press, and reapply. If it’s a cut hem, you may need to trim it further to achieve an even line. For a clean hem, try folding and pressing again.
The hemming tape or glue is peeling after washing.
Fix: This usually happens if the heat wasn’t high enough or the pressing time was too short for iron-on tapes. For glue, it might mean not enough was applied or it wasn’t a permanent type. You can often reapply the tape or glue, ensuring you follow instructions precisely. Some stronger fabric glues can be applied over the existing bond if it’s clean.
The hem looks bulky.
Fix: For clean hems, try folding the fabric slightly narrower on the second fold. For methods involving extra fabric, ensure you’re not creating too many layers. Using a finer hemming tape or ‘stitch witchery’ can help reduce bulk. Placing the hem on the inside where it’s less visible can also minimize bulk perception.
Frequently Asked Questions About Hemming Wide Leg Jeans
Q1: Can I hem wide-leg jeans without any special tools?
A: Yes, you can. While fabric glue or hemming tape offers the most durable and neatest finish, you could use strong fabric clips or even safety pins to hold a fold in place for a temporary fix. However, this won’t be as permanent or as polished.
Q2: How much fabric should I leave for hemming?
A: For a clean hem using tape or glue, leave about 1.5 to 2 inches below your desired finished length to create a neat double fold. If you’re trying to preserve the original hem, you’ll need more, around 3 to 4 inches, to accommodate reattaching it.
Q3: How do I make sure my hemming is straight?
A: Try on the jeans with your shoes and mark the desired length with chalk first. Then, lay the jeans flat and measure from that mark down to create your cutting or folding line. Using a ruler or a piece of cardboard cut to size can help ensure your marks are straight and consistent across the leg.
Q4: Will fabric glue damage my jeans?
A: Permanent fabric glues are designed for fabric and usually don’t cause damage. However, using too much glue can make the fabric stiff, and some glues might leave a slight sheen or discoloration depending on the fabric type and color. Always test on an inside seam or scrap piece first if you’re concerned. For wide-leg jeans


