Transforming a pair of ordinary jeans into trendy ripped jeans at home is a creative and budget-friendly way to enhance your wardrobe. Whether aiming for a subtle distressed look or bold, fashion-forward rips, this comprehensive guide will walk you through the step-by-step process.
With a few basic tools and techniques, you can customize your jeans to reflect your unique style, ensuring a personalized and effortlessly cool addition to your collection. Dive into the following steps to discover how to easily and confidently make ripped jeans at home.
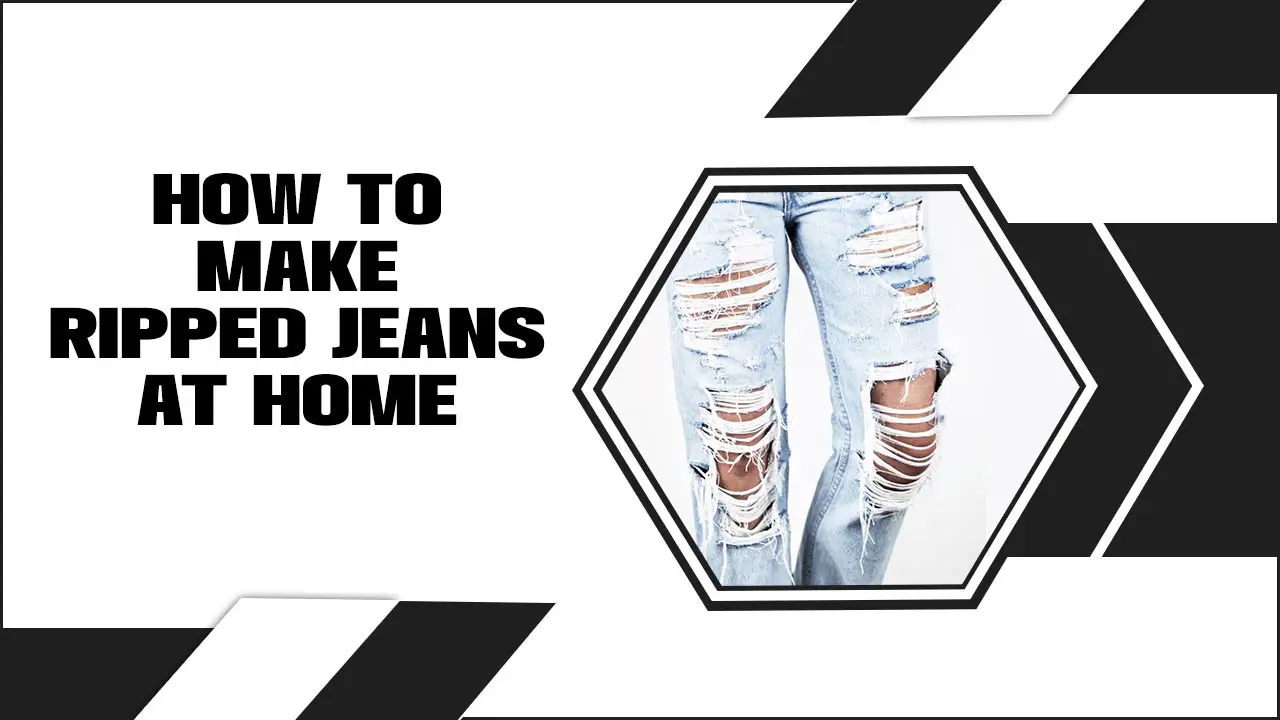
About Ripped Jeans
Ripped jeans, also known as distressed jeans, are a style of denim pants characterized by intentional tears, holes, or frayed areas in the fabric. Worldwide popular for their edgy and casual appearance, often associated with a rebellious or laid-back vibe.
Ripped jeans emerged as a fashion trend in the punk rock scene of the 1970s and gained popularity through the grunge movement in the 1990s. They have since become a staple in casual and streetwear fashion, evolving from counterculture to mainstream appeal.
Types of Rips and Tears
- Knee Rips: Commonly found around the knees, providing a casual and worn-in look.
- Thigh Rips: Tears on the thighs add a distressed element to the jeans.
- Ankle Rips: Small tears at the ankle can create a stylish, undone hem.
How To Make Ripped Jeans At Home – 9 Easy Steps
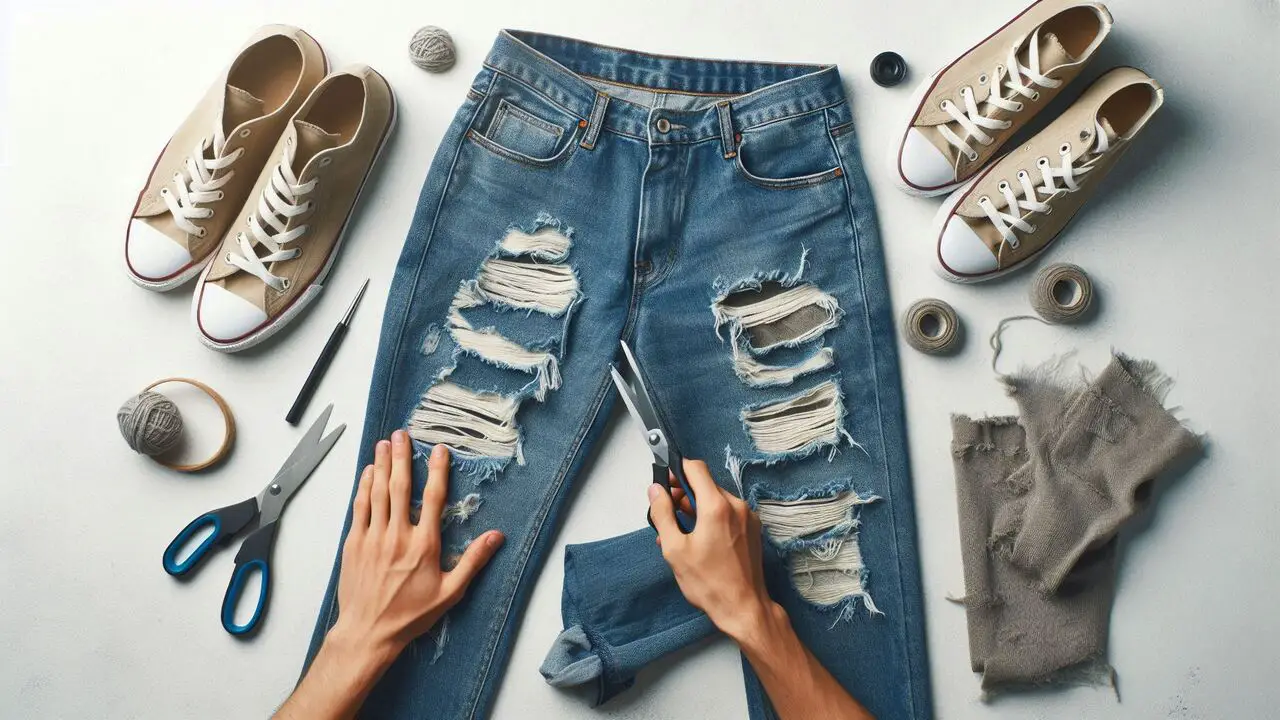
Transforming your old and boring pair of jeans into trendy distressed jeans is easier than you think. By following simple steps, you can create stylish distressed jeans at home with a Denim patch. Whether you prefer skinny jeans or a more relaxed fit, distressing your jeans can give them a whole new look.
Step 1: Gather Your Tools
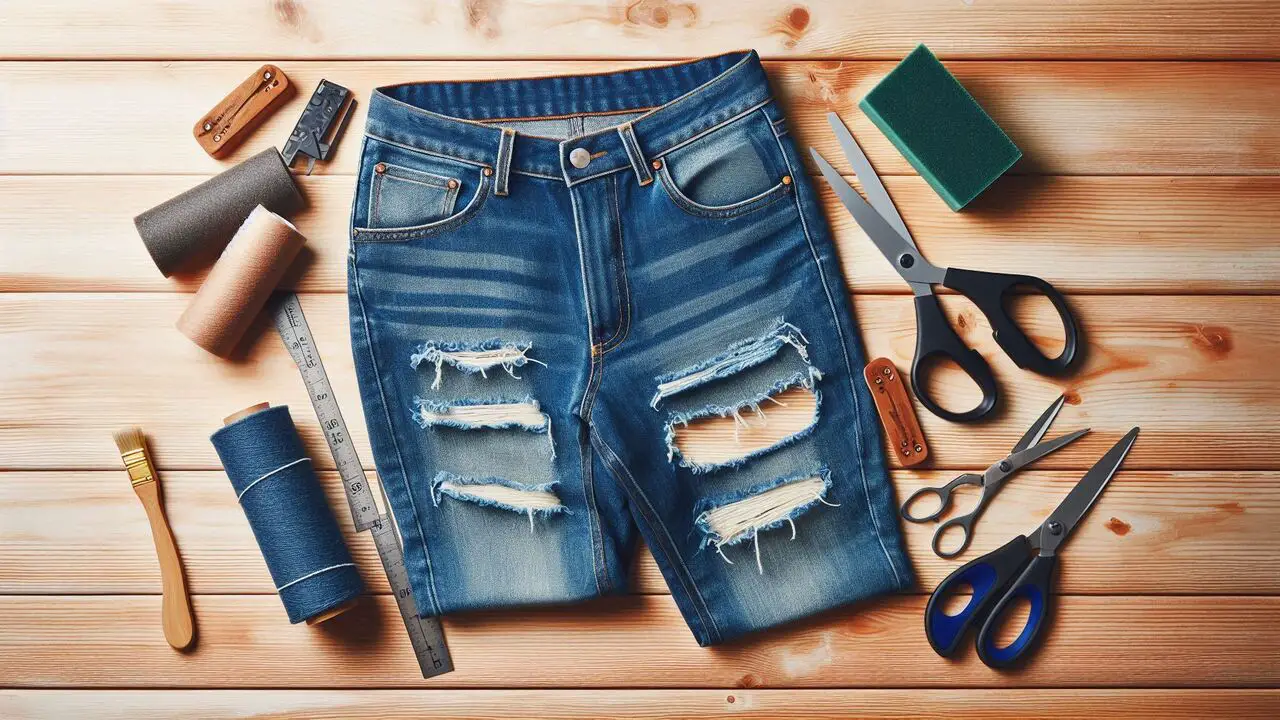
Creating ripped jeans at home allows you to personalize your denim and achieve the perfect DIY distressed jeans look. This process can be applied to any jeans style, from skinny to straight-leg denim jeans, and can help you stay on trend without purchasing new items.
Start by gathering the necessary tools: a pair of sharp scissors or a utility knife, tweezers, sandpaper or a pumice stone, chalk or a fabric marker, and a cutting board or thick cardboard to protect surfaces while you work.
Step 2: Choose the Right Jeans
If you want to create that trendy, distressed denim look, choose a pair of jeans you no longer wear or would like to give a new lease on life. Opt for a pair of boyfriend jeans or any style you feel comfortable experimenting with.
Step 3: Plan Your Design
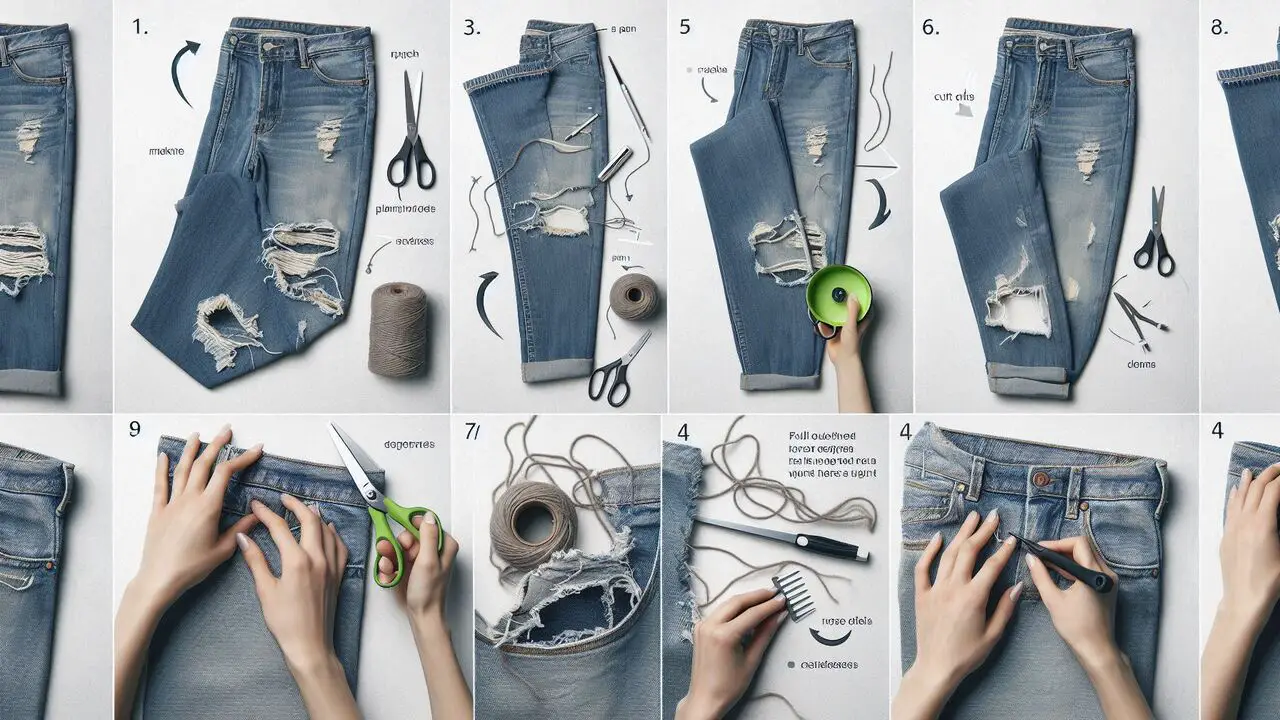
Making ripped jeans at home starts with planning your design. Creating ripped jeans at home can be a fun and creative project, allowing you to customize your denim with personalized distressed elements. Creating ripped jeans is a process that requires patience and attention to detail.
Start with smaller rips (horizontal slit at knee area) and adjust as needed to achieve the desired look. Don’t be afraid to experiment with different styles and placements of rips. Each pair of ripped jeans can be unique to your personal style.
Step 4: Prepare Your Workspace
To prepare your workspace for making ripped jeans at home, start by choosing a flat, stable surface like a table or countertop. Protect your workspace with a piece of cardboard or a cutting mat underneath the fabric. Ensure good lighting is visible while marking and cutting the jeans.
Have cleanup supplies nearby to tidy up scraps and dust. Organize your materials within reach and plan your design with chalk or fabric marker before starting. Create a conducive workspace for crafting customized ripped jeans with precision and ease.
Step 5: Make The Initial Cuts

Ripped jeans are a popular fashion statement, and creating them at home can add a personalized touch to your wardrobe. Start with small cuts and gradually increase the size for desired distressing. Wash and dry the jeans to enhance the distressed look after making the rips. Here’s a simple guide to making knee rips, thigh rips, and ankle rips:
1.Knee Rips
- Materials Needed: Pair of jeans, chalk or fabric marker, sharp scissors or utility knife, sandpaper (optional).
- Steps:
- Put on the jeans and mark the desired location for the knee rips with chalk or a fabric marker.
- Lay the jeans on a flat surface and insert a piece of cardboard inside the pant leg to protect the back layer of fabric.
- Use sharp scissors or a utility knife to carefully cut horizontal slits across the marked area.
- Optionally, use sandpaper to gently rub around the edges of the cuts for a more distressed look.
- Pull out horizontal threads with tweezers for a frayed effect, if desired.
2.Thigh Rips
- Materials Needed: Same as knee rips.
- Steps:
- Mark the thigh area where you want the rips to be located.
- Insert cardboard inside the jeans to protect the back layer of fabric.
- Cut vertical slits across the marked area using scissors or a utility knife.
- Use sandpaper around the edges of the cuts to distress the fabric.
- Pull out vertical threads carefully to enhance the ripped effect.
3.Ankle Rips
- Materials Needed: Same as knee and thigh rips.
- Steps:
- Mark the ankle area for the rips.
- Insert cardboard inside the pant leg.
- Create small horizontal or vertical slits near the ankle using scissors or a utility knife.
- Distress the edges with sandpaper for a frayed look.
- Pull out threads to create a more distressed appearance.
Step 6: Fray the Edges
To create your ripped jeans at home, start by carefully using tweezers to pull out the white horizontal threads from the cut areas of your favorite black jeans. Make sure to leave the blue vertical threads intact to achieve the classic frayed look. This method will help you achieve the trendy distressed style of ripped jeans, allowing you to personalize your wardrobe with your best jeans.
Step 7: Add Additional Distressing

To add more distressing to your ripped jeans at home, start by focusing on areas like the pockets, hems, and seams. Use sandpaper or a pumice stone to rub these areas for a worn-in effect gently. Be careful not to overdo it, as this can weaken the fabric. Remember to be gentle and take your time to achieve the desired level of distressing without compromising the durability of your jeans.
Step 8: Final Touches
After creating ripped jeans at home, add final touches to perfect the look. Wash the jeans to soften the fabric around the ripped areas and enhance the frayed edges naturally. Toss them in the washing machine and dryer to achieve a worn-in appearance.
After washing, inspect the jeans to ensure the rips are to your liking and make any additional adjustments if needed, such as widening the tears or fraying the edges further with a pair of tweezers. This process not only adds authenticity to the distressed look but also ensures your ripped jeans have a personalized touch that reflects your style.
Step 9: Style Your New Ripped Jeans

Begin by carefully washing your jeans and choosing the area where you want to create the rips. Pair your DIY ripped jeans with various tops and accessories for different looks. Experiment with casual tees, stylish blouses, or cozy sweaters to see what complements your new jeans best. With these simple steps, you can rock your unique ripped jeans with style and flair.
Conclusion
Creating ripped jeans at home allows you to customize your denim with trendy, distressed elements like knee rips, thigh rips, and ankle rips, adding a fashionable touch to your wardrobe effortlessly. With these 9 easy steps, you can transform your old jeans into trendy, stylish ripped jeans right at home.
Embrace the satisfaction of creating a unique piece of clothing that reflects your style. Whether you prefer subtle distressing or bold tears, customizing your jeans allows you to make a fashion statement that is all your own. Enjoy wearing your newly revamped jeans with confidence and pride, knowing you’ve added a touch of creativity to your wardrobe.
FAQ
1.What Materials And Tools Are Needed To Make Ripped Jeans At Home?
Ans: You will need a few essential materials and tools to make ripped jeans at home. You will need a pair of jeans that you want to wear. Choosing an old pair you wouldn’t mind experimenting on is best.
Additionally, you will need a pair of scissors to cut the fabric, a seam ripper to remove any unwanted stitches, and sandpaper or a pumice stone to create the desired distressed look. Optional tools include a cheese grater or a razor blade for more intricate distressing patterns.
2.Can You Make Your Ripped Jeans?
Ans: Absolutely! Making ripped jeans at home is a fun and creative way to customize your denim while giving it a stylish, edgy look. To start, you will need a pair of jeans you want to wear. Choose a pair that fits you well and has a bit of stretch for better comfort.
Gather basic tools such as sandpaper, scissors, tweezers, and markers. Begin by marking where you want the rips to be, remembering that natural wear and tear usually occurs around the knees, thighs, and pockets. Use the sandpaper to distress these marked areas, gently rubbing until the fabric frays.
3.What Do You Need To Make Ripped Jeans?
Ans: You will need a few basic supplies to make ripped jeans at home. The first and most important item is a pair of jeans that you can transform into a stylish, edgy piece. Choosing a pair that fits you well and is made of sturdy denim fabric is best.
Additionally, you will need a pair of sharp scissors to create the rips and cuts. A pencil or chalk can be handy for marking the areas where you want to make the tears. You can use sandpaper, a cheese grater, or a razor blade to add further texture and distressing for a more distressed look.
4.How Do You Rip Jeans Without Sandpaper?
Ans: Several alternative methods exist to achieve the desired ripped jeans look without sandpaper. One popular technique involves using a pair of tweezers and a small pair of scissors.
Start by identifying the areas on the jeans where you want the rips to be and mark them with chalk. Then, gently pull out vertical threads from the marked areas using the tweezers to create small horizontal lines. Be careful not to pull too hard, which may result in larger holes than intended.
5.How Do You Rip Jeans With A Knife?
Ans: One common method to make ripped jeans at home is using a knife to create the desired distressed look. Start by selecting a pair of jeans that you are willing to transform. Lay them flat on a stable surface, ensuring that both legs are aligned.
Use a sharp knife or scissors to make small incisions where you want the rips. Be sure to start with small cuts, as you can always make them larger later. Gently pull the fabric apart with your fingers to create a frayed edge.


