


Struggling with baggy jeans that swallow your feet? Learn how to easily narrow the leg opening for a custom, flattering fit that updates your look without a trip to the tailor. This guide offers simple, effective sewing and no-sew methods anyone can master.
Ever bought a pair of jeans only to find the legs are just too wide? It’s a common frustration. Baggy jeans can sometimes overwhelm your frame, making you feel swallowed up rather than stylish. But don’t relegate those perfectly good jeans to the back of your closet! With a few simple techniques, you can transform their silhouette and create a look that’s perfectly proportioned for you. This guide will walk you through everything you need, from basic sewing to clever no-sew tricks, ensuring your favorite denim finally fits just right.
Why Narrowing Your Jeans’ Leg Opening Matters

The right fit can make all the difference in how your clothes look and how you feel wearing them. For jeans, the leg opening is a key element that dictates the overall silhouette. Too wide, and they can appear shapeless, unkempt, or even make your legs look shorter. Narrowing the leg opening offers several significant benefits:
- Updated Silhouette: Provides a more modern, streamlined look that pairs better with a wider variety of shoes.
- Flattering Proportions: Balances your body shape, creating a more visually pleasing line from hip to ankle.
- Enhanced Style: Makes it easier to showcase your footwear, whether it’s sneakers, boots, or heels.
- Personalized Fit: Achieves a custom fit that feels made just for you, boosting confidence.
- Extended Wardrobe Options: Revives jeans that you previously found unflattering due to their excessive width.
Understanding Your Jeans: Before You Start

Before you grab your sewing kit or consider scissors, take a moment to examine your jeans. Different fabric types and existing seam constructions will influence the best method for you.
Types of Jean Seams
Most jeans have one of two common seam types on the outer leg:
| Seam Type | Appearance | Ease of Alteration | Notes |
|---|---|---|---|
| Flat-Felled Seam | A very neat, strong seam with two parallel rows of stitching visible on the outside of the leg. It looks smooth and often has a small hemmed edge tucked inside. | Moderately easy. Requires careful unpicking of one side of the seam. | Common in durable denim construction. Offers a clean finish. |
| Overlocked (Serged) Seam | Usually a single line of stitching with a zig-zag or overlocked edge visible on the inside of the leg. The outside often looks like a standard hemmed seam. | Easy. Usually involves unpicking the hem and then adjusting the excess fabric underneath. | More common on less rigid or less “heritage” denim. |
You’ll also find an inner leg seam. While less common for visual alteration, understanding it is helpful. For narrowing the leg opening, we’ll primarily focus on the outer seam and the fabric underneath the hem.
Fabric Considerations
Most denim is cotton or a cotton blend, which is forgiving. However, stretchy or “jegging” type fabrics can be trickier. They might pucker or warp if sewn incorrectly. For this guide, we’ll assume you’re working with standard denim, but if you have stretchy jeans, proceed with a bit more caution and consider a tailor if you’re unsure.
Tools You’ll Need
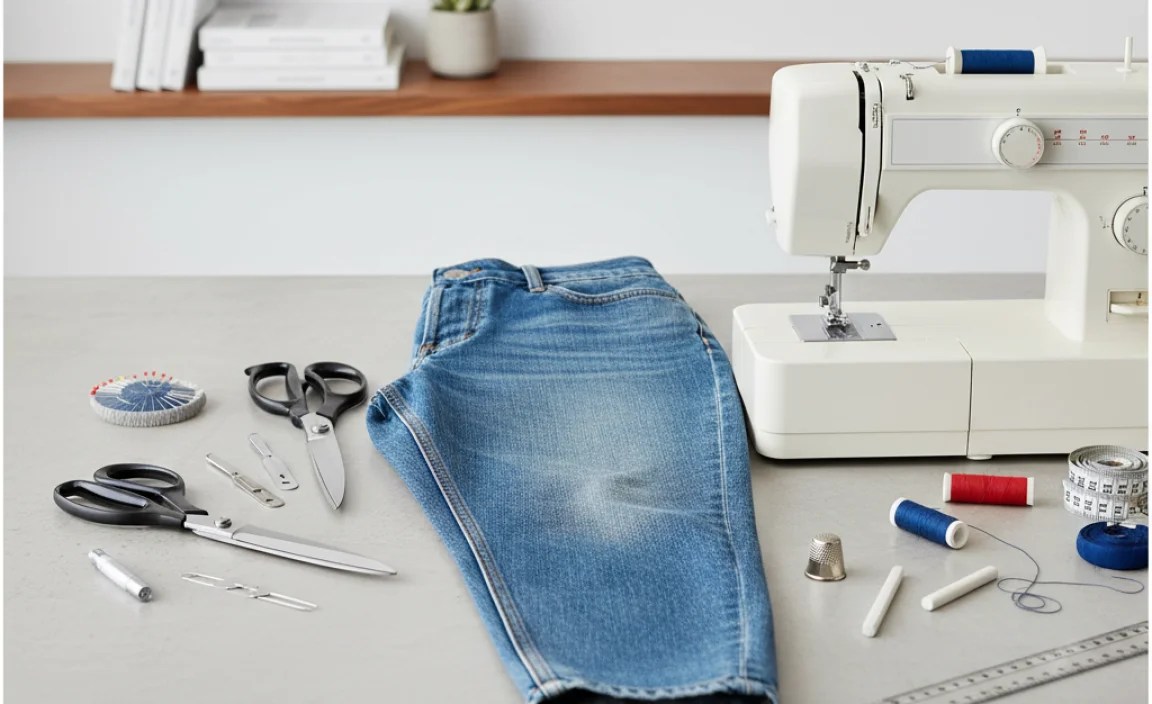
Gathering the right tools makes the process smoother. You don’t need a professional sewing machine for most methods, but having one can yield the neatest results.
- Measuring Tape: To accurately measure the desired width.
- Fabric Marker or Chalk: For marking your adjustments.
- Fabric Scissors: Sharp scissors are crucial for clean cuts.
- Seam Ripper: Your best friend for carefully unpicking stitches.
- Pins: To hold fabric in place while you work.
- Sewing Machine (Optional, but Recommended): For durable and professional-looking seams.
- Needle and Thread (If Sewing by Hand): Choose a strong thread that matches your jeans. Denim needles for sewing machines are also highly recommended if you’re using one.
- Iron and Ironing Board: For pressing seams flat, which makes all the difference in neatness.
- Gloves (Optional): To protect your hands when using a seam ripper.
Method 1: The Simple Sew – Narrowing with an Inner Seam Adjustment (Beginner-Friendly)

This is the most common and usually the easiest method for a clean, professional look. It involves adjusting the excess fabric on the inner side of the leg opening.
Step-by-Step Guide:
-
Prepare Your Workspace: Lay one leg of the jeans flat on a clean, well-lit surface. Ensure the fabric is smooth.
-
Measure Current Opening: Measure the circumference of the leg opening at the very bottom. For example, it might be 18 inches.
-
Determine Desired Width: Decide how much narrower you want the opening. A common goal is to reduce it by 2-4 inches total (so 1-2 inches per side). Try on the jeans with the shoes you’ll wear most often to get a feel for the ideal width. Let’s say you want to reduce it by 4 inches, meaning you need to take in 2 inches.
-
Mark the Adjustment:
- Turn the jeans inside out.
- Locate the inner leg seam. This seam often runs from the crotch down to the hem.
- At the hem, measure 1 inch (half of your desired 2-inch total reduction) inwards from the inner leg seam towards the front or back of the leg.
- Run a fabric marker or chalk line from this point upwards. The length of this new seam will depend on how gradually you want the leg to taper. For a gentle taper, extend the line 6-12 inches up the leg. For a straighter, more dramatic change, you might extend it further or even all the way to the knee. For simplicity, start with a gradual taper.
-
Pin the New Seam: Carefully pin along your marked line. Ensure the fabric layers are aligned smoothly. Double-check that you are only pinning through the fabric for the new seam, not through the outer hem layers.
-
Sew the New Seam:
- Using a Sewing Machine: Set up your machine with a strong denim needle and thread. Stitch along the pinned line. A straight stitch is best. For extra durability, you can stitch a second line of stitching parallel to the first, about 1/8 to 1/4 inch away, mimicking the original seam. Use a backstitch at the beginning and end to secure the threads.
- Sewing by Hand: Use a strong backstitch for durability. Stitch precisely along your marked line. This will take more time and effort but is perfectly achievable.
-
Press and Trim:
- Remove the pins.
- Iron the new seam flat. This is crucial for a professional finish.
- Trim any excess fabric from the new seam allowance to about 1/2 inch.
- If your original inner seam had a serged edge, gently serge or zig-zag the raw edge of your new seam allowance to prevent fraying. If you don’t have a serger, a tight zig-zag stitch will work.
-
Recreate the Original Hem: This is the most important step for a seamless look.
- Turn the jeans right side out.
- Carefully unpick the stitches holding the original hem to the leg. Use your seam ripper. Go slowly to avoid damaging the fabric.
- Once unpicked, fold the hem back up to its original position.
- Press the hem firmly with an iron.
- Stitch the hem back in place. Ideally, use a twin needle on your sewing machine to mimic the original double-stitch hem. If you don’t have a twin needle, you can use a single needle and stitch as close to the original stitching line as possible, or use a slightly decorative stitch if you prefer. If sewing by hand, use a small, even running stitch or a blind hem stitch for an invisible finish.
-
Repeat on the Other Leg: Ensure you measure and adjust the second leg to match the first exactly. Measure from the same point on the inner seam and make the new seam the same length and angle.
-
Final Press: Give the entire leg a final press to ensure everything lies smoothly.
This method maintains the integrity of the outer leg seam, preserving the original look of your jeans while effectively narrowing the opening.
Method 2: Adjusting the Outer Seam (For Specific Looks or Difficult Seams)

Sometimes, the best way to narrow the leg opening is by altering the outer seam, especially if your jeans have a flat-felled seam or if you want a more pronounced taper that starts higher up. This method changes the visible outer seam.
Step-by-Step Guide:
-
Prepare and Measure: As in Method 1, lay the jeans flat, inside out. Measure the current opening and determine your desired finished width.
-
Locate the Outer Seam: This is the seam that runs down the outside of your leg. It might be a flat-felled seam with double stitching, or a simpler seam.
-
Unpick the Outer Seam: Carefully use your seam ripper to unpick the outer leg seam. You may only need to unpick the bottom portion of this seam, from the hem up about 6-12 inches, depending on how much you need to adjust.
-
Mark the New Outer Shape:
- Measure your desired reduction (e.g., 1 inch for a 2-inch total reduction) from the existing outer seam towards the center of the leg.
- Draw a new seam line. This line should start at the bottom hem and gradually angle back to meet the original outer seam at some point up the leg. The higher it meets the original seam, the more tapered the leg will be.
- Make sure the new leg opening at the hem is the correct, narrower width.
-
Pin the New Seam: Pin along your new marked line, ensuring you capture all layers of the fabric.
-
Sew the New Seam:
- Stitch along your pinned line. If your original seam was a flat-felled seam, you’ll need to recreate this for a professional finish. This involves folding the excess fabric under, pressing, and then topstitching neatly.
- If recreating a flat-felled seam is too complex, simply sew a neat, straight stitch along your new line. You may want to double-stitch for strength.
-
Trim and Finish: Trim excess fabric to about 1/2 inch. Finish the raw edge with a zig-zag stitch or serger to prevent fraying.
-
Recreate the Hem: Unpick the original hem stitches, re-fold the hem to cover the new seam line and raw edges, press, and stitch it back into place, ideally matching the original stitch type.
-
Repeat and Press: Make sure the other leg matches exactly. Press everything flat.
This method is best if you’re comfortable with recreating more visible seams and want a significant shape change.
Method 3: The No-Sew Approach – Temporary Adjustment
Need a quick fix? No-sew methods are great for temporary adjustments or for those who absolutely want to avoid sewing.
Option 1: Fabric Glue or Iron-On Hem Tape
-
Prepare: Lay the jeans flat, inside out. Measure and mark your desired new hem circumference. For this method, you might be simply adjusting the length to make the leg opening appear narrower relative to the ground, or you might physically fold and secure the excess fabric.
-
Fold and Pin: Fold the leg opening inwards on the inside of the leg to achieve the desired width. Pin securely in place.
-
Apply Hem Tape or Glue:
- Hem Tape: Cut strips of iron-on hemming tape. Slide them between the folded fabric layers. Follow the product instructions carefully for ironing temperature and time.
- Fabric Glue: Apply a bead of strong fabric glue along the folded edge. Press the layers together firmly and allow it to dry completely according to the glue’s instructions.
-
Press: Iron the area thoroughly to ensure a strong bond.
Pros: Quick, requires no sewing skills.
Cons: May not be as durable as sewing, can sometimes feel stiff or look less refined.
Option 2: Tucking and Safety Pinning
-
Prepare: Try on your jeans with desired footwear.
-
Tuck: On the inside of each leg, discreetly fold the excess fabric inwards to create a narrower line.
-
Secure: Use a few small, strong safety pins on the inside to hold the tuck in place. Place them strategically so they don’t show from the outside and don’t create bulky bumps.
Pros: Extremely fast, reversible, great for a trial run.
Cons: The least durable and cleanest looking. The pins can shift, and the fabric might bunch up.
Tips for a Professional Finish
Whether you’re sewing or using no-sew methods, these tips will help you achieve a look that rivals a tailor:
- Always Work Inside Out: This allows you to see the seams you’re manipulating and keeps your markings hidden.
- Measure Twice, Cut (or Sew) Once: Accuracy is key. Use a good measuring tape and mark your lines clearly.
- Press, Press, Press: Ironing seams flat as you go makes a monumental difference in the final appearance. It smooths out puckers and disguises your alterations.
- Match Your Thread: Use thread that closely matches the original stitching color and type. For a true replicated look, a jeans thread or strong polyester thread is best.
- Consider the Whole Leg: While focusing on the opening, think about how the adjustment affects the line of the leg. You might need to taper slightly higher up to avoid an awkward “bottle” shape.
- Be Patient with Seam Ripping: A seam ripper is precise, but it takes a steady hand. Don’t rush this step, or you risk damaging your jeans.
- Test Your Stitch: If using a sewing machine, test your stitch tension and length on a scrap piece of denim or an old seam before working on your jeans.
When to Seek a Professional
While these methods are designed for DIY success, there are times when professional help is advisable:
- Delicate or Expensive Denim: If your jeans are made of premium denim or have intricate detailing, you might prefer a professional.
- Complex Seams: If your jeans have very unusual or heavily constructed seams.
- Extensive Alterations: If you need to change both length and width significantly, or alter multiple parts of the jeans.
- Lack of Confidence: If you feel unsure about any step and want a guaranteed perfect result.
A good tailor can perform these alterations flawlessly, often reinforcing seams and ensuring the best possible finish for a reasonable fee. You can find professional tailors through local alterations shops or even online services. For example, finding a local dry cleaner that offers alteration services is often a good start.


