To effortlessly narrow the leg opening of your mom jeans for a more flattering and modern silhouette, you can easily adjust them at home with a few basic sewing tools. This process involves measuring, pinning, and sewing a new inseam, transforming your slightly baggy jeans into a perfectly tapered fit without professional alteration costs.
Mom jeans, with their iconic high waist and relaxed fit, have made a major comeback. But sometimes, that relaxed fit can lean a little too wide in the leg or at the ankle, making them feel a bit dated or less flattering than you’d like. If you love the vintage vibe and comfort of your mom jeans but wish they had a more streamlined silhouette, you’re in luck! You don’t need to be a sewing whiz or spend a fortune at the tailor. With just a few simple tools and a bit of patience, you can expertly narrow the leg opening of your mom jeans yourself. This guide will walk you through each step, making the process clear, easy, and totally achievable, so you can rock your favorite jeans with renewed confidence and style.
Why Narrow Your Mom Jeans?

Mom jeans are beloved for their comfort and nostalgic charm. However, the stylistic evolution of denim often means that what was once a trendy silhouette can feel a bit overwhelming today. The original, wider leg opening, while comfortable, can sometimes create a boxy or unflattering look. Narrowing the leg opening achieves several style goals:
- Modernizes the Silhouette: A slightly tapered leg creates a more contemporary and streamlined appearance, balancing the volume of the high waist and relaxed top block.
- Flattering Fit: A narrower opening can elongate the leg and provide a more tailored look that works better with a variety of footwear, from sneakers to heels.
- Versatility: Tapered jeans are more versatile. They can be easily tucked into boots, cuffed neatly, or worn with ankle boots without bunching up awkwardly.
- Personalization: It allows you to customize your jeans to your exact preference, ensuring a perfect fit that reflects your personal style.
- Cost-Effective: Doing it yourself saves money compared to professional alteration services.
Tools You’ll Need
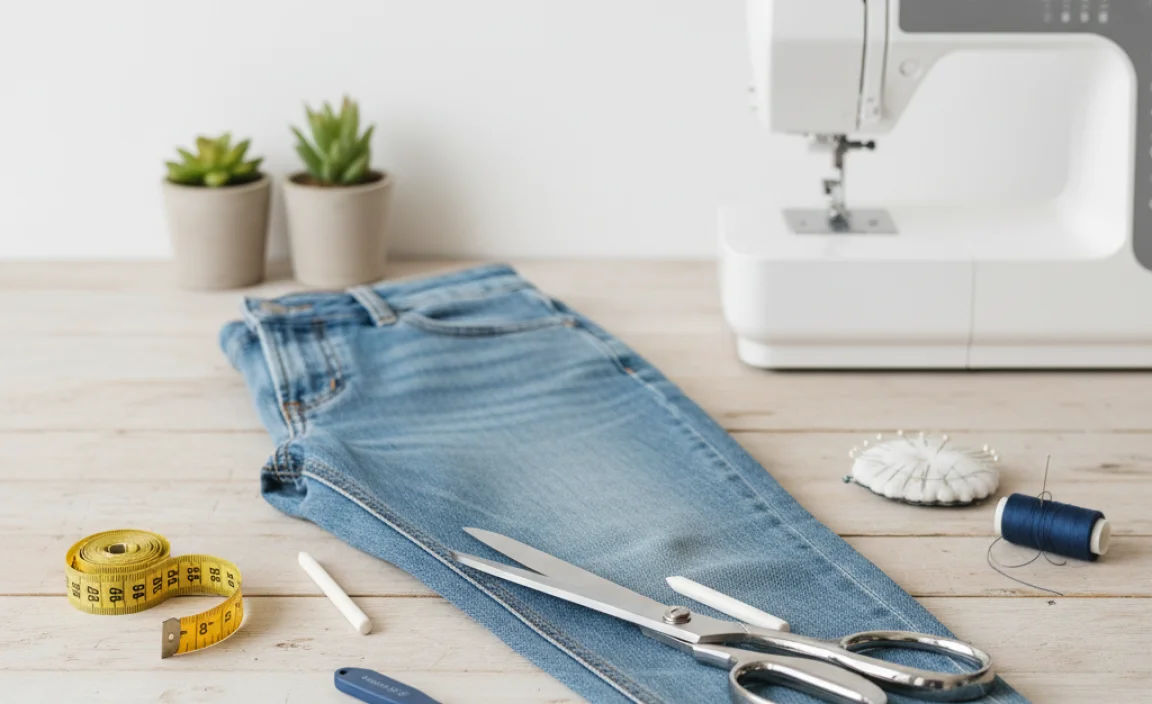
Before you begin, gather these essential items. Having everything ready will make the process smoother and more enjoyable. Most of these are standard sewing supplies you might already have or can easily find at a craft store or online.
- Your Mom Jeans: The star of the show! Make sure they are clean and dry.
- Measuring Tape: A flexible tailor’s tape measure is best for accuracy.
- Fabric Chalk or Disappearing Ink Pen: For marking your cut lines.
- Fabric Scissors: Sharp scissors are crucial for clean cuts.
- Straight Pins: To hold the fabric in place before sewing.
- Sewing Machine: A standard home sewing machine will work perfectly. If you don’t have one, hand-sewing is an option, though it will take longer and may not be as durable.
- Thread: Choose a color that closely matches your jeans. Often, a medium-weight polyester thread is suitable. For a truly authentic look, you might opt for a thread with a slight sheen if your jeans have a similar finish.
- Seam Ripper (Optional but Recommended): Useful for undoing any mistakes or for neatly removing the original hem if you plan to re-Hem.
- Iron and Ironing Board: To press seams flat for a professional finish.
- A Flat Surface: A table or large desk to lay your jeans out on.
Step-by-Step Guide: How to Narrow the Leg Opening of Mom Jeans

Follow these steps carefully to achieve perfectly tapered mom jeans. Remember, taking your time and measuring twice will ensure the best results.
Step 1: Prepare Your Jeans
Lay your mom jeans flat on a clean, smooth surface. Smooth out any wrinkles. Decide which leg you want to start with. It’s often best to work on one leg first, then use it as a mirror for the second leg to ensure symmetry.
Step 2: Determine Your Desired Width
This is the most crucial step for achieving your desired look. Put the jeans on to get a feel for how they hang. Then, take them off and lay them flat again. Decide how narrow you want the leg opening to be. You can:
- Measure an Existing Pair: If you have a pair of jeans with a taper you love, measure their leg opening width and aim for that.
- Try On with Shoes: Wear the type of shoes you’d typically wear with your mom jeans. This helps gauge how the hem should look when worn.
- Visual Estimate: Simply decide how much you want to take in. A common approach is to reduce the width by 1-2 inches total (0.5 to 1 inch per side).
Measure the current width of the leg opening from outer edge to outer edge across the seam. Let’s say your current opening is 8 inches wide. If you want to reduce it to 6 inches, you need to remove 1 inch from each side of the seam.
Step 3: Mark Your New Seam Line
Lay the jeans flat, inside out. Smooth out the leg you’re working on. Starting from the hem and working your way up the inseam towards the knee (or even higher, depending on how much taper you want and how the jeans fit), mark your new seam line. This line should be parallel to the original inseam. You’ll be removing fabric from the inseam side of the leg, not the outseam.
How to mark:
- Measure your desired reduction (e.g., 1 inch) from the existing inseam.
- Use your fabric chalk or pen to draw a new line parallel to the original inseam, at that measured distance.
- Repeat this marking all the way up the inseam. It’s important to maintain a consistent taper. You can stop the taper a few inches above the knee if you want to keep some looseness in the thigh area, or you can taper all the way up for a sleeker look. A common stopping point is about halfway between the knee and the crotch seam.
- Ensure the line ends neatly at the top of the inseam seam allowance.
Tip: For a smooth transition, you might want to draw a gently curved line rather than a perfectly straight one, especially if you’re tapering past the knee. This mimics the natural shape of the leg.
Step 4: Pin the New Seam
Fold the denim along your marked line, bringing the two sides of the inseam together. Use straight pins to secure the fabric along your drawn line. Place pins perpendicular to the line, about every inch or so, to ensure the fabric stays aligned while you sew.
Make sure the original hem edges are perfectly aligned. If you plan to re-hem, you might want to trim off the excess fabric now, leaving about 1/2 inch for seam allowance. If you’re keeping the original hem, be careful not to pin over it if you intend to sew above it.
Step 5: Sew the New Seam
Set up your sewing machine with thread that matches your jeans. Set it to a straight stitch with a medium stitch length (around 2.5mm). Backstitch at the beginning and end of your seam to secure it.
Sew slowly and carefully along your pinned line. Keep the edge of your presser foot aligned with the pinned edge, or keep your marked line just under the needle. Sew at a consistent speed to avoid puckering.
Important: When you reach the hem, ensure you are sewing through all layers of the original hem neatly. If you are keeping the original hem and sewing above it, you’ll need to be precise not to catch the very bottom edge if you want it to stay as is. However, for a totally fresh look, you might consider removing the old hem and creating a new one.
Step 6: Finish the Seam (Optional but Recommended)
To prevent fraying and give a more professional finish, you can finish the raw edge of your new seam. You have a few options:
- Zigzag Stitch: Use a zigzag stitch along the raw edge of the seam allowance.
- Serger/Overlocker: If you have a serger, this is the quickest and cleanest way to finish seams.
- Pinking Shears: For a simple DIY finish, you can use pinking shears to cut along the raw edge, which helps reduce fraying.
Step 7: Repeat for the Other Leg
Lay the second leg flat and inside out. Use the first leg as a template. Measure the width of the hem opening and the taper you created. Draw your new seam line on the second leg to match the first leg exactly. Pin and sew as you did before. Consistency is key for symmetrical jeans!
Step 8: Try On and Final Adjustments
Once both legs are sewn, turn your jeans right side out. Try them on. Check the fit from the hem all the way up. Make sure the taper looks even and feels comfortable. If needed, you can make minor adjustments by taking in a little more or letting out a seam slightly (though letting out is harder once sewn).
Step 9: Press and Finish
Use your iron to press the new seams flat. This makes them lie smoothly and look much more professional. You can press the seam allowance to one side or open it up (if your fabric allows and it looks neater). If you removed the original hem, now is the time to re-Hem your jeans to your desired length, pressing and sewing the new hem.
Table: Measuring Your Jeans for Tapering
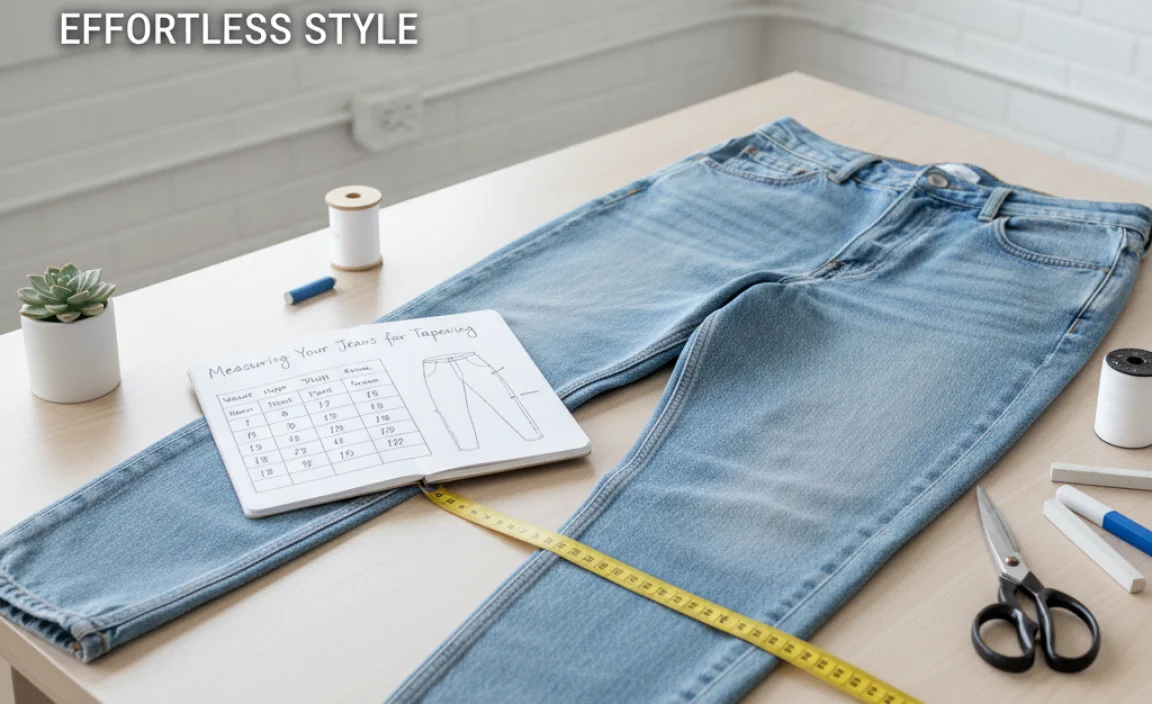
This table provides a quick reference for marking your new seam line for a balanced taper.
| Measurement Point | Current Width (Example) | Desired Width (Example) | Amount to Remove Per Side (Example) | New Seam Line Distance from Original Inseam |
|---|---|---|---|---|
| Hem Opening | 8 inches | 6 inches | 1 inch | 1 inch |
| Mid-Calf | 9 inches | 7 inches | 1 inch | 1 inch |
| Just Above Knee | 10 inches | 9 inches | 0.5 inches | 0.5 inches |
Remember to take your own measurements. The percentages or inches removed should be consistent or gradually decrease as you move up the leg for a smooth taper.
For more information on garment measurements and how they affect fit, explore resources from fashion design schools or textile education sites. For example, the Fashion Institute of Technology (FIT) often provides valuable insights into garment construction and fit principles.
Alternative Methods: No-Sew and Hand-Sewing
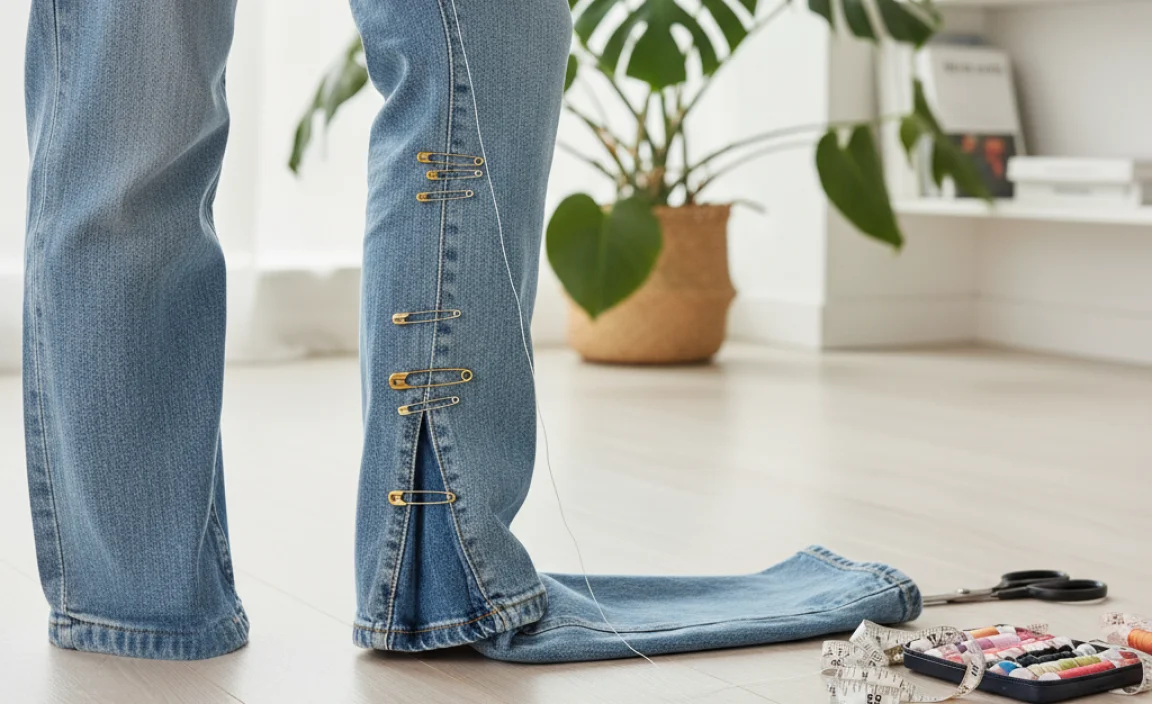
If you don’t have a sewing machine or want a quick fix, here are alternatives:
No-Sew (Temporary or for Thicker Denim)
- Pinning and Ironing: Pin your new seam line as described above. Then, iron the fold flat. This can hold the shape for a while, especially with thicker denim. You can then use fabric glue designed for permanent fabric adhesion along the intended seam line, carefully applying it and pressing firmly. This isn’t as durable as sewing but can be effective for a temporary change or for thicker fabrics.
- Fabric Tape: Use strong fabric tape (like hem tape) to secure the new seam from the inside. Ensure the tape adheres well to both layers of denim.
Hand-Sewing
- Backstitch: Use a strong backstitch for durability. This mimics a machine stitch.
- Thread Choice: Use a strong, doubled-up thread to ensure durability.
- Patience: This method requires more time and patience but can yield excellent results if done carefully.
Common Issues and How to Fix Them
Even with careful planning, you might encounter a few hiccups. Here’s how to handle them:
- Uneven Taper: If one leg is wider than the other, or the taper looks awkward when you try them on, you might need to unpick the seam and adjust your marked line. Lay the jeans flat, ensure they are perfectly aligned, and re-mark.
- Puckering: Puckering usually happens if you’ve sewn too fast, the thread tension is off, or the fabric wasn’t smooth. Gently stretch and press the seam with an iron. Sometimes, re-sewing with adjusted tension or stitch length can help.
- Tearing: If your sewing machine needle is too small or dull, or if you’re sewing through very thick seams (like a jeans’ original hem overlap), it can cause the fabric to tear. Use a heavier-duty denim needle for your machine and ensure it’s sharp.
- Frayed Edges: If you skipped seam finishing, fraying can occur over time. You can address this by carefully applying a fray-stopping liquid like Fray Check (available at fabric stores) along the inside edges of your new seam.
Styling Your Newly Tapered Mom Jeans
With their updated silhouette, your narrowed mom jeans become even more versatile. They pair beautifully with a range of footwear:
- Sneakers: A classic combo that looks effortlessly cool. The tapered leg prevents bunching.
- Ankle Boots: Tucked in or worn just below the hem, tapered jeans create a sleek look that shows off your boots.
- Heels: The cleaner line of tapered jeans can help elongate your legs when paired with heels or wedges.
- Loafers/Flats: For a chic, casual vibe, these are perfect.
They also work well with various tops, from fitted blouses to oversized sweaters.
Frequently Asked Questions About Narrowing Mom Jeans
Q1: How much can I realistically narrow mom jeans?
You can narrow them as much as you feel comfortable with, but for a natural look, aim to reduce the total leg opening width by 1-3 inches. You can taper anywhere from the ankle up past the knee, depending on the desired effect.
Q2: What if I don’t have a sewing machine? Can I still do this?
Yes! You can hand-sew the seams using a strong backstitch for durability. It will take longer than machine sewing but is entirely achievable. No-sew options using fabric glue or tape are also available for a less permanent or very thick denim solution.
Q3: Will narrowing my mom jeans change the fit in the thigh or knee?
If you taper only from the ankle up to a few inches above or at the knee, it should not significantly alter the fit in the thigh or hip area, as you are primarily adjusting the inseam. However, tapering all the way up to the crotch will affect the thigh fit.
Q4: What kind of needle should I use for my sewing machine?
For denim, it’s best to use a “denim” or “jeans” needle. These needles are stronger and sharper, designed to penetrate thick fabrics like denim without breaking or damaging the fabric.
Q5: How do I make sure both jeans legs match perfectly?
The key is to use one leg as an exact template for the other. Lay them flat side-by-side, align them perfectly at the hem and waistband, and transfer your markings from the first to the second leg. Measure meticulously.
Q6: What if my mom jeans have embellishments or a special hem?
If your jeans have unique details at the hem, you might want to proceed with caution. You could try to replicate the original hem style above the new, narrower opening. For significant alterations or rare embellishments, consulting a professional tailor might be wise.
Q7: Can I adjust the outseam instead of the inseam?
While you can adjust the outseam, it’s generally not recommended for mom jeans. The inseam is typically where the taper is desired for a clean look. Altering the outseam can disrupt the front and back pocket placement and the overall lines of the jeans, often leading to a less flattering result. Sticking to the inseam is the standard and most effective method.
Conclusion
Taking the time to narrow the leg opening of your mom jeans is a rewarding DIY project that can breathe new life into your favorite pair. By following these clear, step-by-step instructions, you can achieve a more flattering, modern, and versatile silhouette without needing advanced sewing skills. Remember to measure carefully, use the right tools, and be patient with the process. Whether you’re looking to enhance your existing wardrobe staples or simply want a better-fitting pair of jeans, this guide provides the factual and practical advice you need to succeed. Enjoy your perfectly tapered mom jeans – you’ve earned that stylish, custom fit!


