Easily narrow the leg opening of your relaxed jeans for a more modern, flattering fit. This guide provides simple, step-by-step instructions and practical tips to achieve a tailored look at home.
Pants that are too wide at the leg opening can sometimes feel dated or just not right for your style. It’s a common issue, especially with popular relaxed-fit styles. But don’t worry, transforming those wide legs into a silhouette you love is surprisingly straightforward. This guide will walk you through everything you need to know, from gathering your supplies to the final stitch. Get ready to give your favorite jeans a fresh, custom fit!
Why Narrow Your Jeans’ Leg Opening?
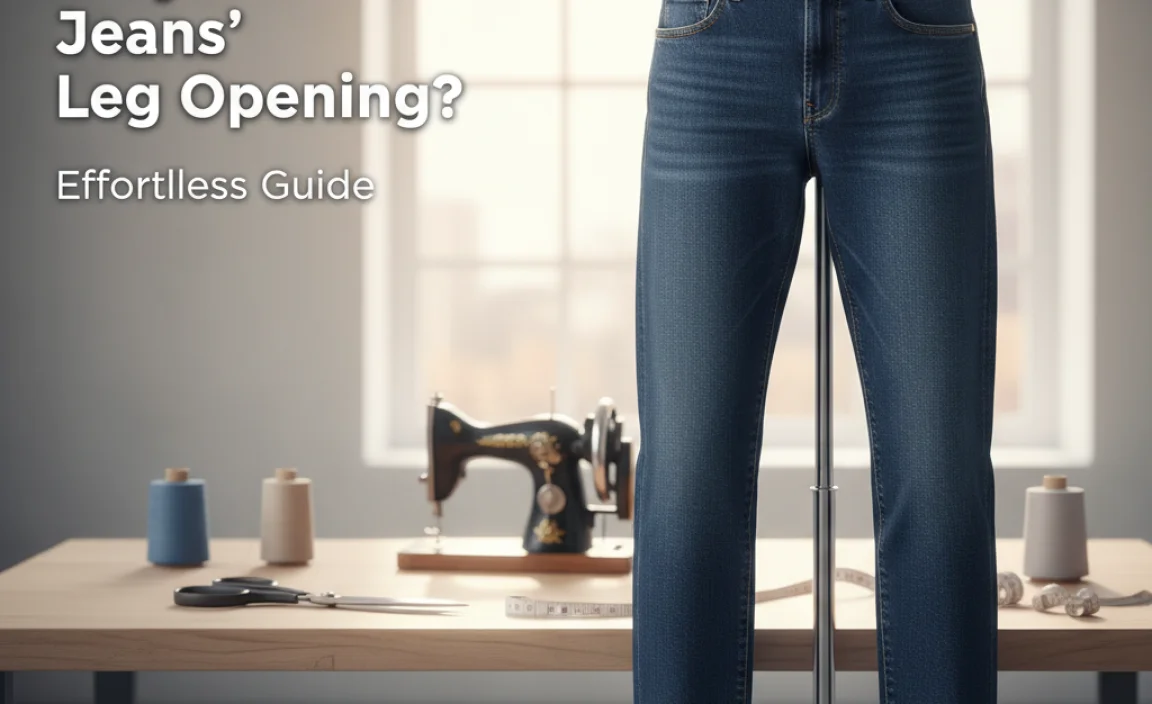
There are several good reasons why someone might want to alter the leg opening of their jeans. Often, it’s about achieving a more contemporary look. Wide leg openings can sometimes overpower a person’s frame, making them appear shorter or broader than they are. By tapering the leg, you create a cleaner, more streamlined silhouette that can be more flattering and versatile.
Another reason is styling. A narrower leg opening can make it easier to tuck jeans into boots, wear them with different types of footwear like heels or sneakers, and generally integrate them more seamlessly into a wider range of outfits. It’s a way to update an older pair of jeans or even a pair that you bought because you liked the fit through the hip and thigh, but not the overall leg shape.
Finally, personal preference plays a huge role. Sometimes, you just know what you like, and if that means a slimmer leg opening, then altering them is the best solution. It’s about making your clothes work for you and your body.
Understanding Your Jeans Before You Start
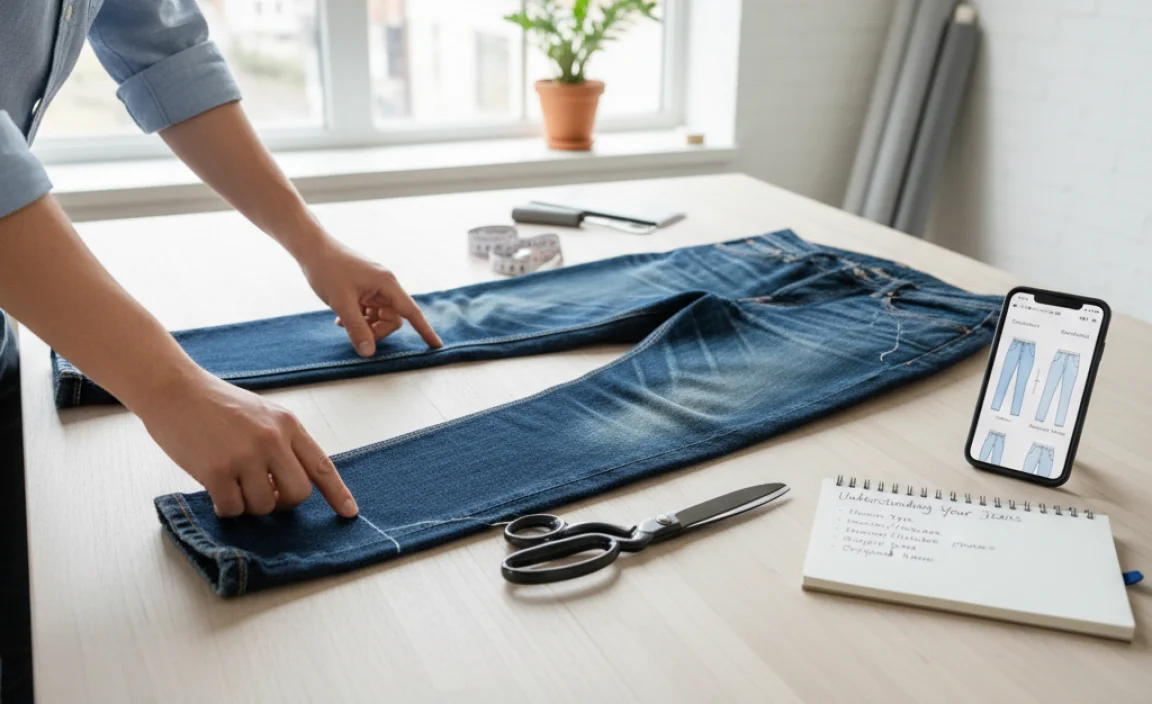
Before you grab your scissors, take a moment to understand the construction of your jeans. This will make the alteration process much smoother.
Seam Type: Most jeans have an outer seam and an inner (inseam) seam running down the leg. You’ll typically be working with the inner seam, as it’s usually less visible and easier to alter. Some jeans may also have a “outstep” seam on the outside of the leg.
Fabric Weight and Stretch: Heavier denim might require sturdier needles and thread. Jeans with a lot of stretch can be more forgiving to work with but also might require a bit more care to avoid stretching out the new seam.
Existing Stitches: Pay attention to the type of stitching used. Most jeans use a double-needle chain stitch on the inseam. You’ll want to replicate this look as closely as possible with your sewing machine.
What You’ll Need: Your Jeans Alteration Toolkit
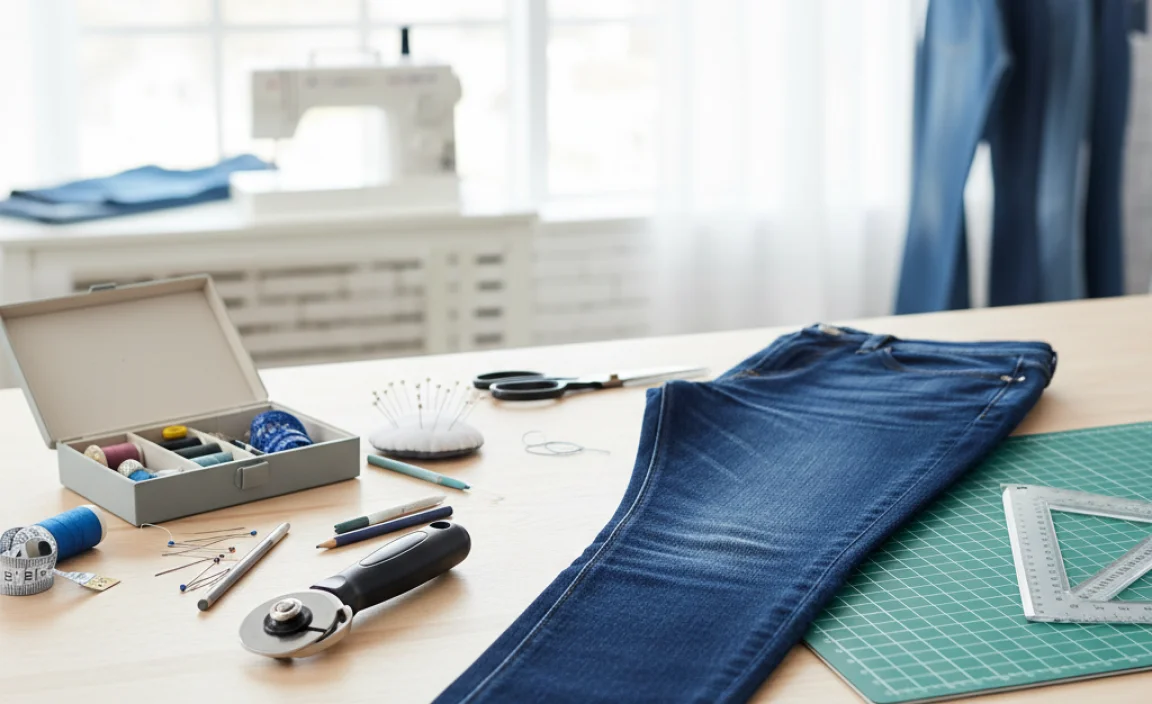
Gathering the right tools before you begin will save you time and frustration. Here’s a list of essentials for narrowing your jeans’ leg opening:
Your Jeans: The star of the show!
Measuring Tape: For accurate measurements.
Fabric Chalk or a Removable Fabric Pen: To mark your cutting or sewing lines.
Fabric Scissors: Sharp scissors are crucial for clean cuts.
Seam Ripper: For carefully undoing existing seams.
Sewing Machine: Capable of handling denim and ideally with a denim needle.
Denim Needle: Specifically designed for sewing through thick denim.
Heavy-Duty Thread: In a color that matches your jeans (or a contrasting color if you want a visible effect).
Pins or Wonder Clips: To hold fabric in place.
Iron and Ironing Board: For pressing seams flat.
Step-by-Step Guide: How to Narrow Leg Opening of Relaxed Jeans
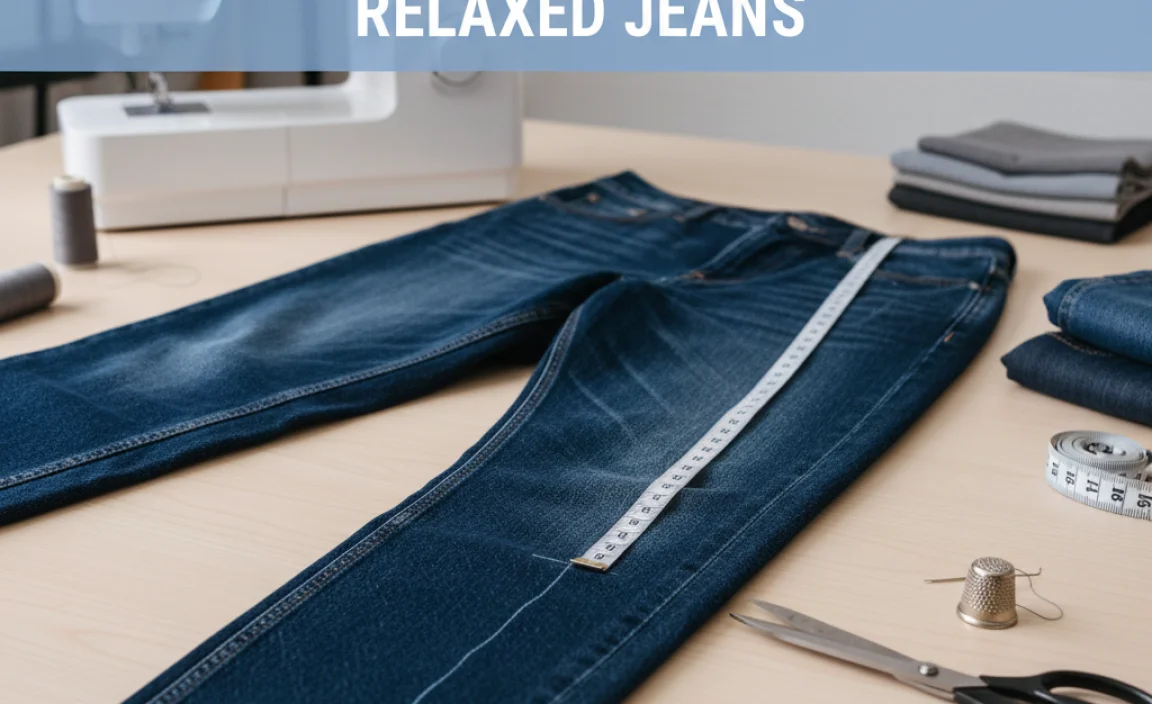
Let’s get to it! This guide will focus on altering the inner seam (inseam) for the most discreet and manageable change.
Step 1: Prepare Your Workspace and Jeans
Lay your jeans flat on a clean surface, like a table or the floor. Smooth out any wrinkles. Decide which leg you want to alter first. It’s often a good idea to start with one leg as a test.
Step 2: Determine Your Desired Width
This is where you decide how narrow you want the leg opening.
Measure: Put on the jeans (or try them on carefully). Look in a mirror. Pinch the excess fabric at the inner seam of the leg opening to see how narrow you’d like them. Note this measurement.
Consider Footwear: Think about the shoes you’ll wear most often with these jeans. A very narrow opening might not fit over heels, while a slightly tapered leg works with almost anything.
Measure Existing Jeans: If you have a pair of jeans with a leg opening you love, measure that width and use it as a guide.
Step 3: Mark the New Leg Opening
Turn your jeans inside out. Lay one leg flat, aligning it as smoothly as possible.
Measure from the Inseam: Starting from the existing inseam at the hem, measure inwards towards the center of the leg. Use your chalk or fabric pen to mark your desired new width. For example, if you want to reduce the opening by 2 inches in total, you’ll mark 1 inch in from the seam on each side of the inner seam.
Marking the Taper: This is crucial. You don’t necessarily want a straight line from the knee down to the new hem. You want to create a gradual taper.
Starting at the hem, mark the desired new width along the inseam.
Move up the leg, perhaps to the ankle bone or slightly higher, and make another mark. This mark should be slightly wider than your hem mark. The distance between this higher mark and the original seam will be less than it was at the hem.
Continue marking up the leg, gradually increasing the distance from the original seam. Where you stop this taper depends on the original fit of the jeans. For relaxed jeans, you might taper from the hem up to the knee or even the widest part of the calf. The key is to blend the new line smoothly.
Draw Your Line: Connect your marks with a straight or gently curved line using your chalk or pen. This is your new sewing line. Ensure it’s measured equally on both sides of the inner seam.
Step 4: Baste the New Seam (Optional but Recommended)
Before permanently sewing, it’s wise to “baste” the seam. This involves using a long, loose stitch (either by hand Basting stitches are temporary stitches made with long, loose stitches to hold fabric in place before final sewing or with your sewing machine on a long stitch length) to temporarily sew along your marked line. Try the jeans on to check the fit. If it’s not quite right, it’s easy to remove the basting stitches and adjust.
Step 5: Cut and Rip (Only After Basting Check!)
Once you’re happy with the fit after basting:
Trim Excess Fabric (Outer Layer): On the outer layer of the seam allowance, trim off the excess fabric beyond your basting line. Leave about a 1/2 inch to 3/4 inch seam allowance. Don’t cut the original hem yet.
Rip the Original Inseam (Carefully): Use your seam ripper to carefully undo the original inseam stitching. Work slowly to avoid snagging or tearing the fabric.
Step 6: Sew the New Inseam
Thread Your Machine: Set up your sewing machine with a denim needle and heavy-duty thread that matches your jeans.
Stitch: Begin at the hem. Guide the fabric under the needle, sewing directly on top of your basting line. Sew all the way up the taper point you marked. Backstitch at the beginning and end for security.
Double Stitch for Durability: For extra strength, especially on denim, it’s a good idea to sew a second line of stitching very close to the first one, reinforcing the seam. This mimics the original construction of many jean seams.
Step 7: Finish the Hem
Now that the leg opening is narrowed, you need to reattach the original hem for a clean, factory-made look.
Fold and Press: If you trimmed the seam allowance from the hem, you’ll need to fold the raw edge up to meet the original hemline. Press it flat with your iron.
Stitch the Hem: Topstitch the hem down. You can try to match the original stitching as closely as possible. This might involve using a longer stitch length and a strong thread. Some machines have a “double needle” setting which can replicate that original look for jeans hems. If you have one, use it!
If you left the original hem intact: Sometimes, when tapering, you can keep the original hem attached. You’d essentially be folding the excess fabric inside the leg and stitching it to the new seam. This method is more complex and depends heavily on how much you’re tapering. For most beginners, trimming and re-hemming is easier.
Step 8: Repeat for the Other Leg
Measure the second leg against the first to ensure they are symmetrical. Lay both legs side-by-side and make sure the taper lines and hem lengths match. Repeat the entire process for the second leg.
Step 9: Final Press and Check
Give your altered jeans a good press with your iron. Try them on one last time to admire your work!
Alternative (More Advanced) Method: Altering Both Seams
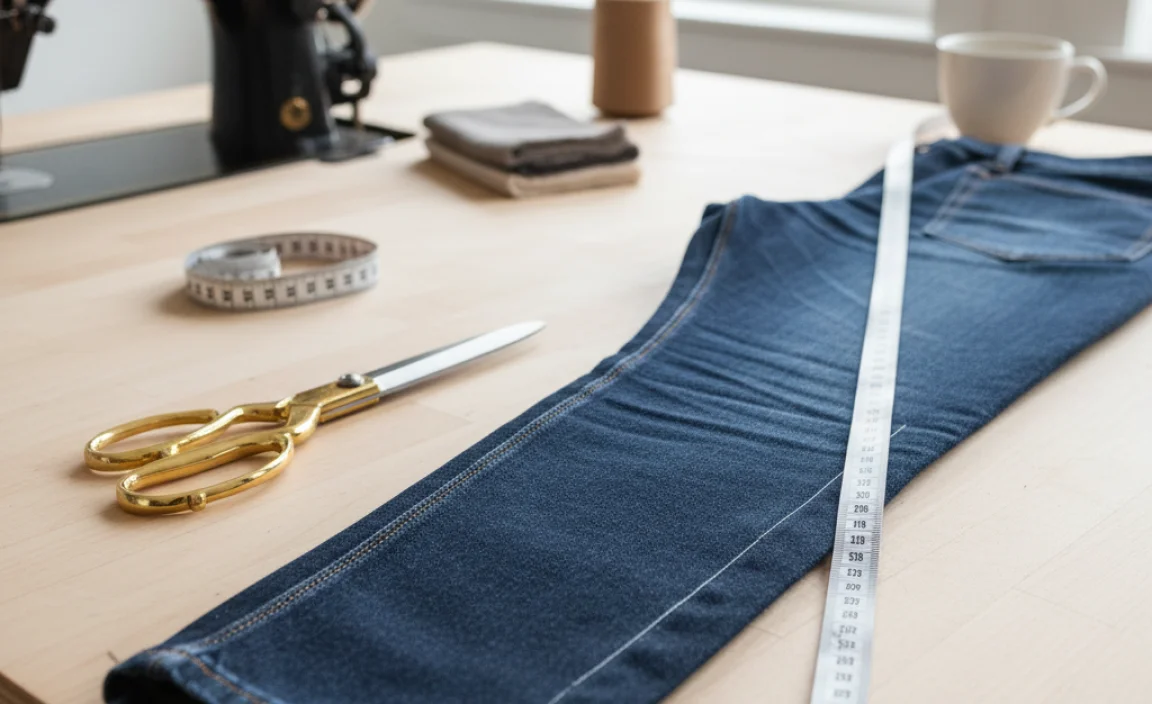
For a more subtle or balanced taper, you might consider altering both the inner (inseam) and outer seams. This is more advanced because you need to ensure symmetry and manage the curved outer seam.
Pros of Altering Both Seams:
Smoother Silhouette: Can create a more even taper from thigh to ankle.
More Control: Allows for finer adjustments to the overall leg shape.
Cons of Altering Both Seams:
More Difficult: The outer seam curves, making it trickier to measure and sew accurately.
Risk of Unevenness: Higher chance of one leg looking different from the other if not done carefully.
Potential for Puckering: The outer seam can sometimes pucker if not sewn correctly.
If you choose this method, you’ll repeat the marking and sewing process on the outer seam as well, ensuring the taper lines blend smoothly and match the inner taper.
Tools Comparison: Standard vs. Specialized Needles
When sewing through denim, the right needle is important.
| Needle Type | Use Case | Benefits | Drawbacks |
| :—————- | :—————————————— | :——————————————- | :—————————————— |
| Standard Needle | Light to medium-weight fabrics. | Widely available. | Can break or skip stitches on denim. |
| Denim/Jeans Needle | Thick fabrics like denim, canvas, upholstery. | Stronger, sharper point penetrates layers. | Less common than standard needles. |
| Leather Needle | Leather and very thick materials. | Extremely sharp, wedge-shaped point. | Can create larger holes in fabric. |
Recommendation: Always use a Denim/Jeans needle when working with denim. A size 90/14 or 100/16 is usually appropriate for most jeans.
Top Tips for a Professional Finish
Measure Twice, Cut Once: This old adage is especially true with sewing. Double-check all your measurements before marking and cutting.
Go Slow: Don’t rush the process, especially when sewing the new seam. Slow and steady wins the race.
Use Plenty of Pins: Secure your fabric well with pins or clips to prevent shifting as you sew.
Press As You Go: Ironing seams flat after sewing makes a huge difference in the final appearance and makes subsequent steps easier.
Practice on Old Jeans: If you’re nervous, try altering a pair of old, inexpensive jeans first to get a feel for the process.
Consider the Original Stitching: If possible, try to match the stitch length and thread color of the original jeans for an almost invisible alteration. When sewing the new inseam, you may want to sew two parallel lines for extra durability, resembling the original double-needle construction.
Common Challenges and How to Solve Them
Here are some issues you might encounter and how to handle them:
Jean Legs Not Symmetrical: This is the most common problem.
Solution: Lay the jeans flat and perfectly aligned. Measure from the center front crease to the center back crease on the waistband, and then do the same for the leg opening. Ensure these measurements are identical. Use a measuring tape along the inseam and outseam to check that the lengths are the same.
Fabric Bunching or Puckering: This happens when the machine fights the thick layers of fabric.
Solution: Ensure you’re using a denim needle and heavy-duty thread. Slow down your sewing speed. If you have a walking foot for your sewing machine, it can help feed the multiple layers of fabric evenly. Pressing the seam firmly before and after sewing can also help.
Original Hem Stitches are Hard to Remove: Sometimes, the stitching is very dense.
Solution: Work patiently with your seam ripper. You can use a pair of small, sharp scissors to snip an occasional tough thread if necessary, being extremely careful not to cut the jean fabric itself.
The Taper Looks Odd: If the new line doesn’t flow well, it’s usually due to how the taper was marked.
* Solution: Rethink your taper marking. Try drawing a gentler curve. You usually don’t want a drastic change from the thigh down to the ankle unless that’s specifically the look you’re going for. It’s often best to taper gradually. If you basted, it’s easy to unpick and redraw.
Frequently Asked Questions about Narrowing Jeans
Can I narrow bell-bottom jeans?
Yes, you can narrow bell-bottom jeans, but it requires more careful work because of the excessive flare. You will need to taper much more fabric, and it might be best to alter both the inner and outer seams to achieve a balanced look. Be sure to smooth out the curve of the bell when marking your new line.
How much fabric should I take in from each side?
This depends on your preference. A common amount to remove from the total leg opening is between 2 to 4 inches. If you’re removing 3 inches in total, you would mark 1.5 inches in from the original seam on each side of that seam allowance you’re altering.
Will narrowing the leg opening affect the fit through the thigh or knee?
If you taper only from the hem upwards, it should not significantly change the fit around your thigh or knee. The change is concentrated at the lower leg. However, if you taper very aggressively all the way up past the knee, it will adjust the fit in those areas.
What kind of thread is best for sewing denim?
For durability and a look that closely matches original jeans, a heavy-duty polyester thread is recommended. You can also find threads specifically labeled for denim or upholstery. Contrasting thread can be used for a decorative effect, similar to some fashion denim brands.
How do I make the new stitches look like the original jeans?
Many jeans use a double-needle chain stitch. You can try to mimic this by sewing two parallel lines of stitching very close together. Some sewing machines have a specific “twin needle” or “double needle” setting that can achieve this effect. Using a slightly longer stitch length (around 2.5-3mm) and matching thread color will also help.
Is it better to alter the inseam or the outseam?
For beginners, altering the inseam is generally easier and less visible, as the outer seam often has decorative stitching or a different construction (like a flat-felled seam). If you want to maintain the original look as much as possible, the inseam is the way to go. Altering both seams can give a more custom taper but is more complex.
What if my jeans have a lot of stretch?
Jeans with stretch are often thinner and easier to sew but can also stretch out after alteration. Use a ballpoint or stretch needle to avoid skipped stitches. Sew at a moderate pace, and be careful not to pull or stretch the fabric excessively as you guide it through the machine. Pressing with steam can help set the stitches without stretching the fabric.
Conclusion
Transforming the leg opening of your relaxed jeans is a fantastic way to update your wardrobe and achieve a more flattering silhouette. By following these clear, step-by-step instructions, you can confidently tackle this alteration yourself. Remember to measure carefully, go slow, and don’t be afraid to baste and check your work before committing to the final stitches. With a little patience and the right tools, you’ll soon have a pair of jeans that fit you perfectly, from the waist to the hem, ready for any occasion. Enjoy your newly tailored denim!


